The kitchen project was definitely different than most of our other projects, and that is simply because most of the work was not done by us, but by professional cabinet and countertop installers. While we’ve done everything from foundation, to framing, to roofing (and beyond), Jacob and I were nervous about doing this work ourselves. So ended up purchasing our cabinets and countertops through Ikea, and they also did all of the installation.
While Ikea cabinets aren’t technically “custom,” the installers did customize the pieces to make them fit our space. So we got the custom look for a standard price- it was amazing! (Anyone looking to remodel their kitchens, we highly recommend using Ikea). The cabinet fronts didn’t come from Ikea, however. We found a company through my sister that manufactures cabinet fronts for Ikea cabinetry.
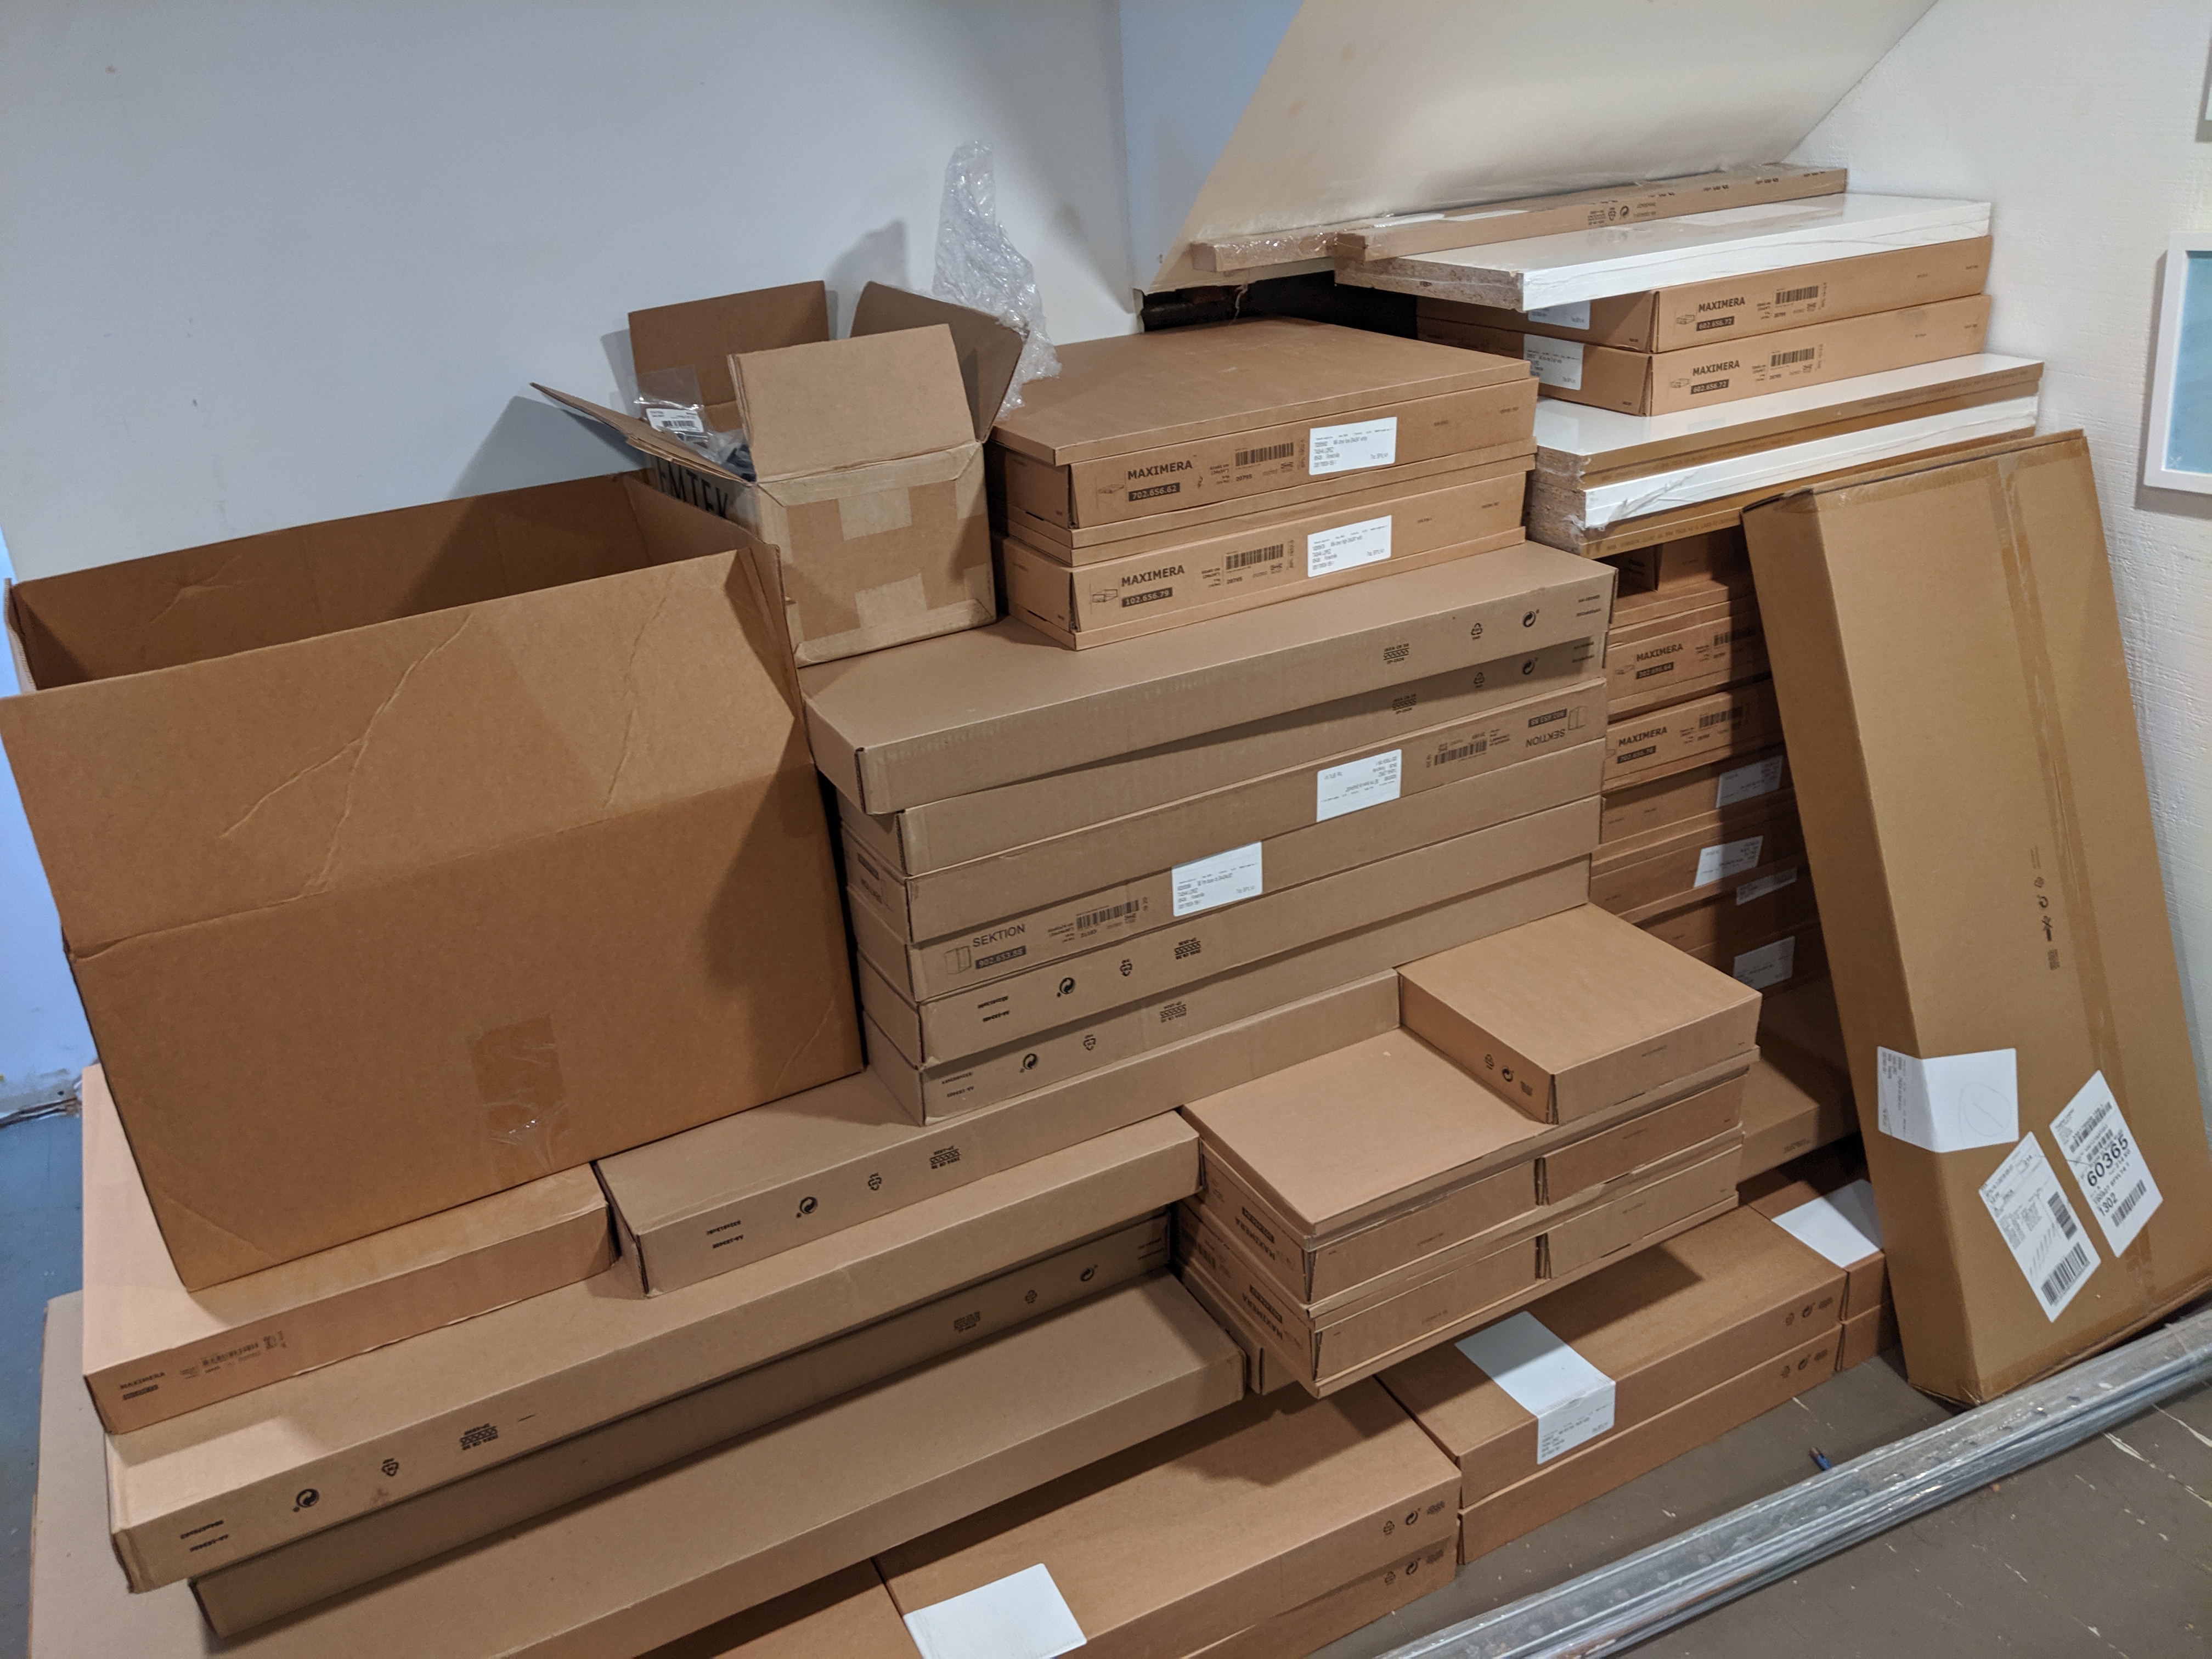
so many boxes
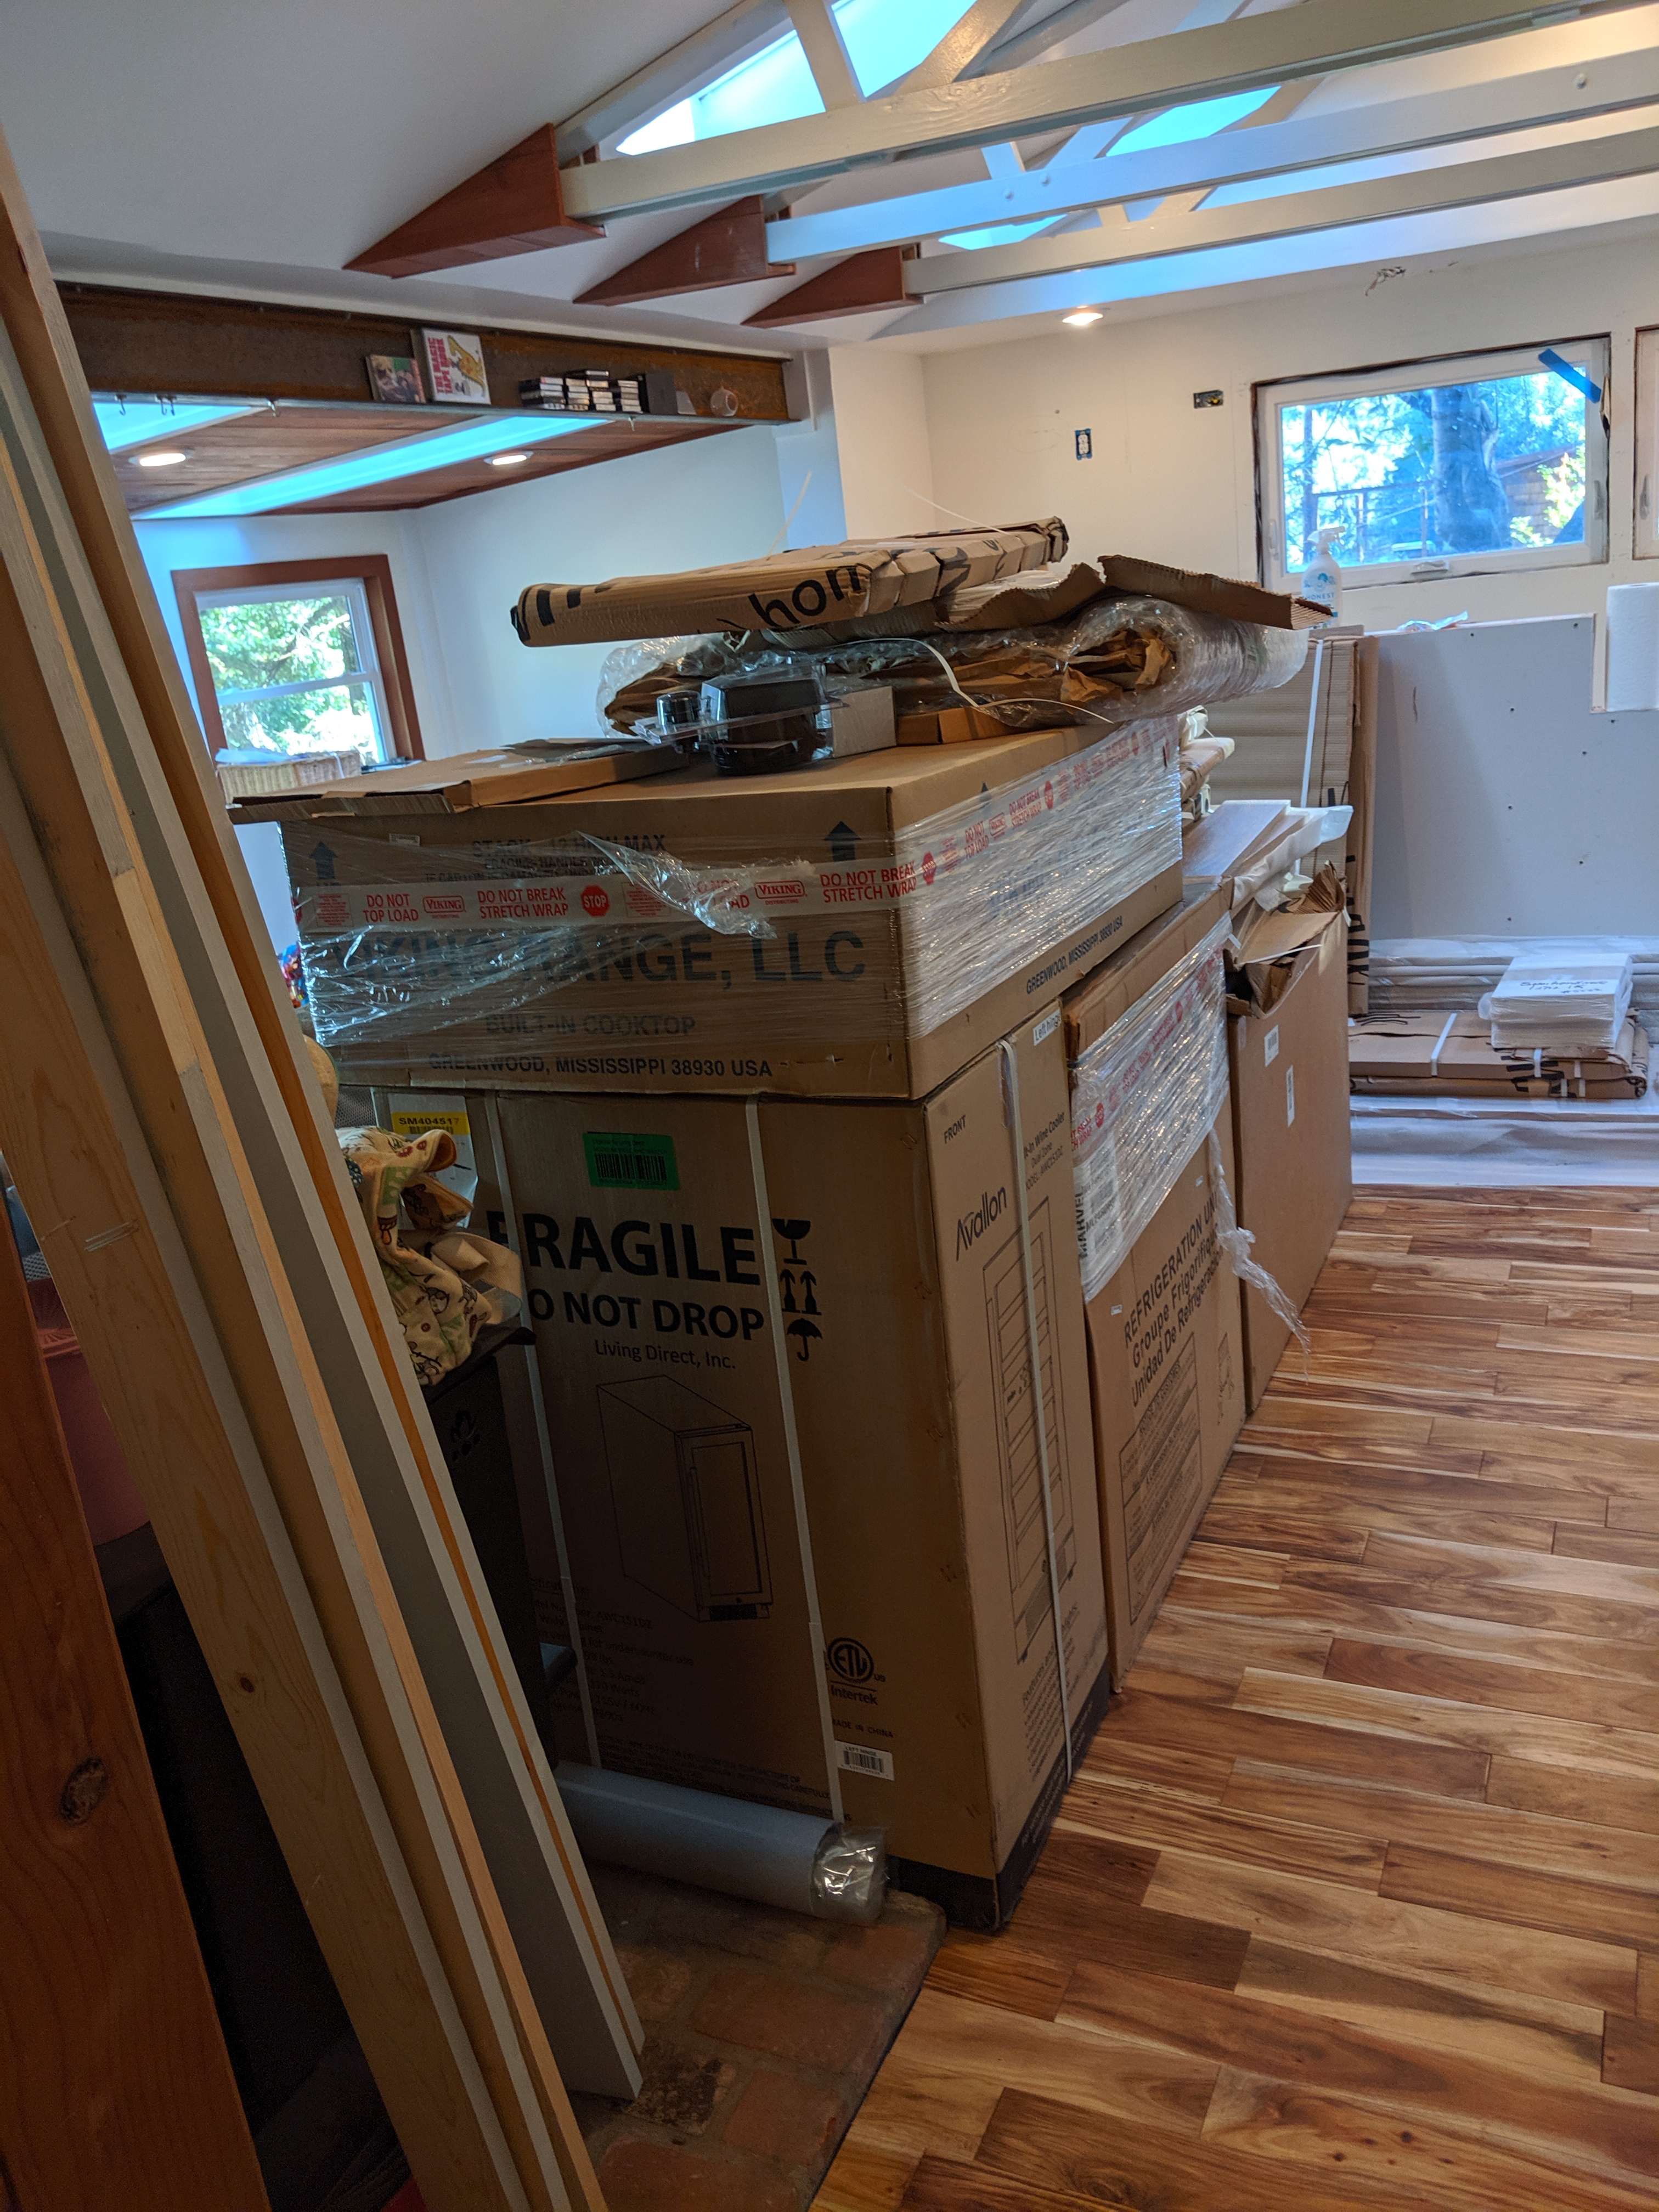
more boxes of appliances
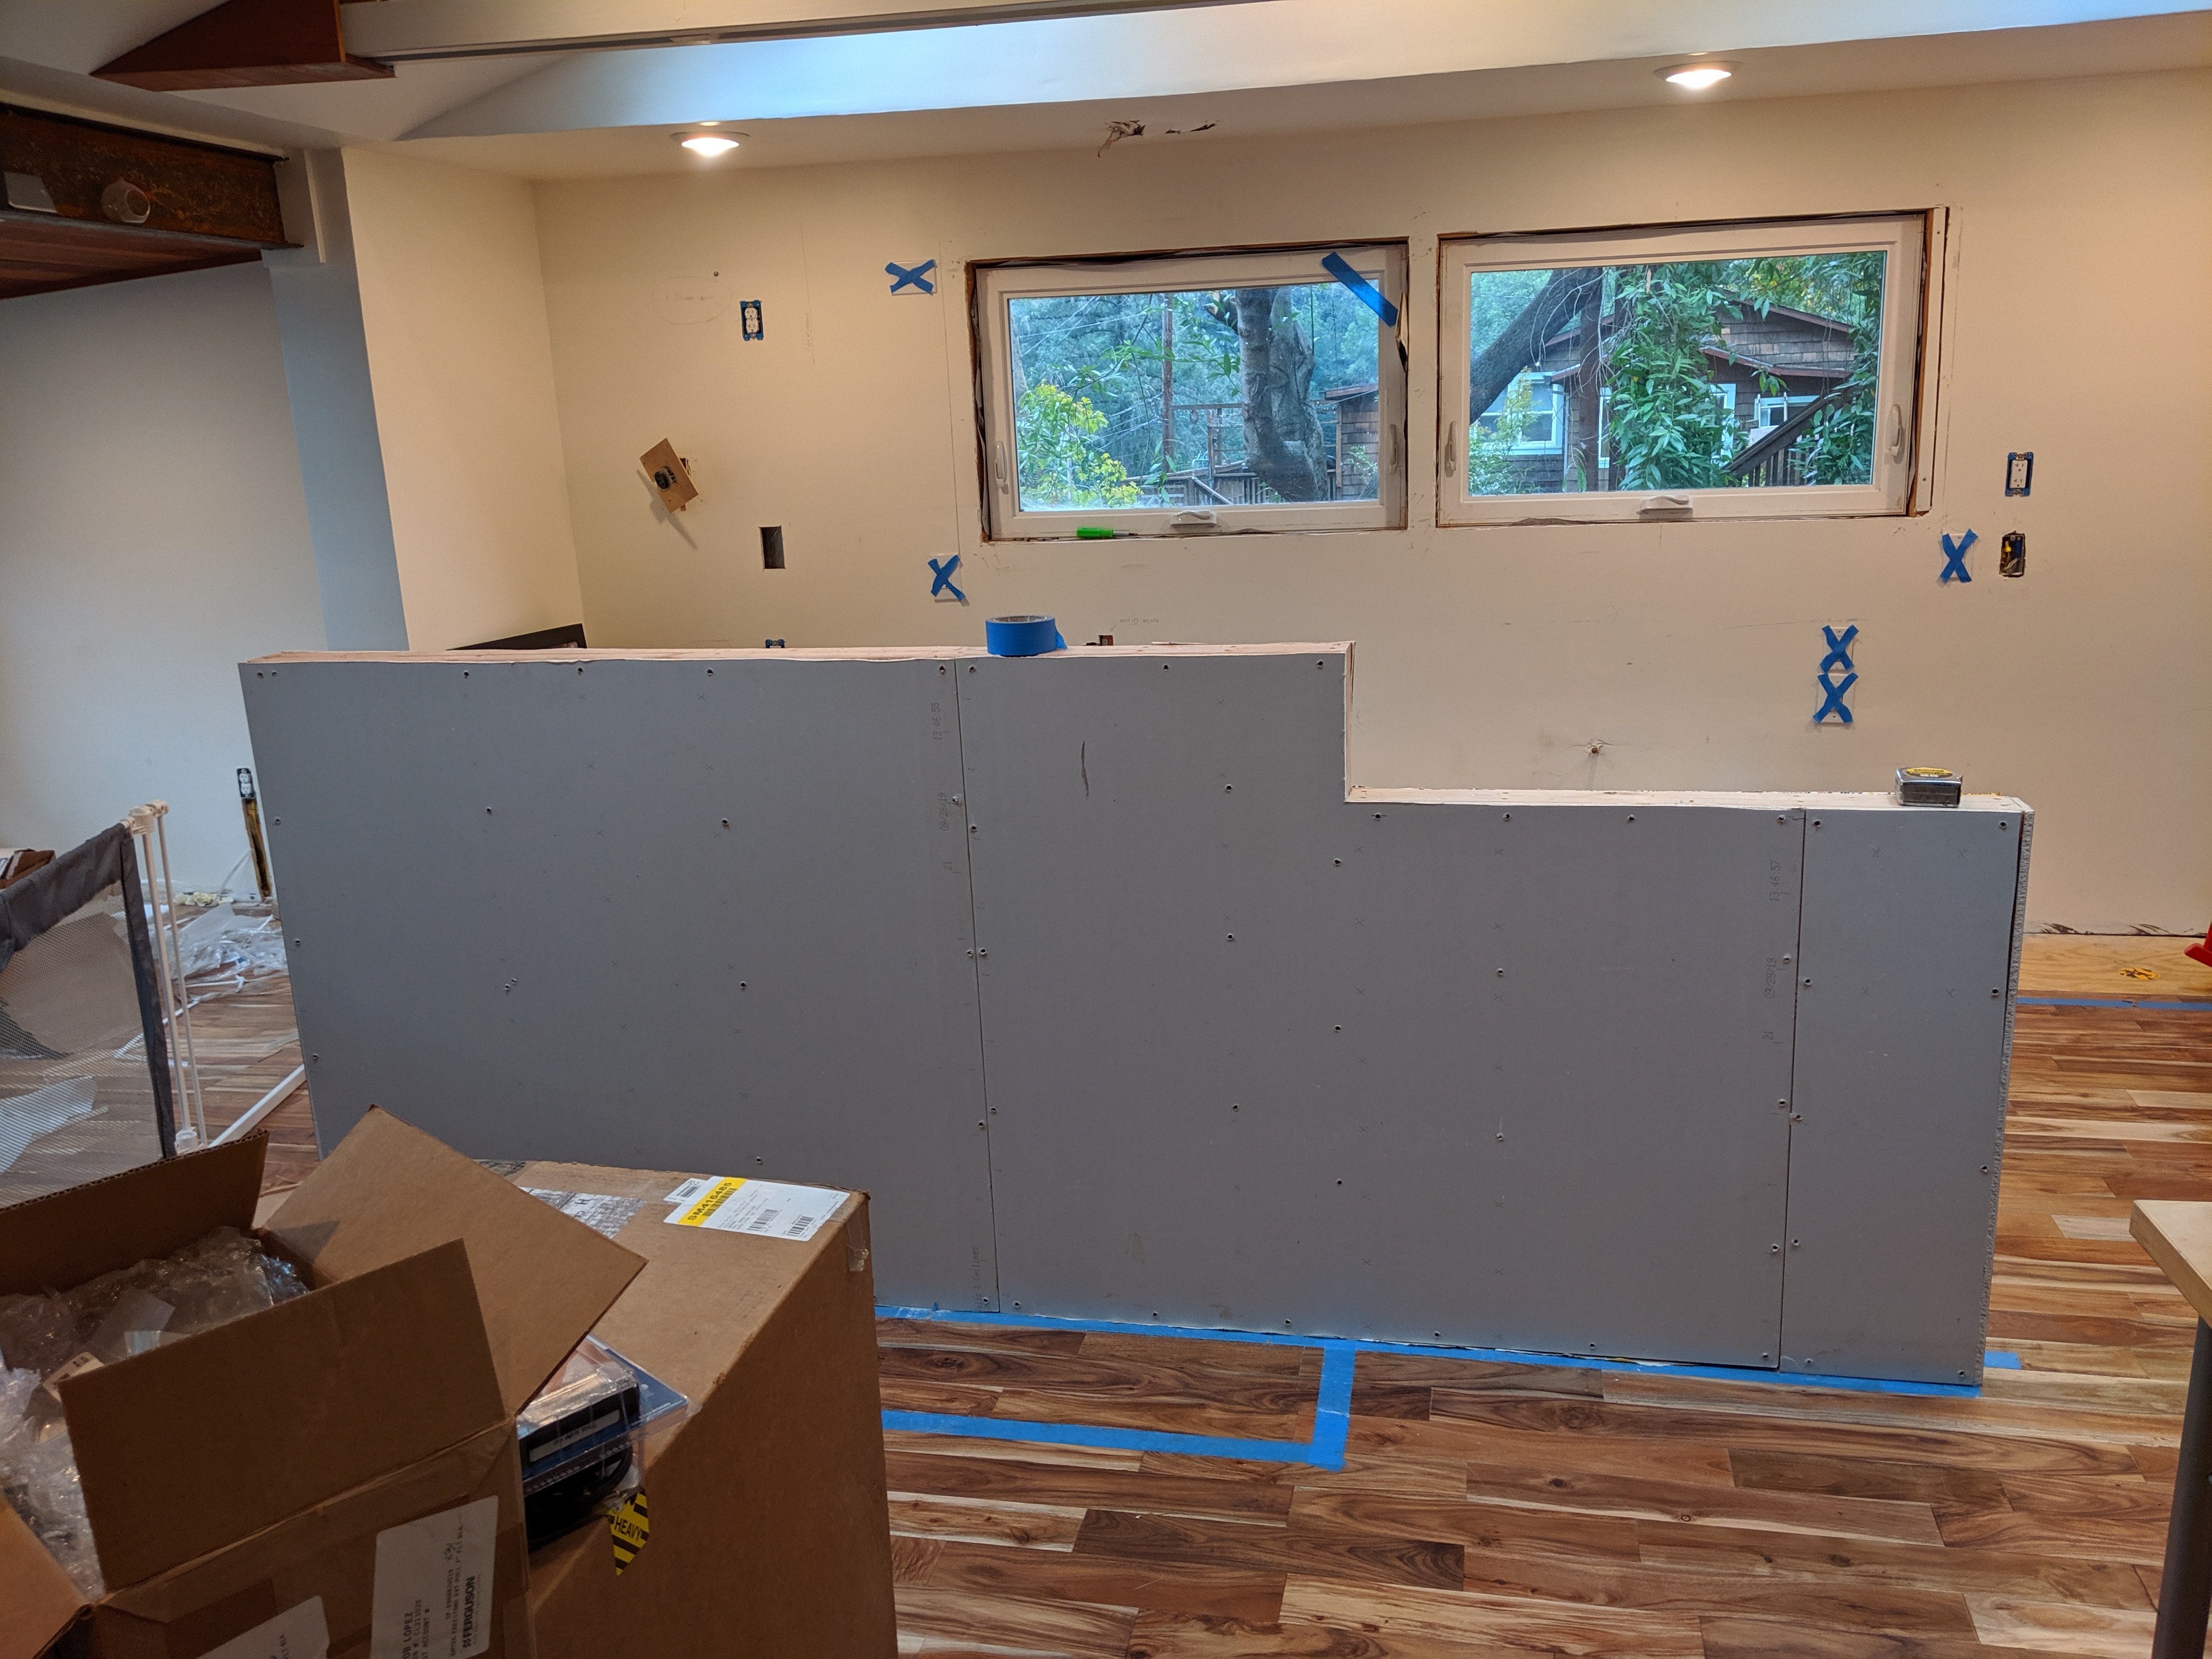
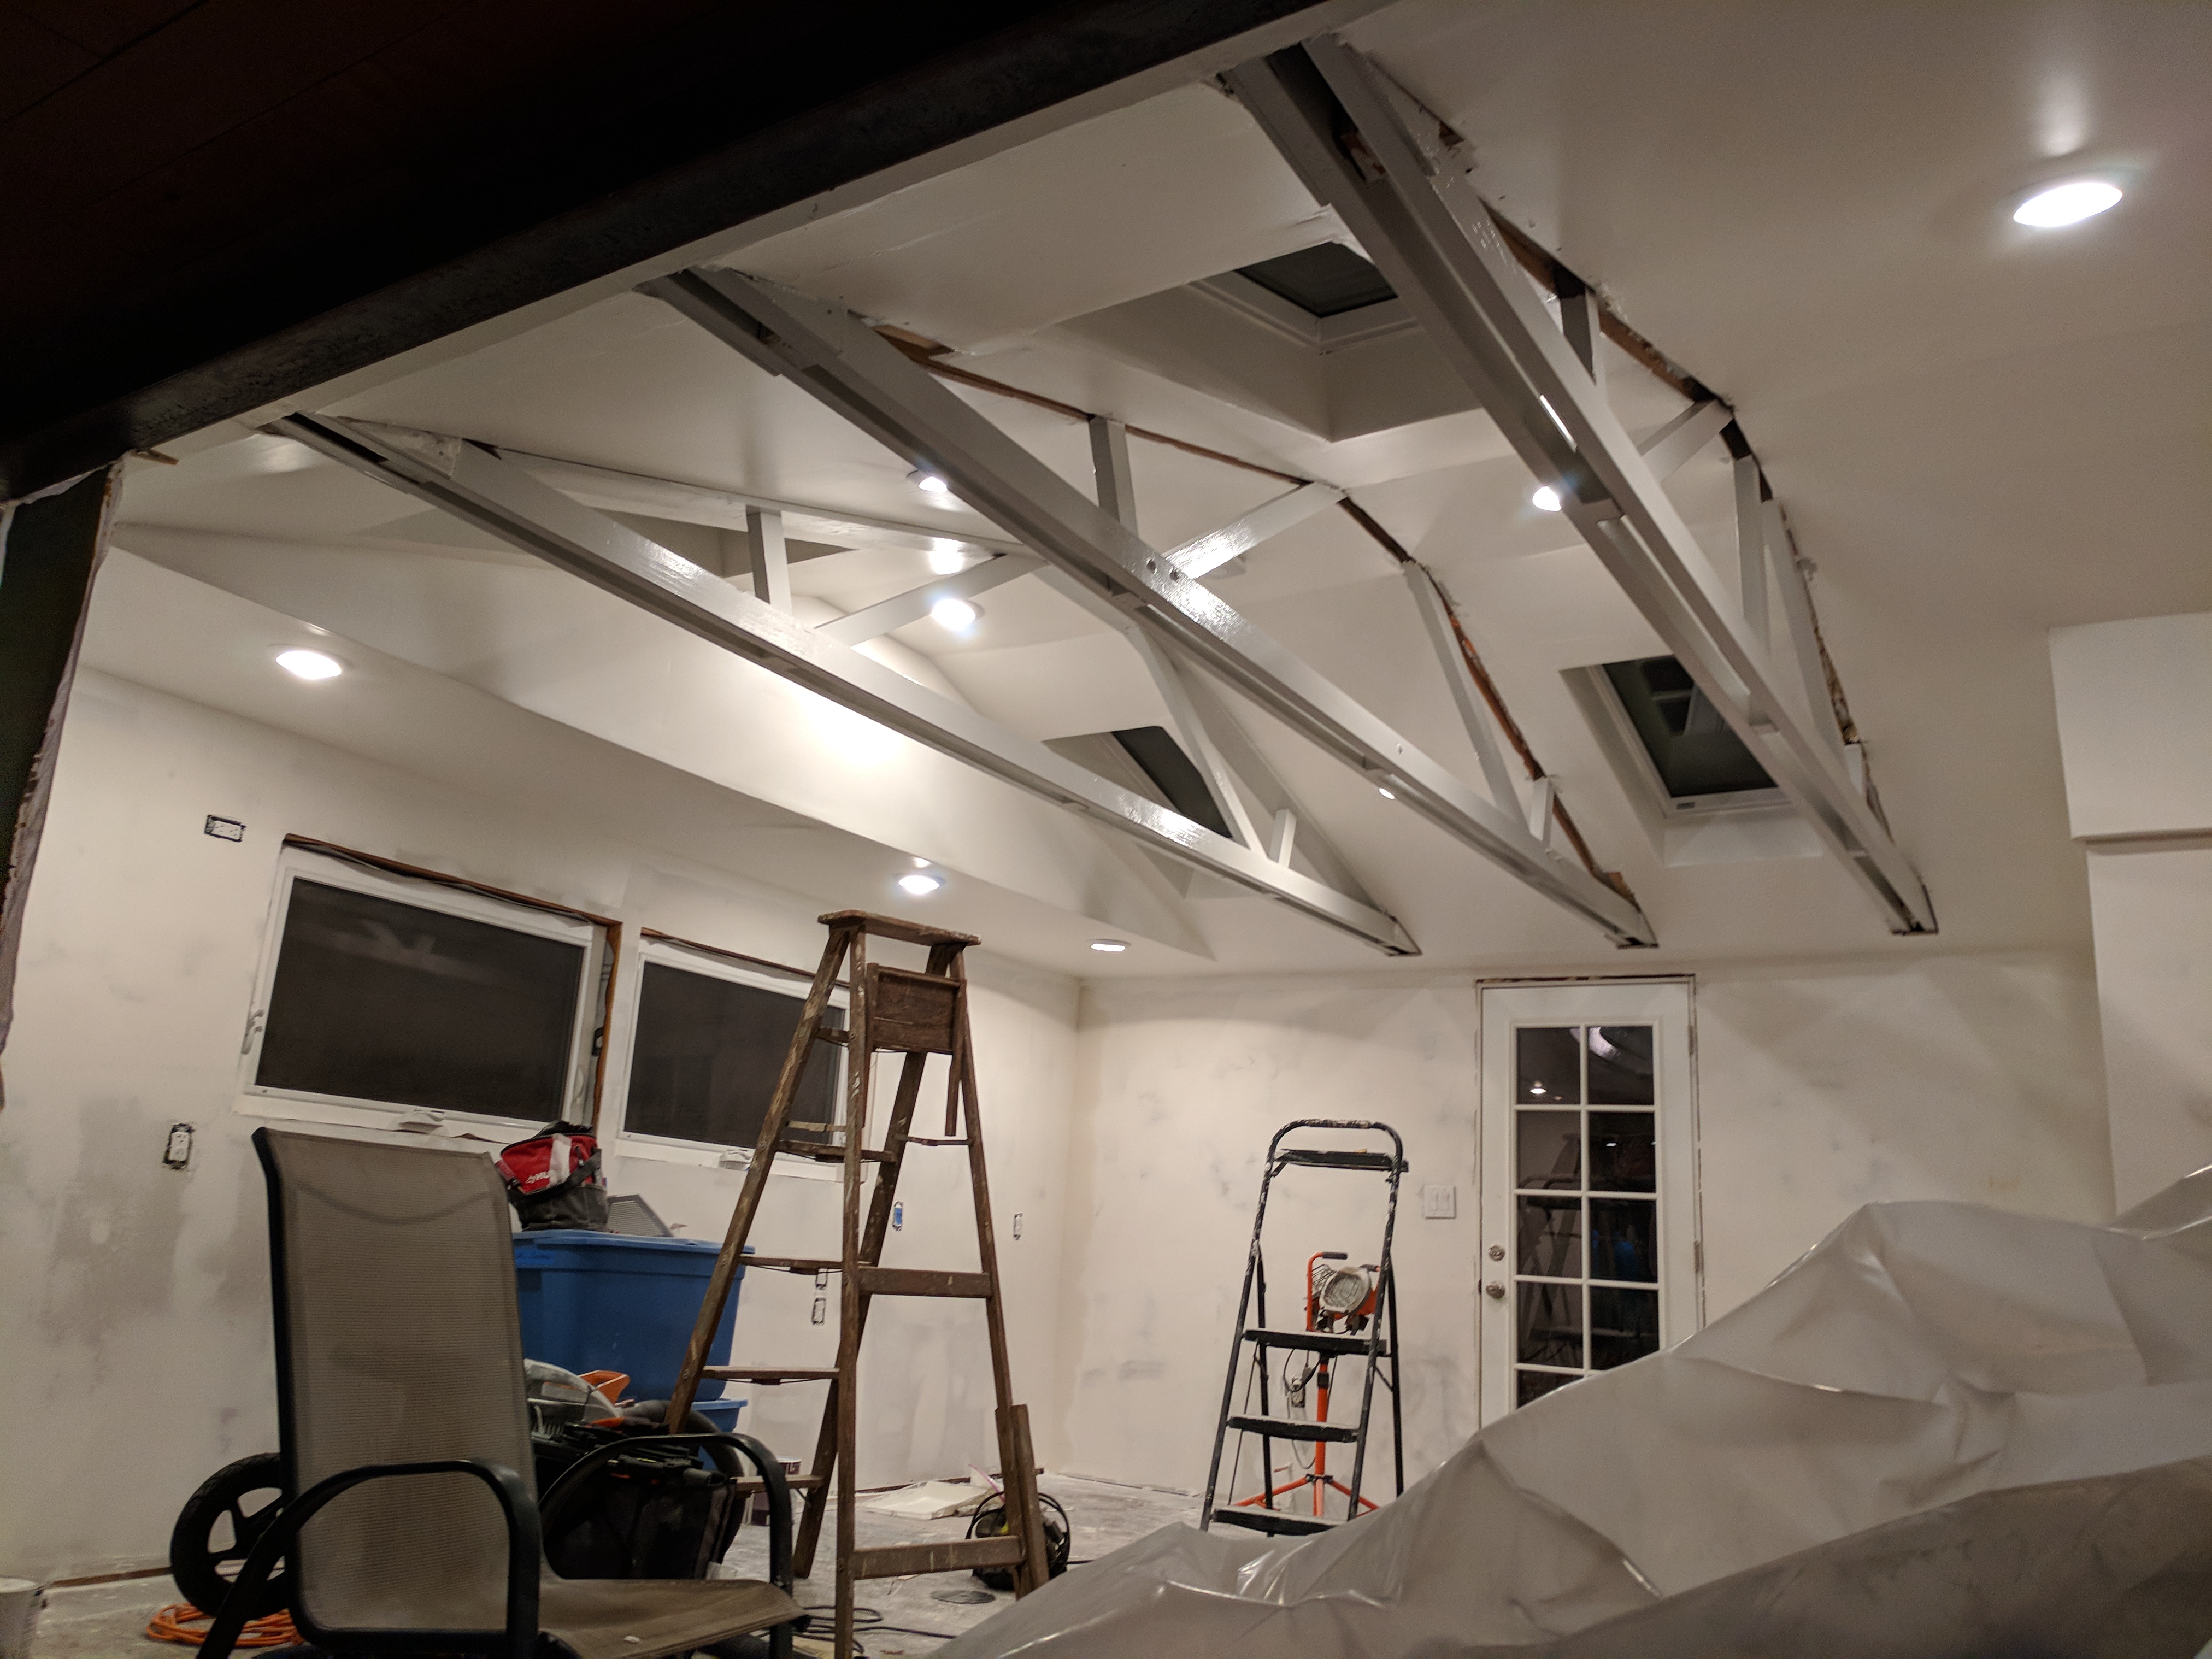
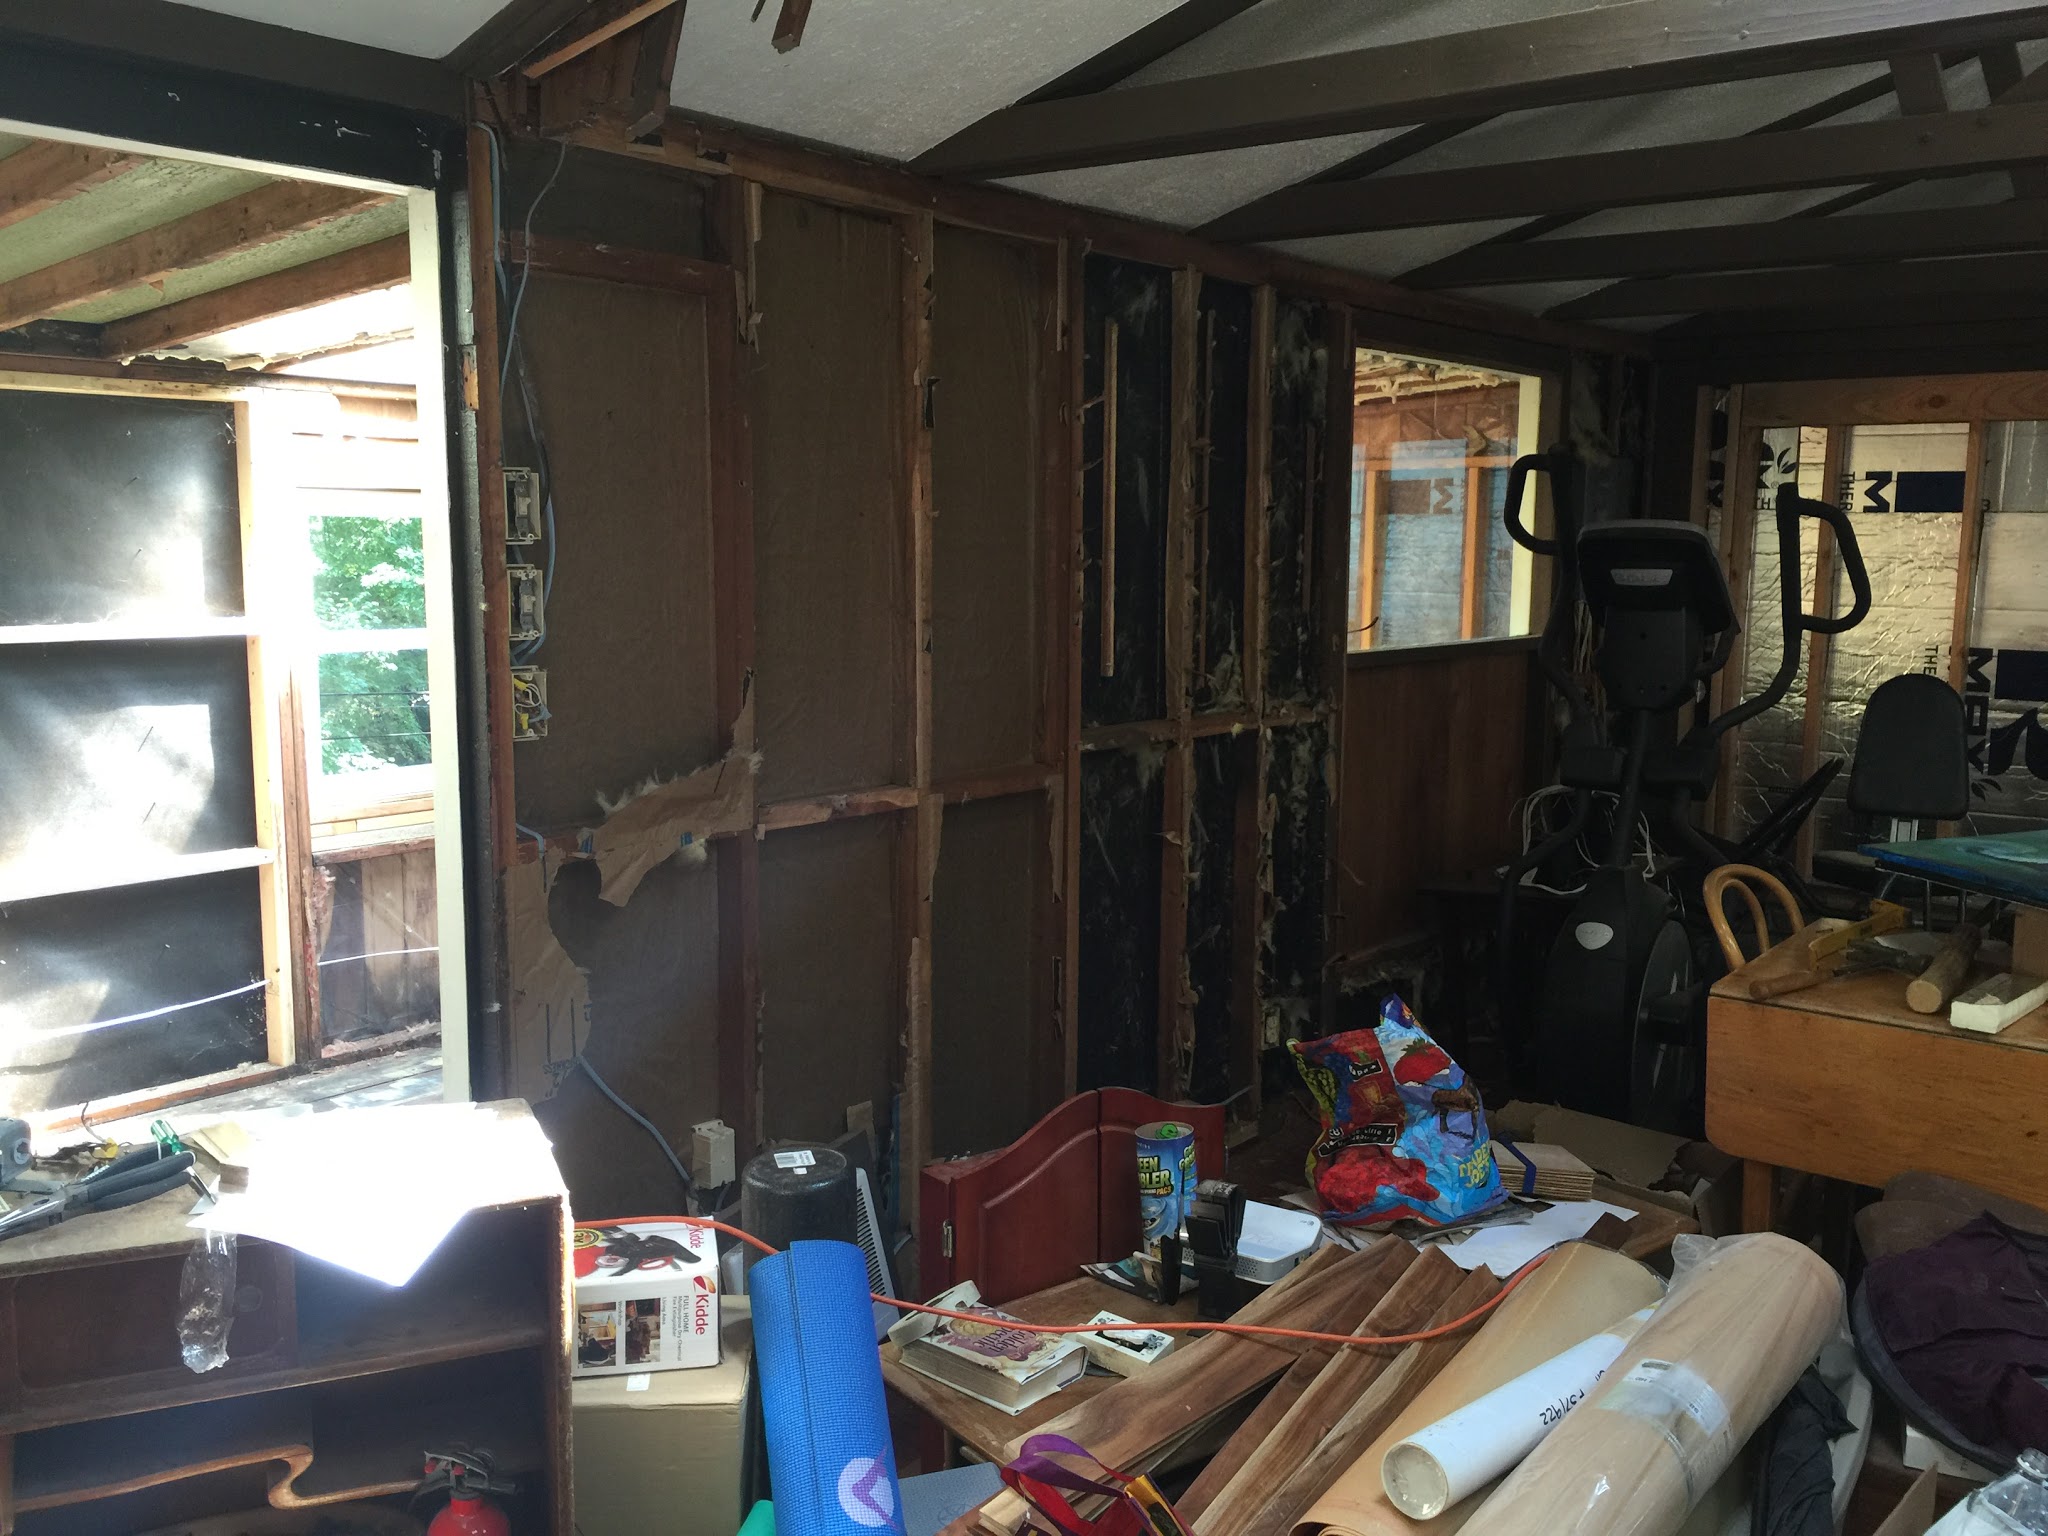
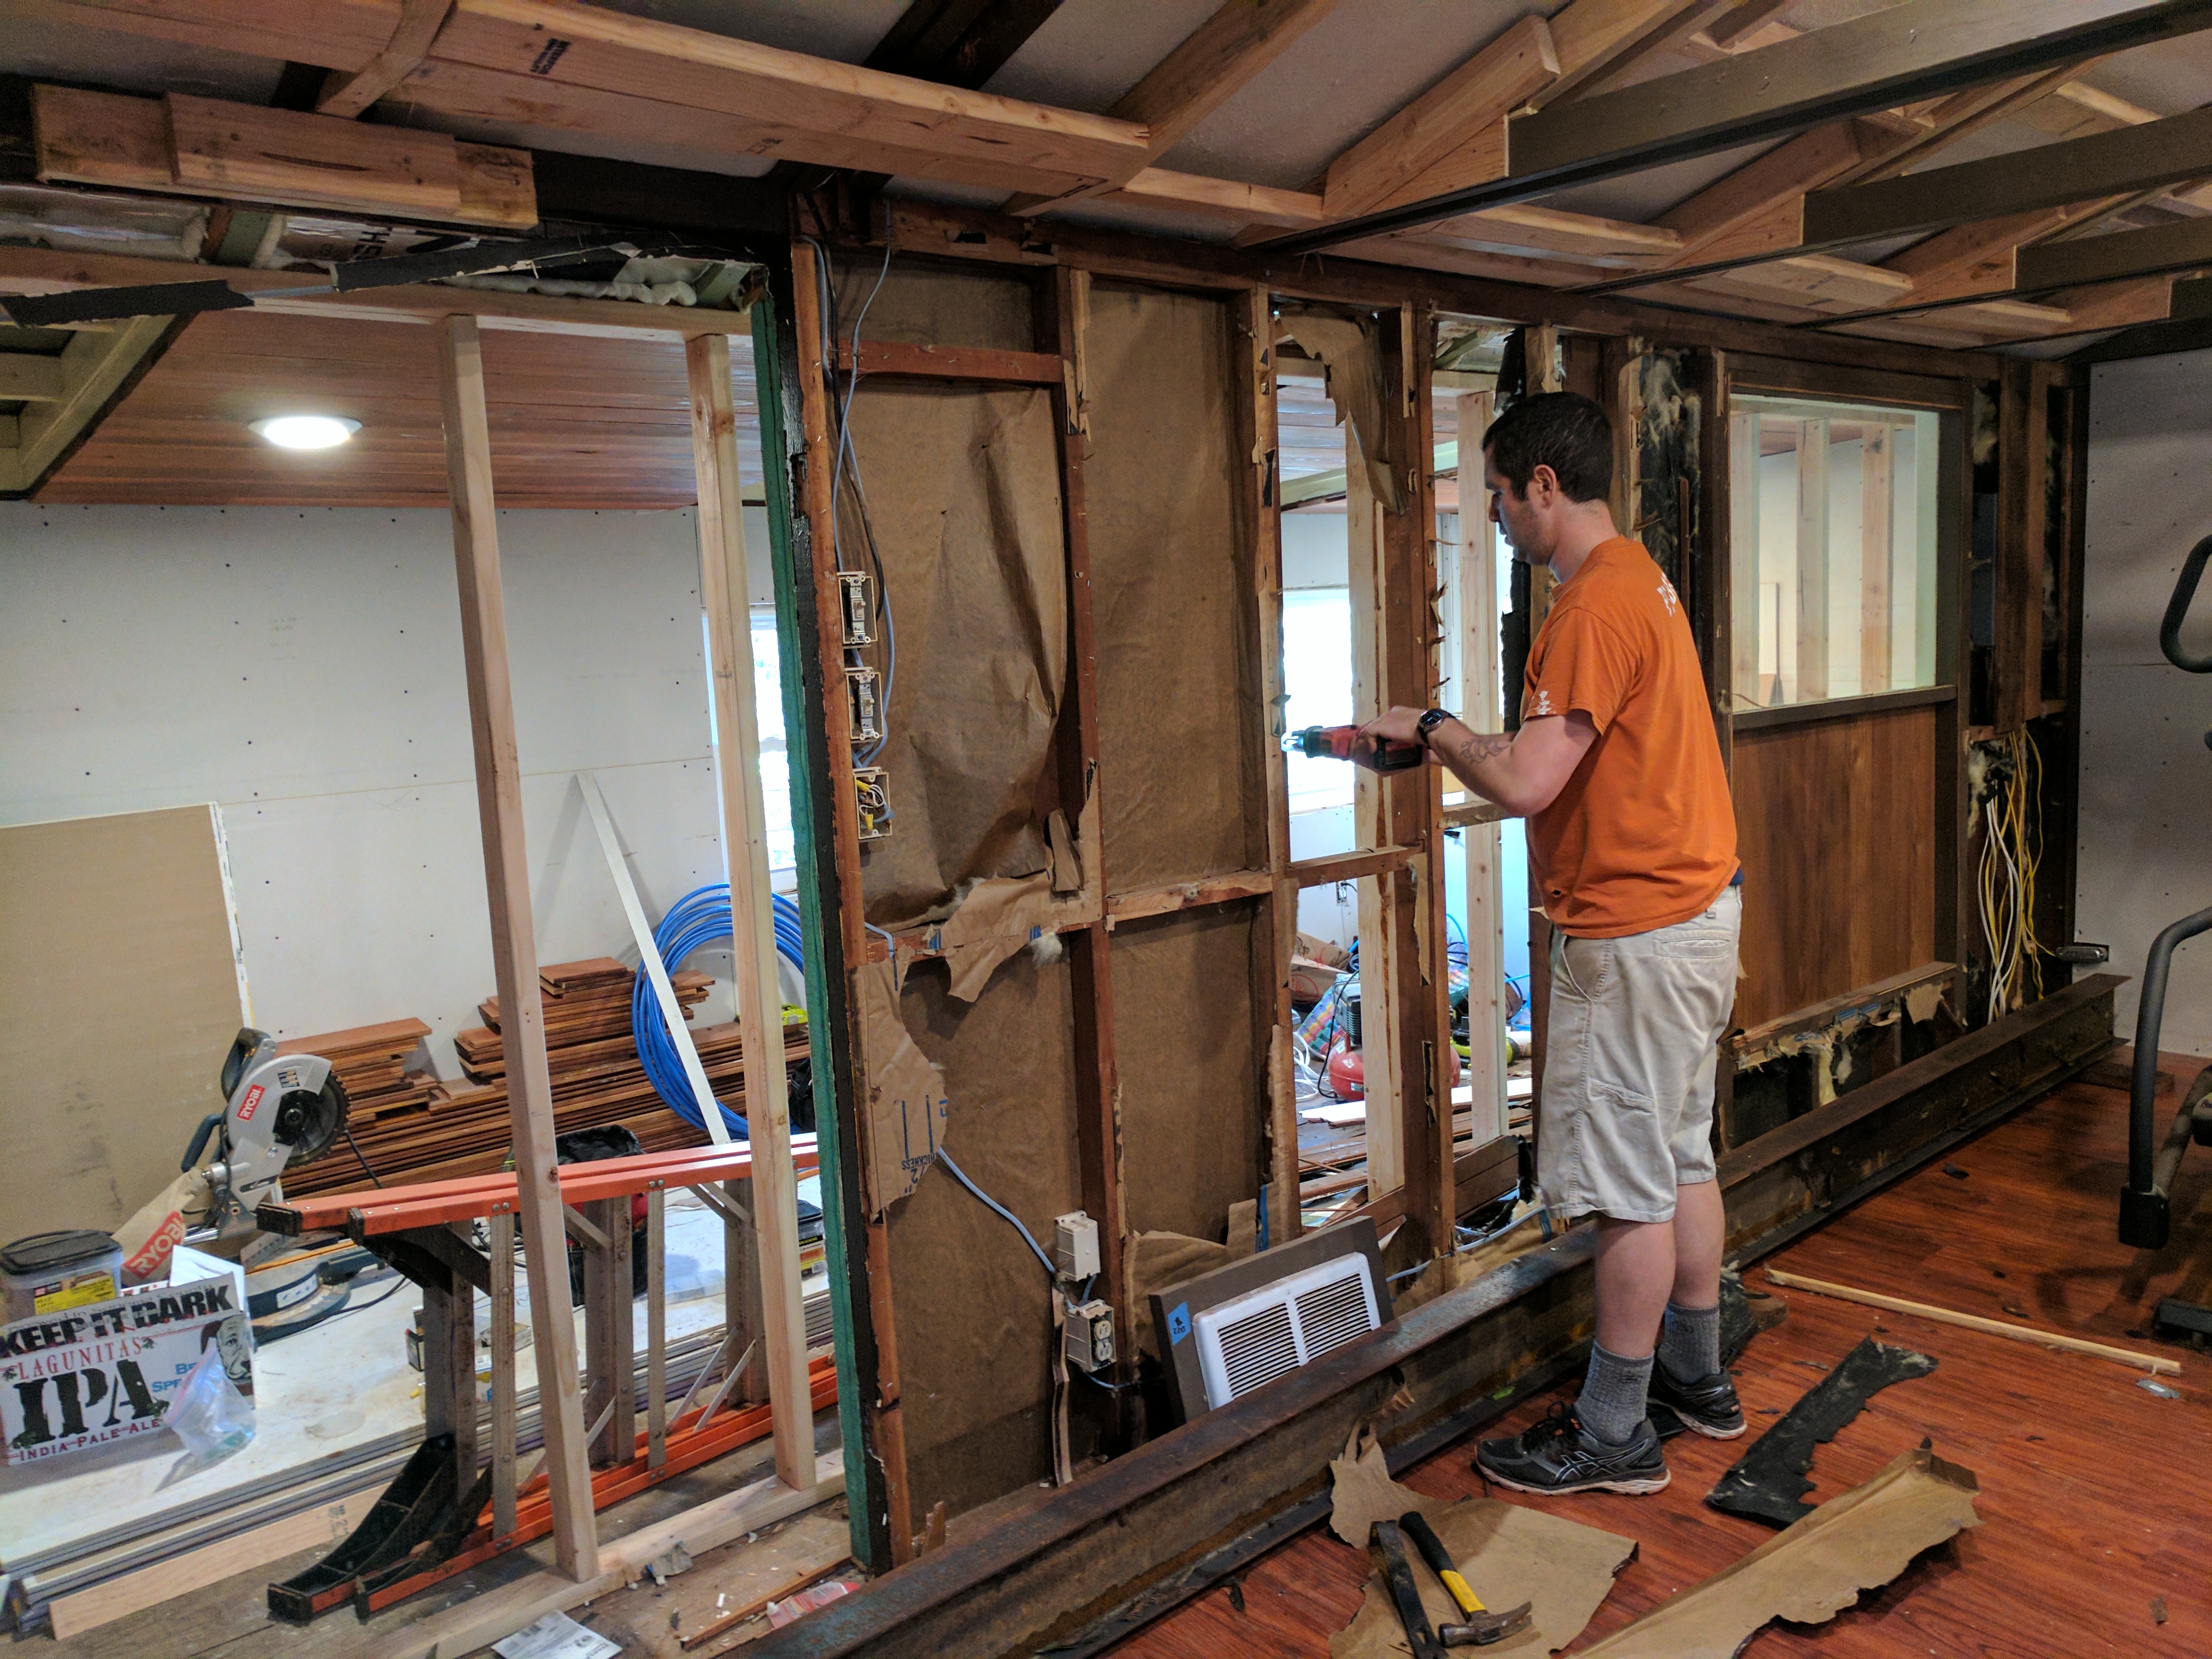
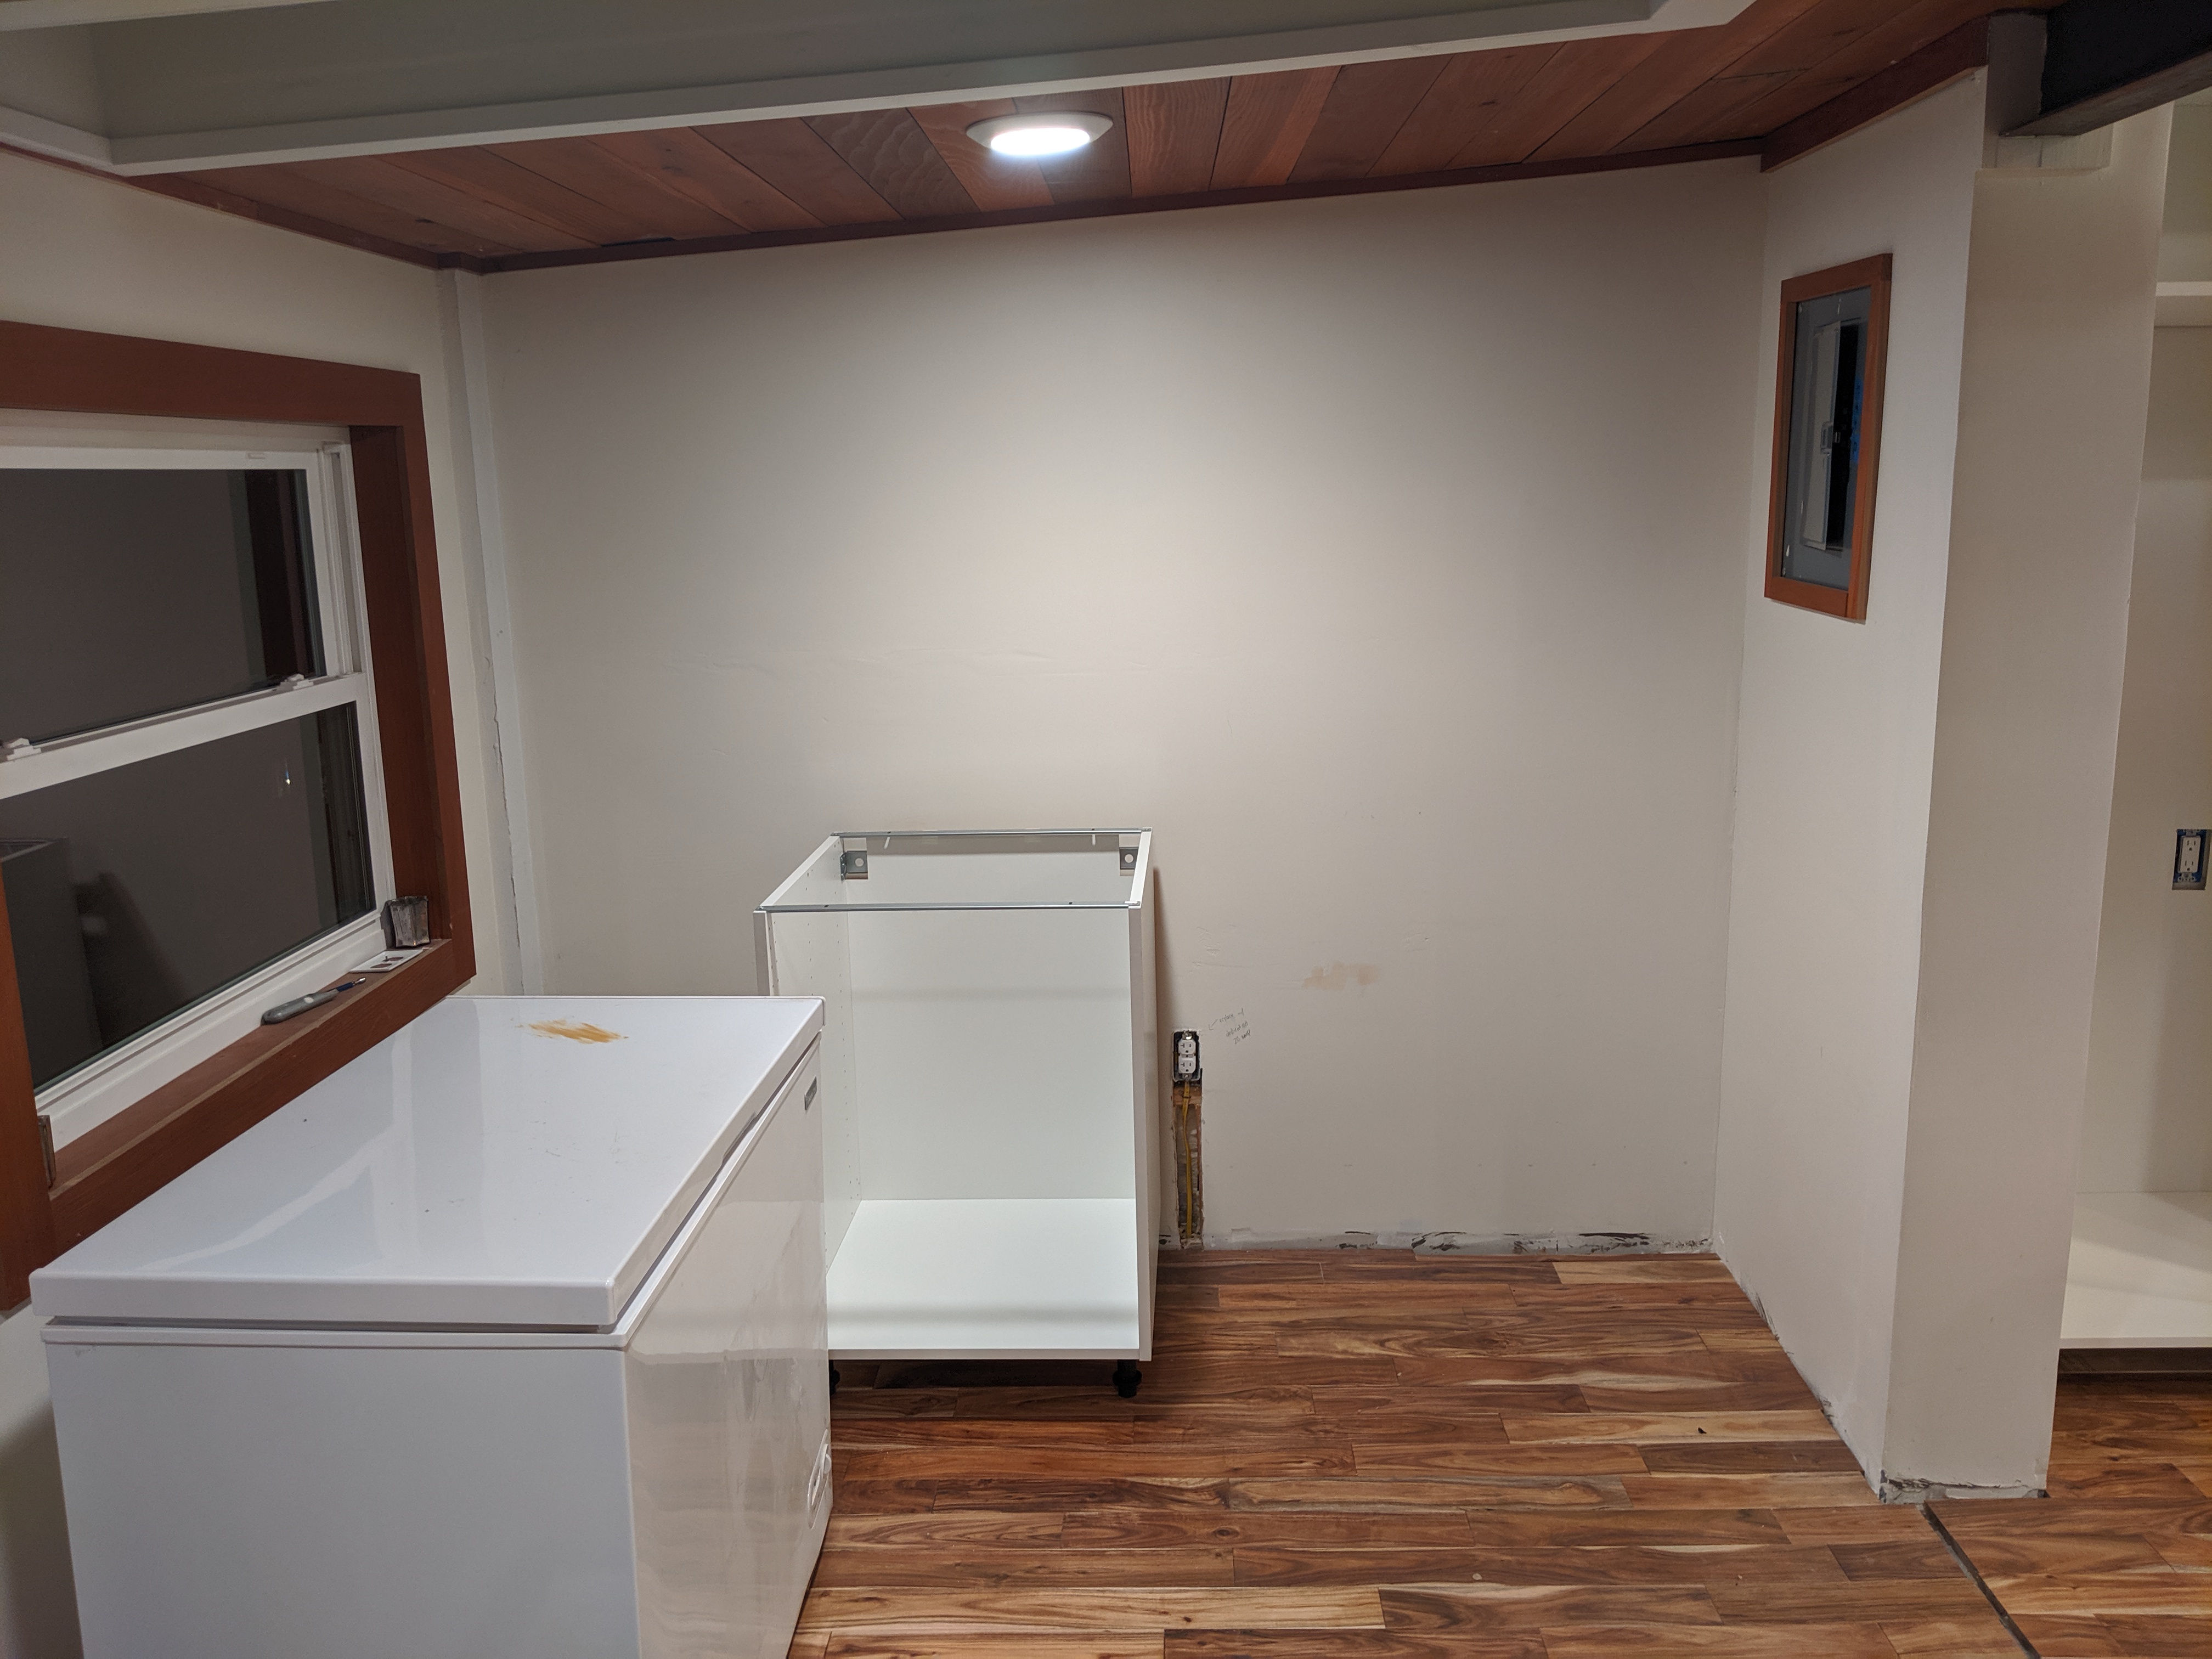
We hired our neighbor, Steve, to get the plumbing, electrical and framing ready for the island and the rest of the kitchen. Normally, this would have been something that we tackled ourselves, but it was the beginning of the school year and we simply didn’t have the time to do it before the installers came with the cabinets. Steve did a great job getting everything ready!
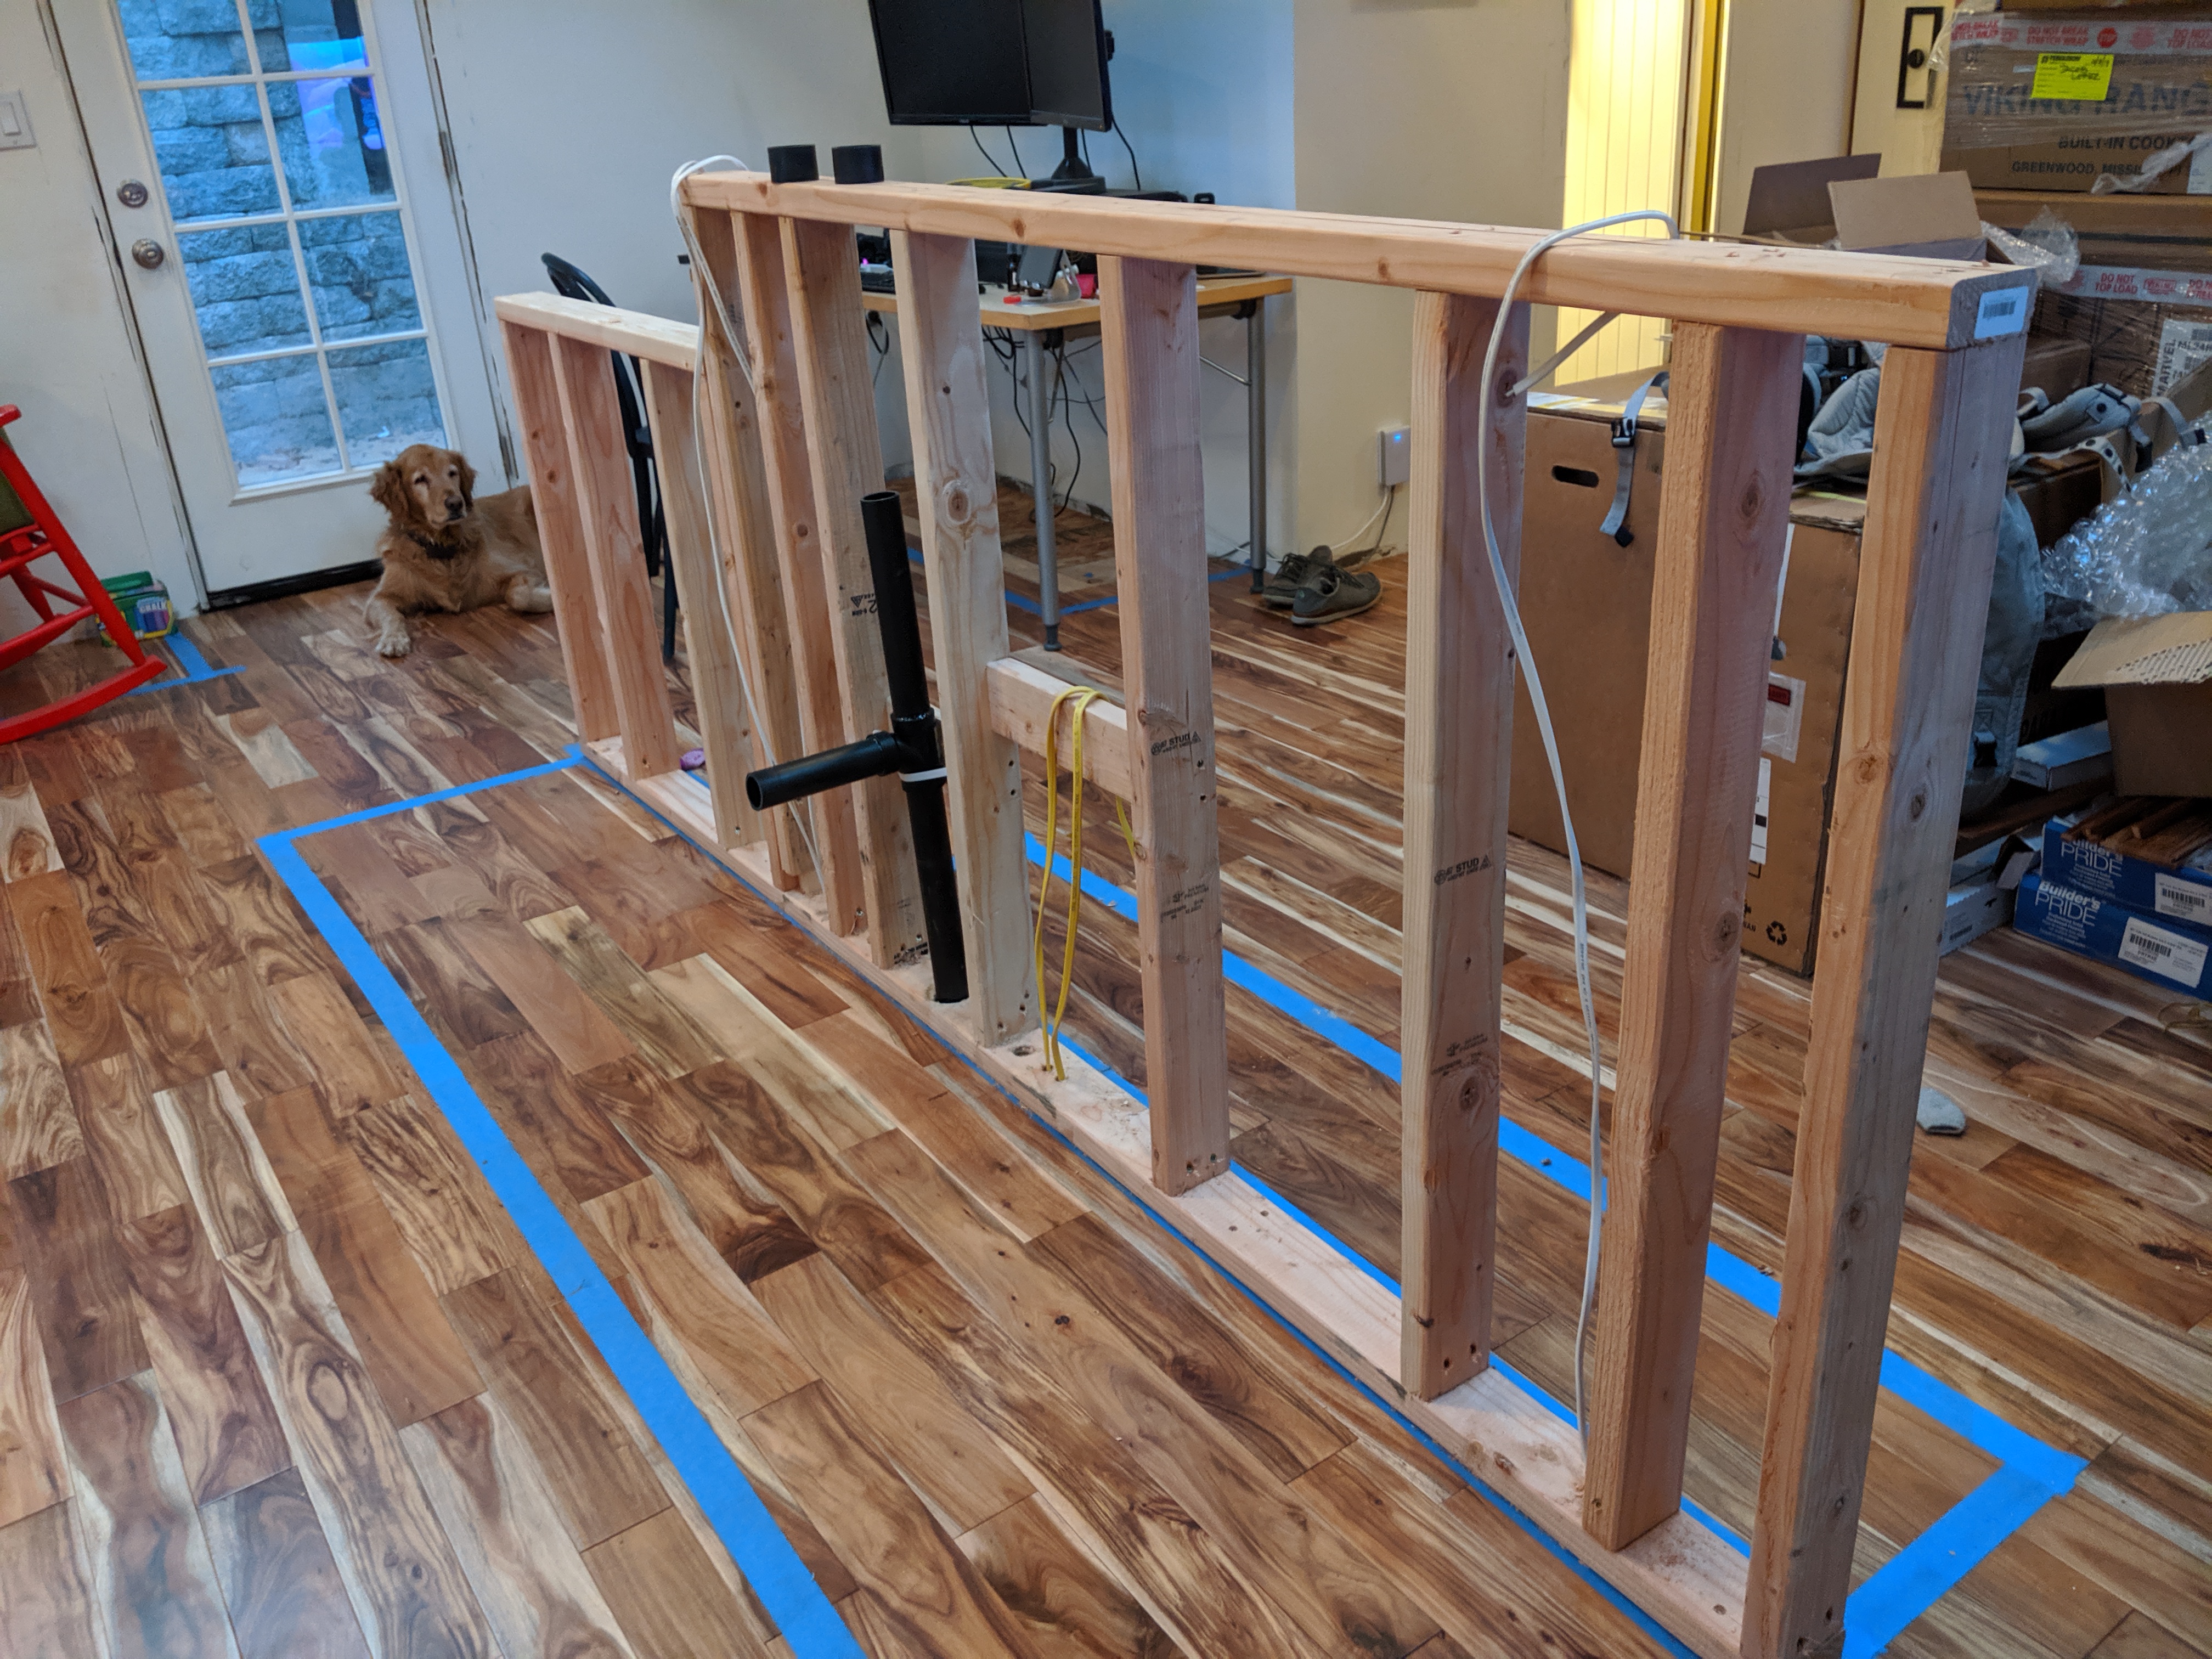
beginnings of the island
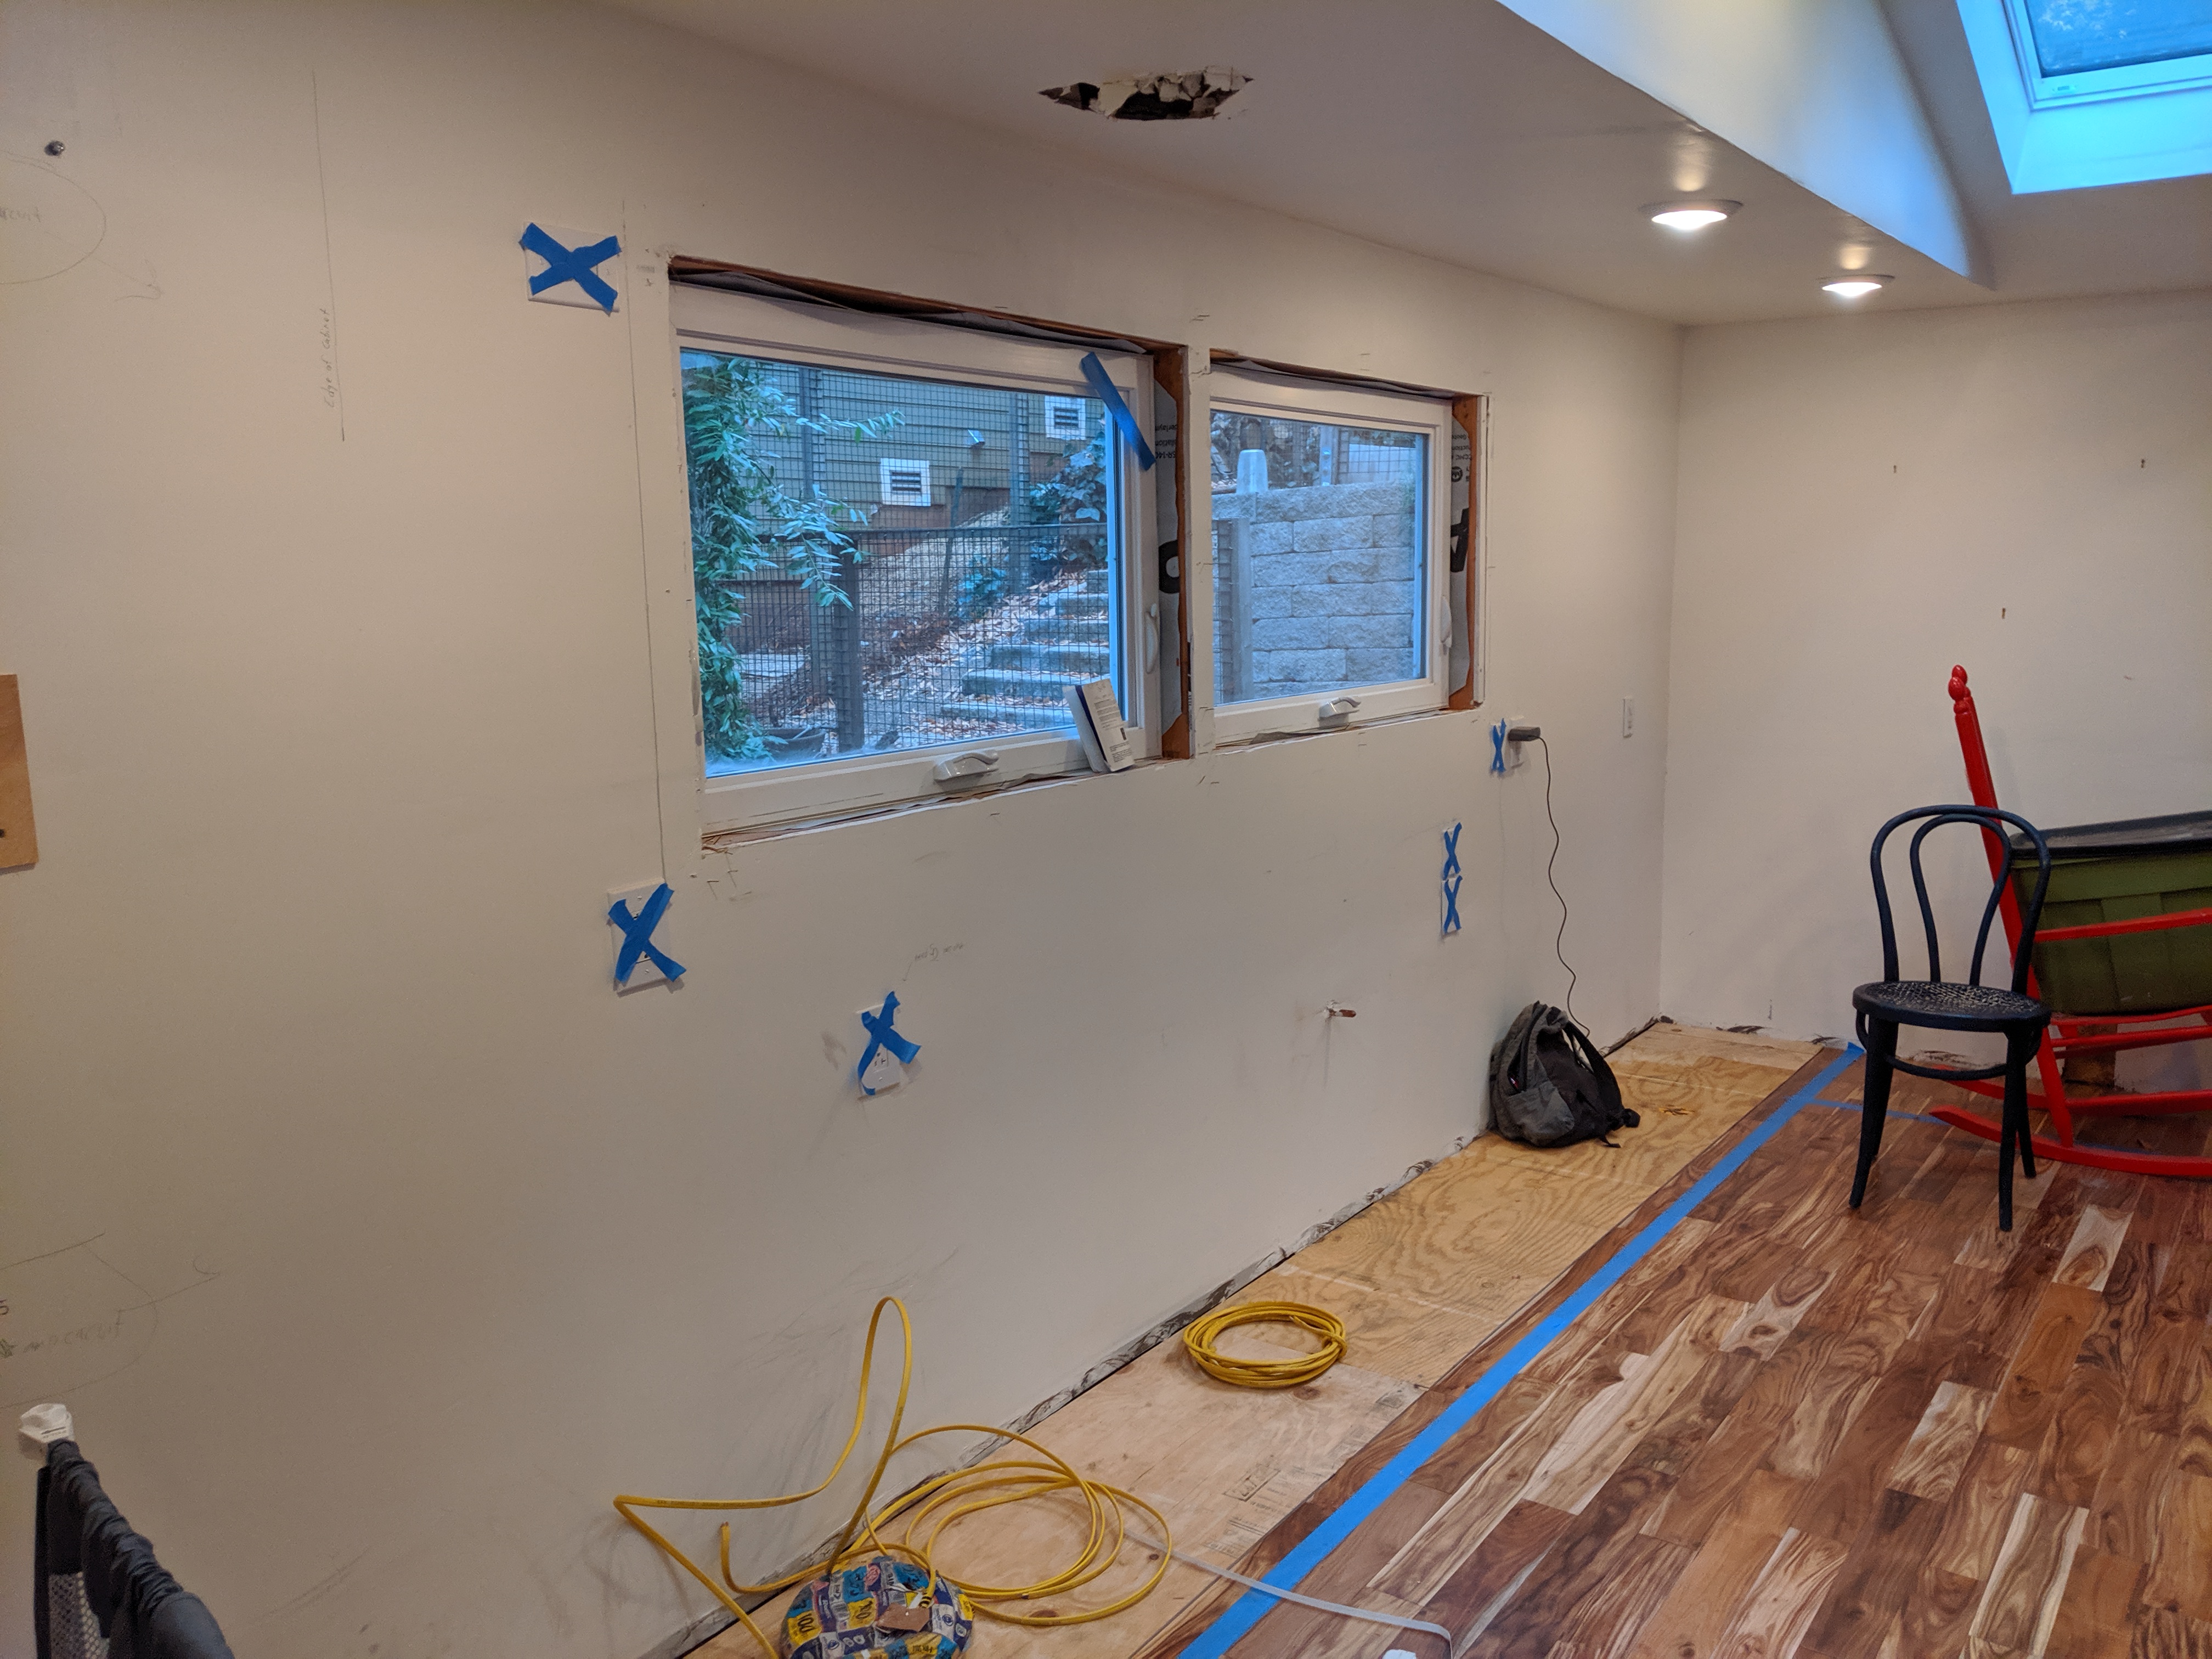
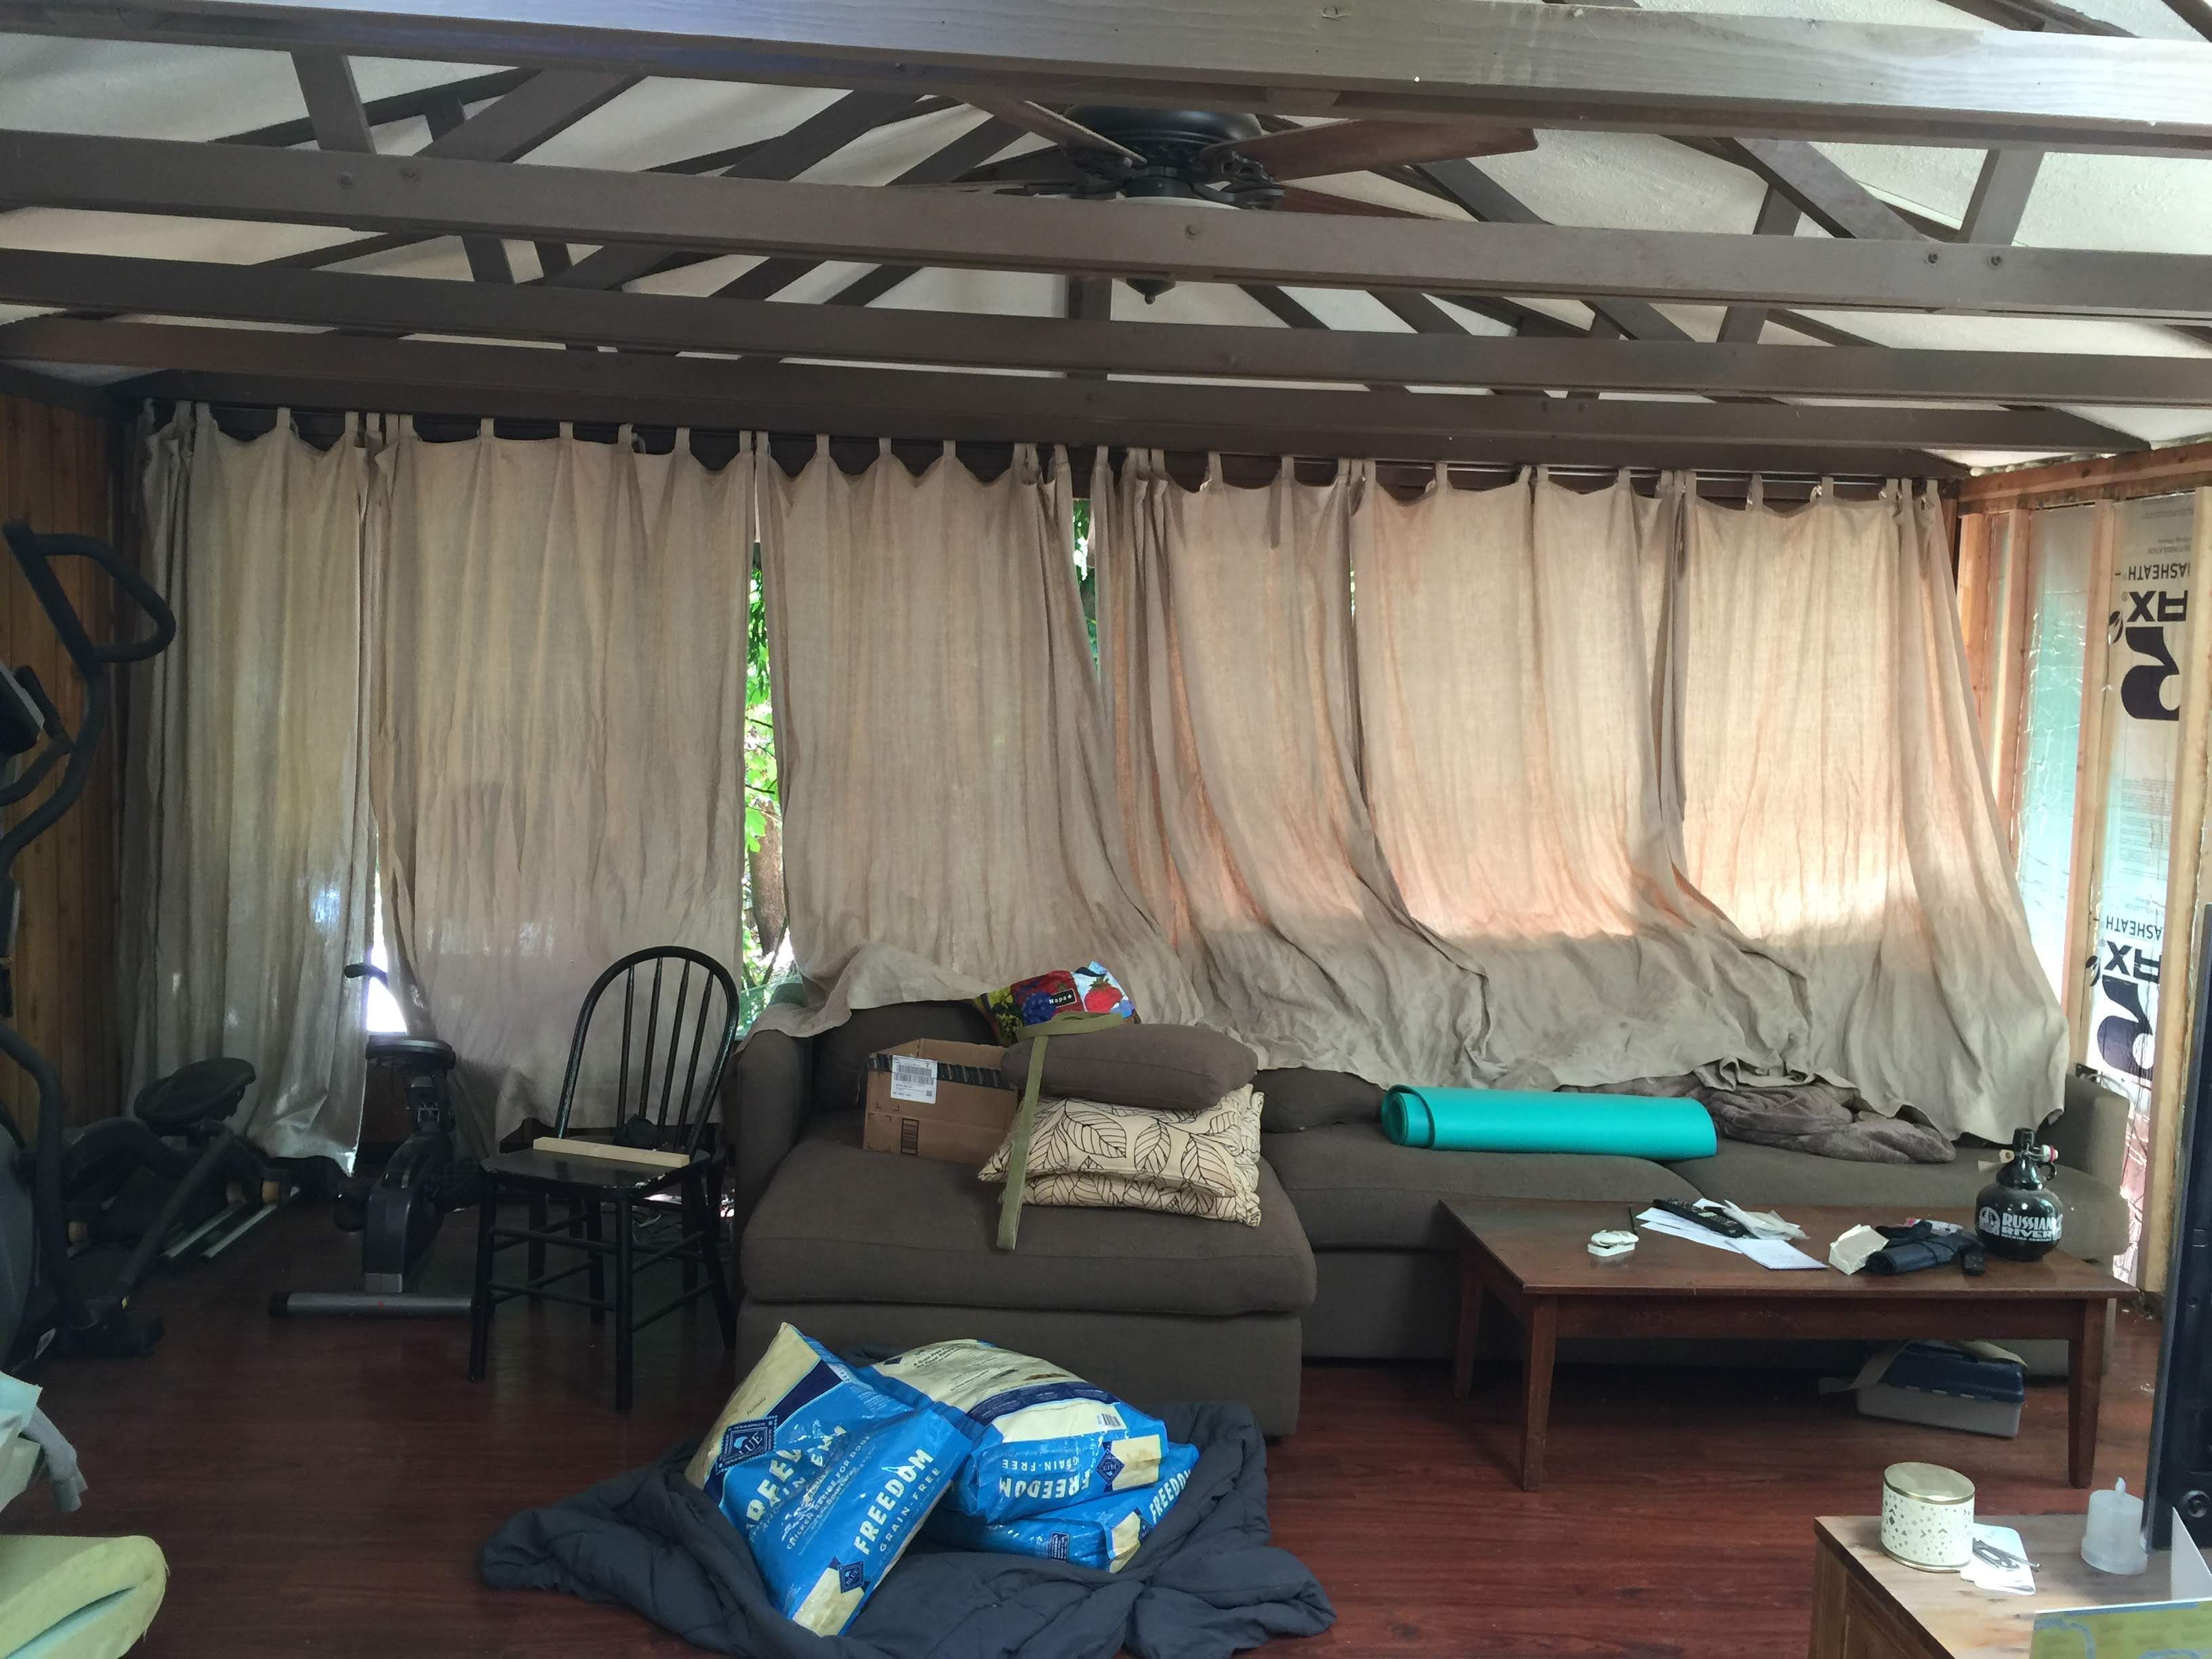
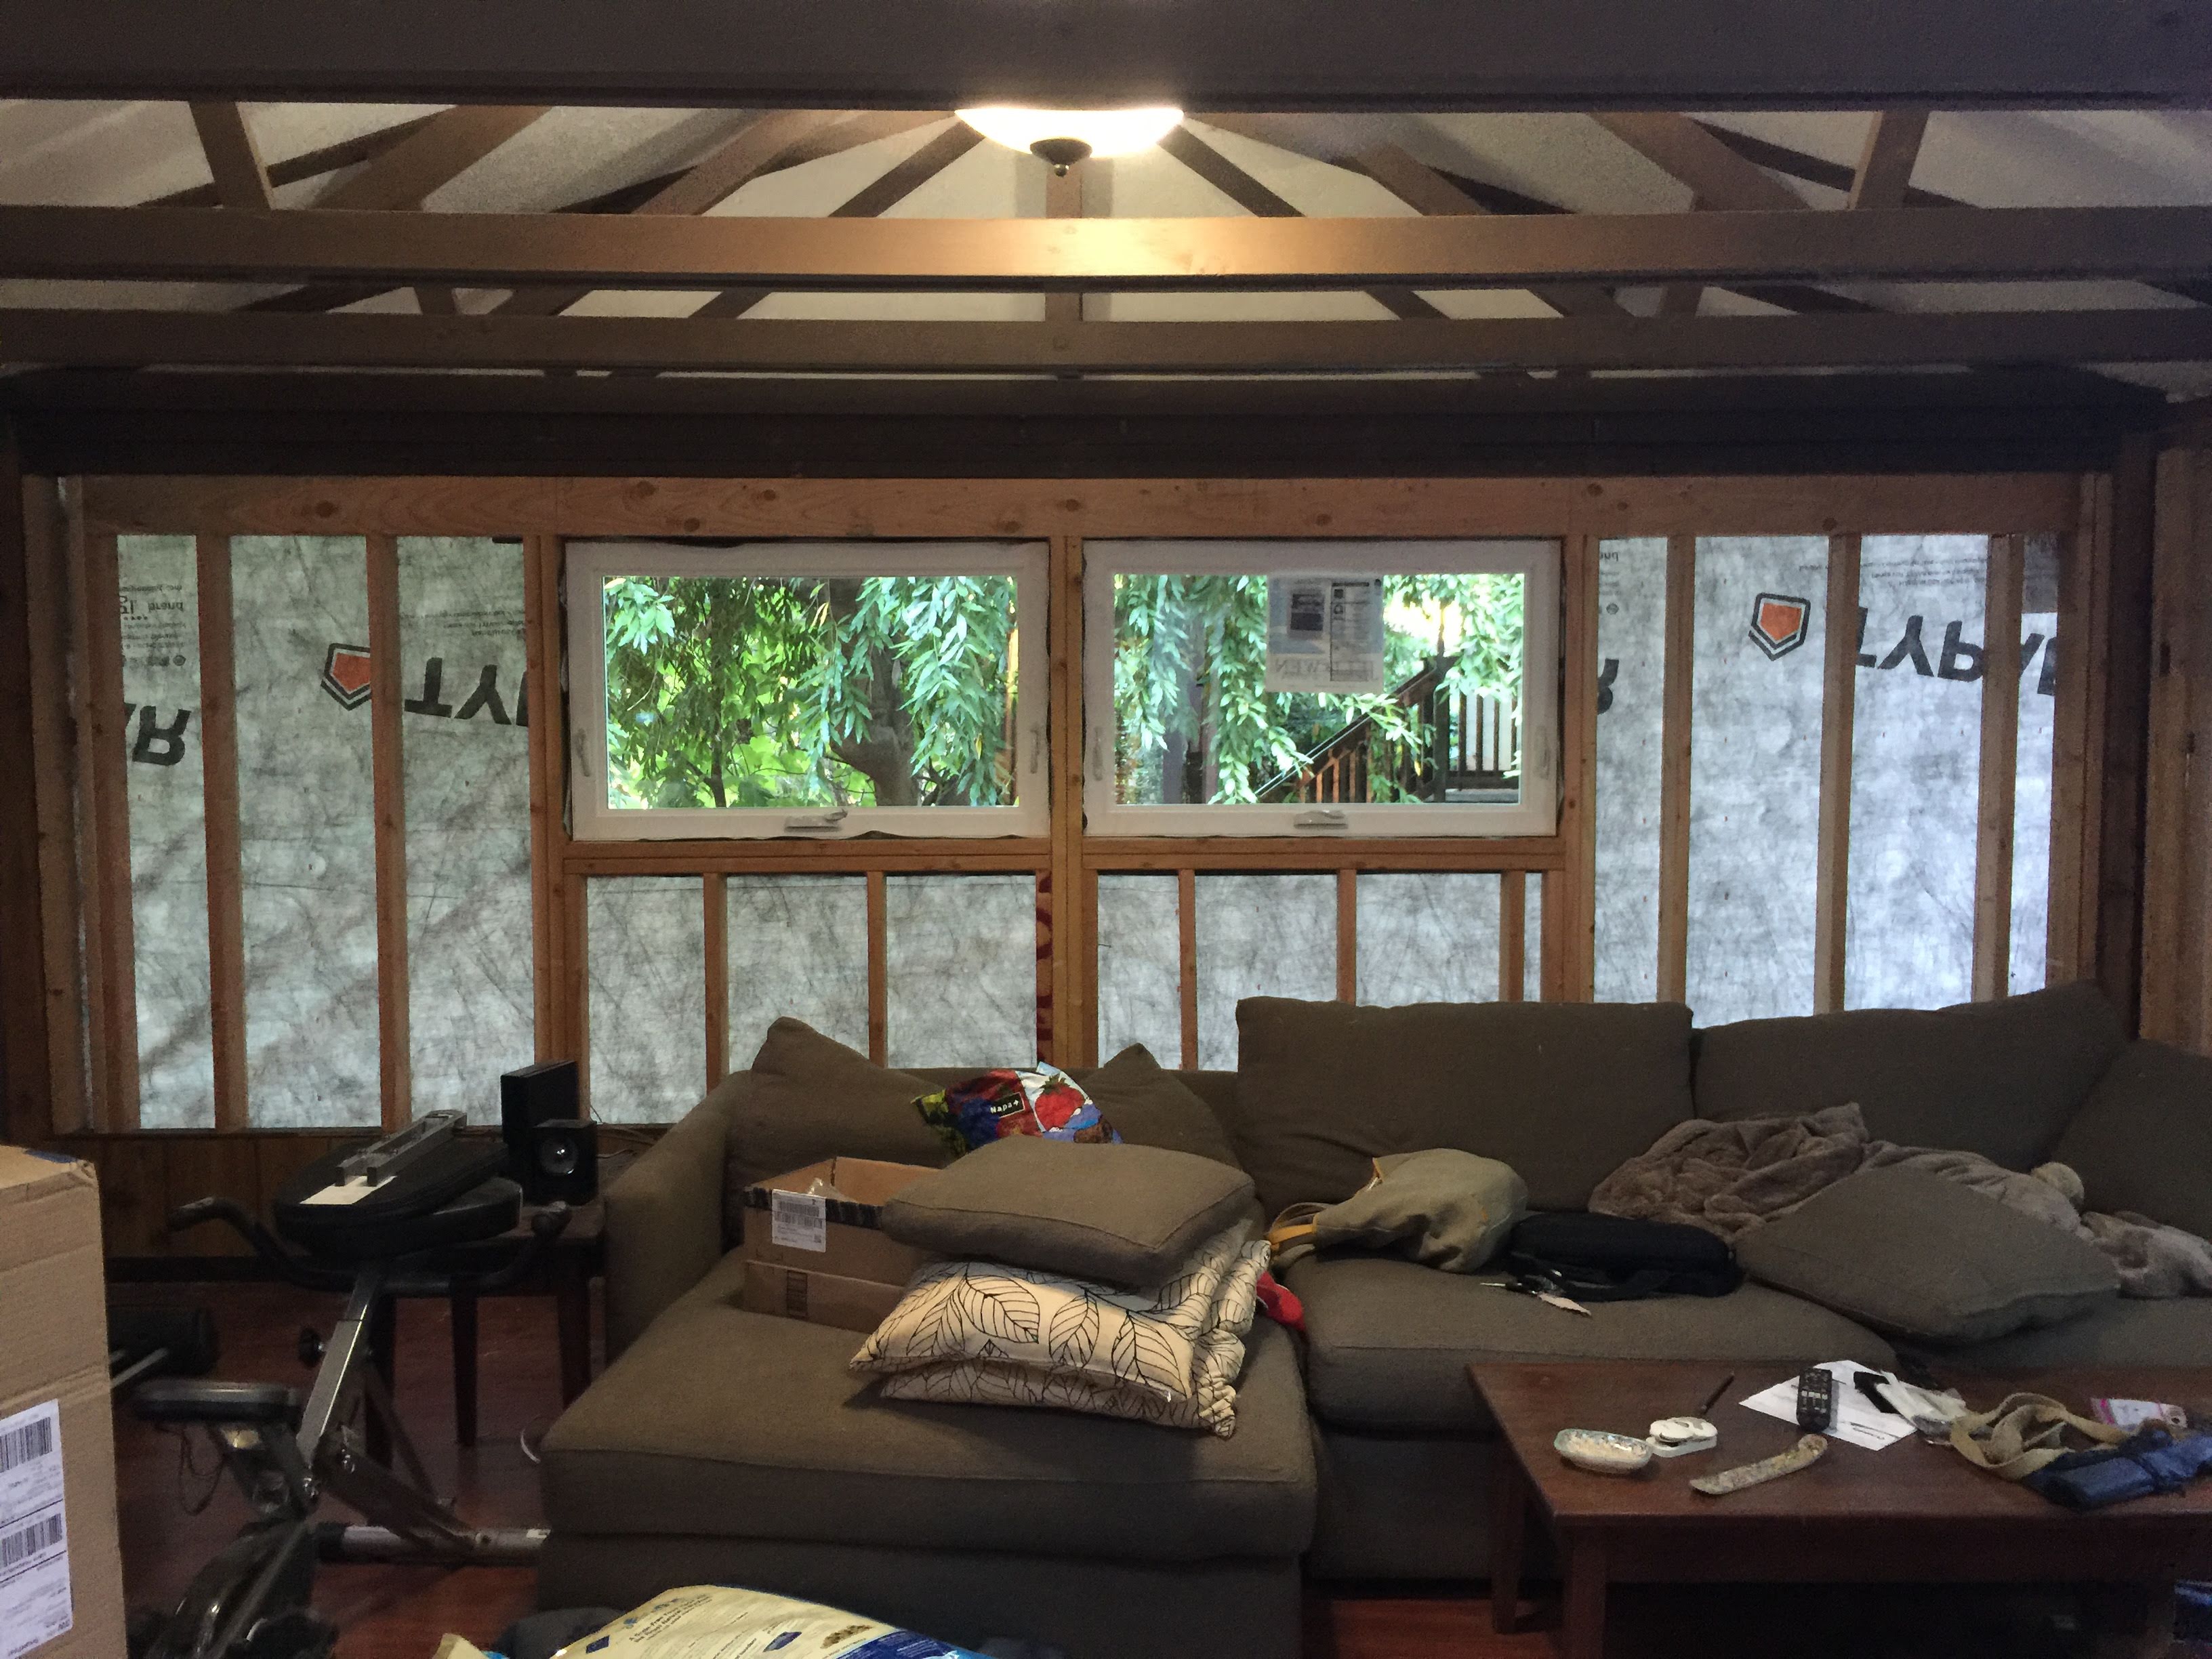
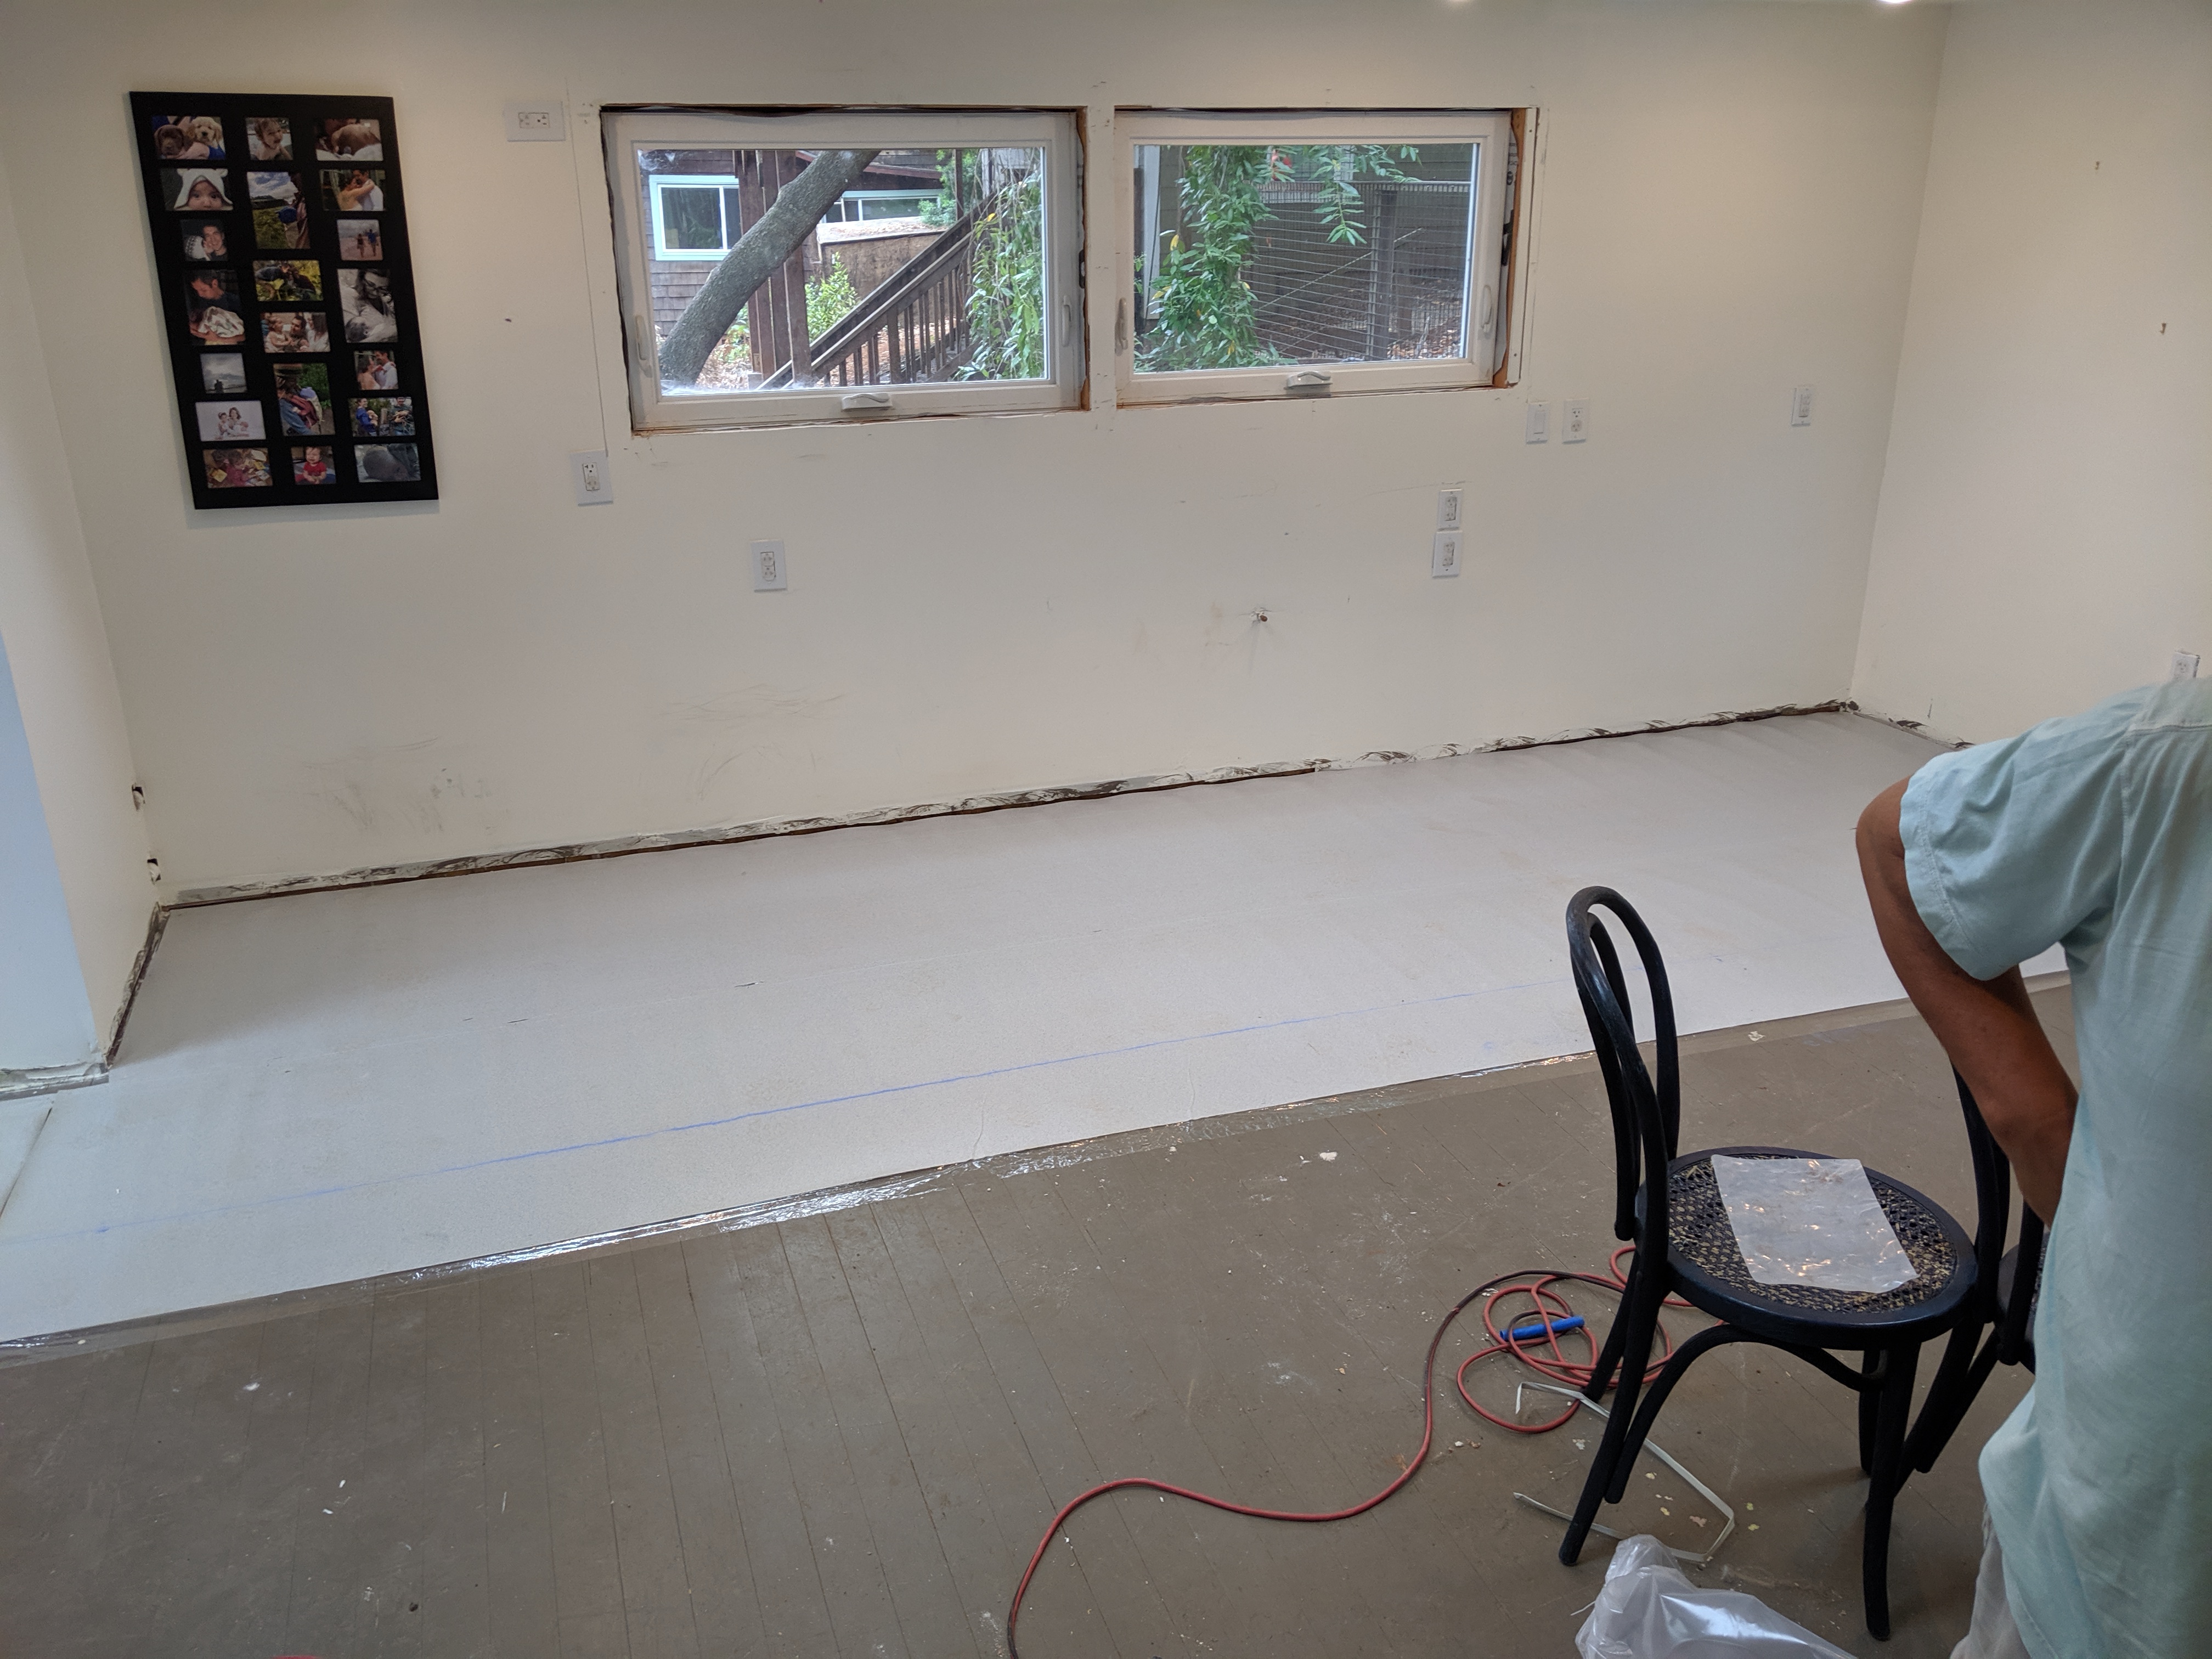
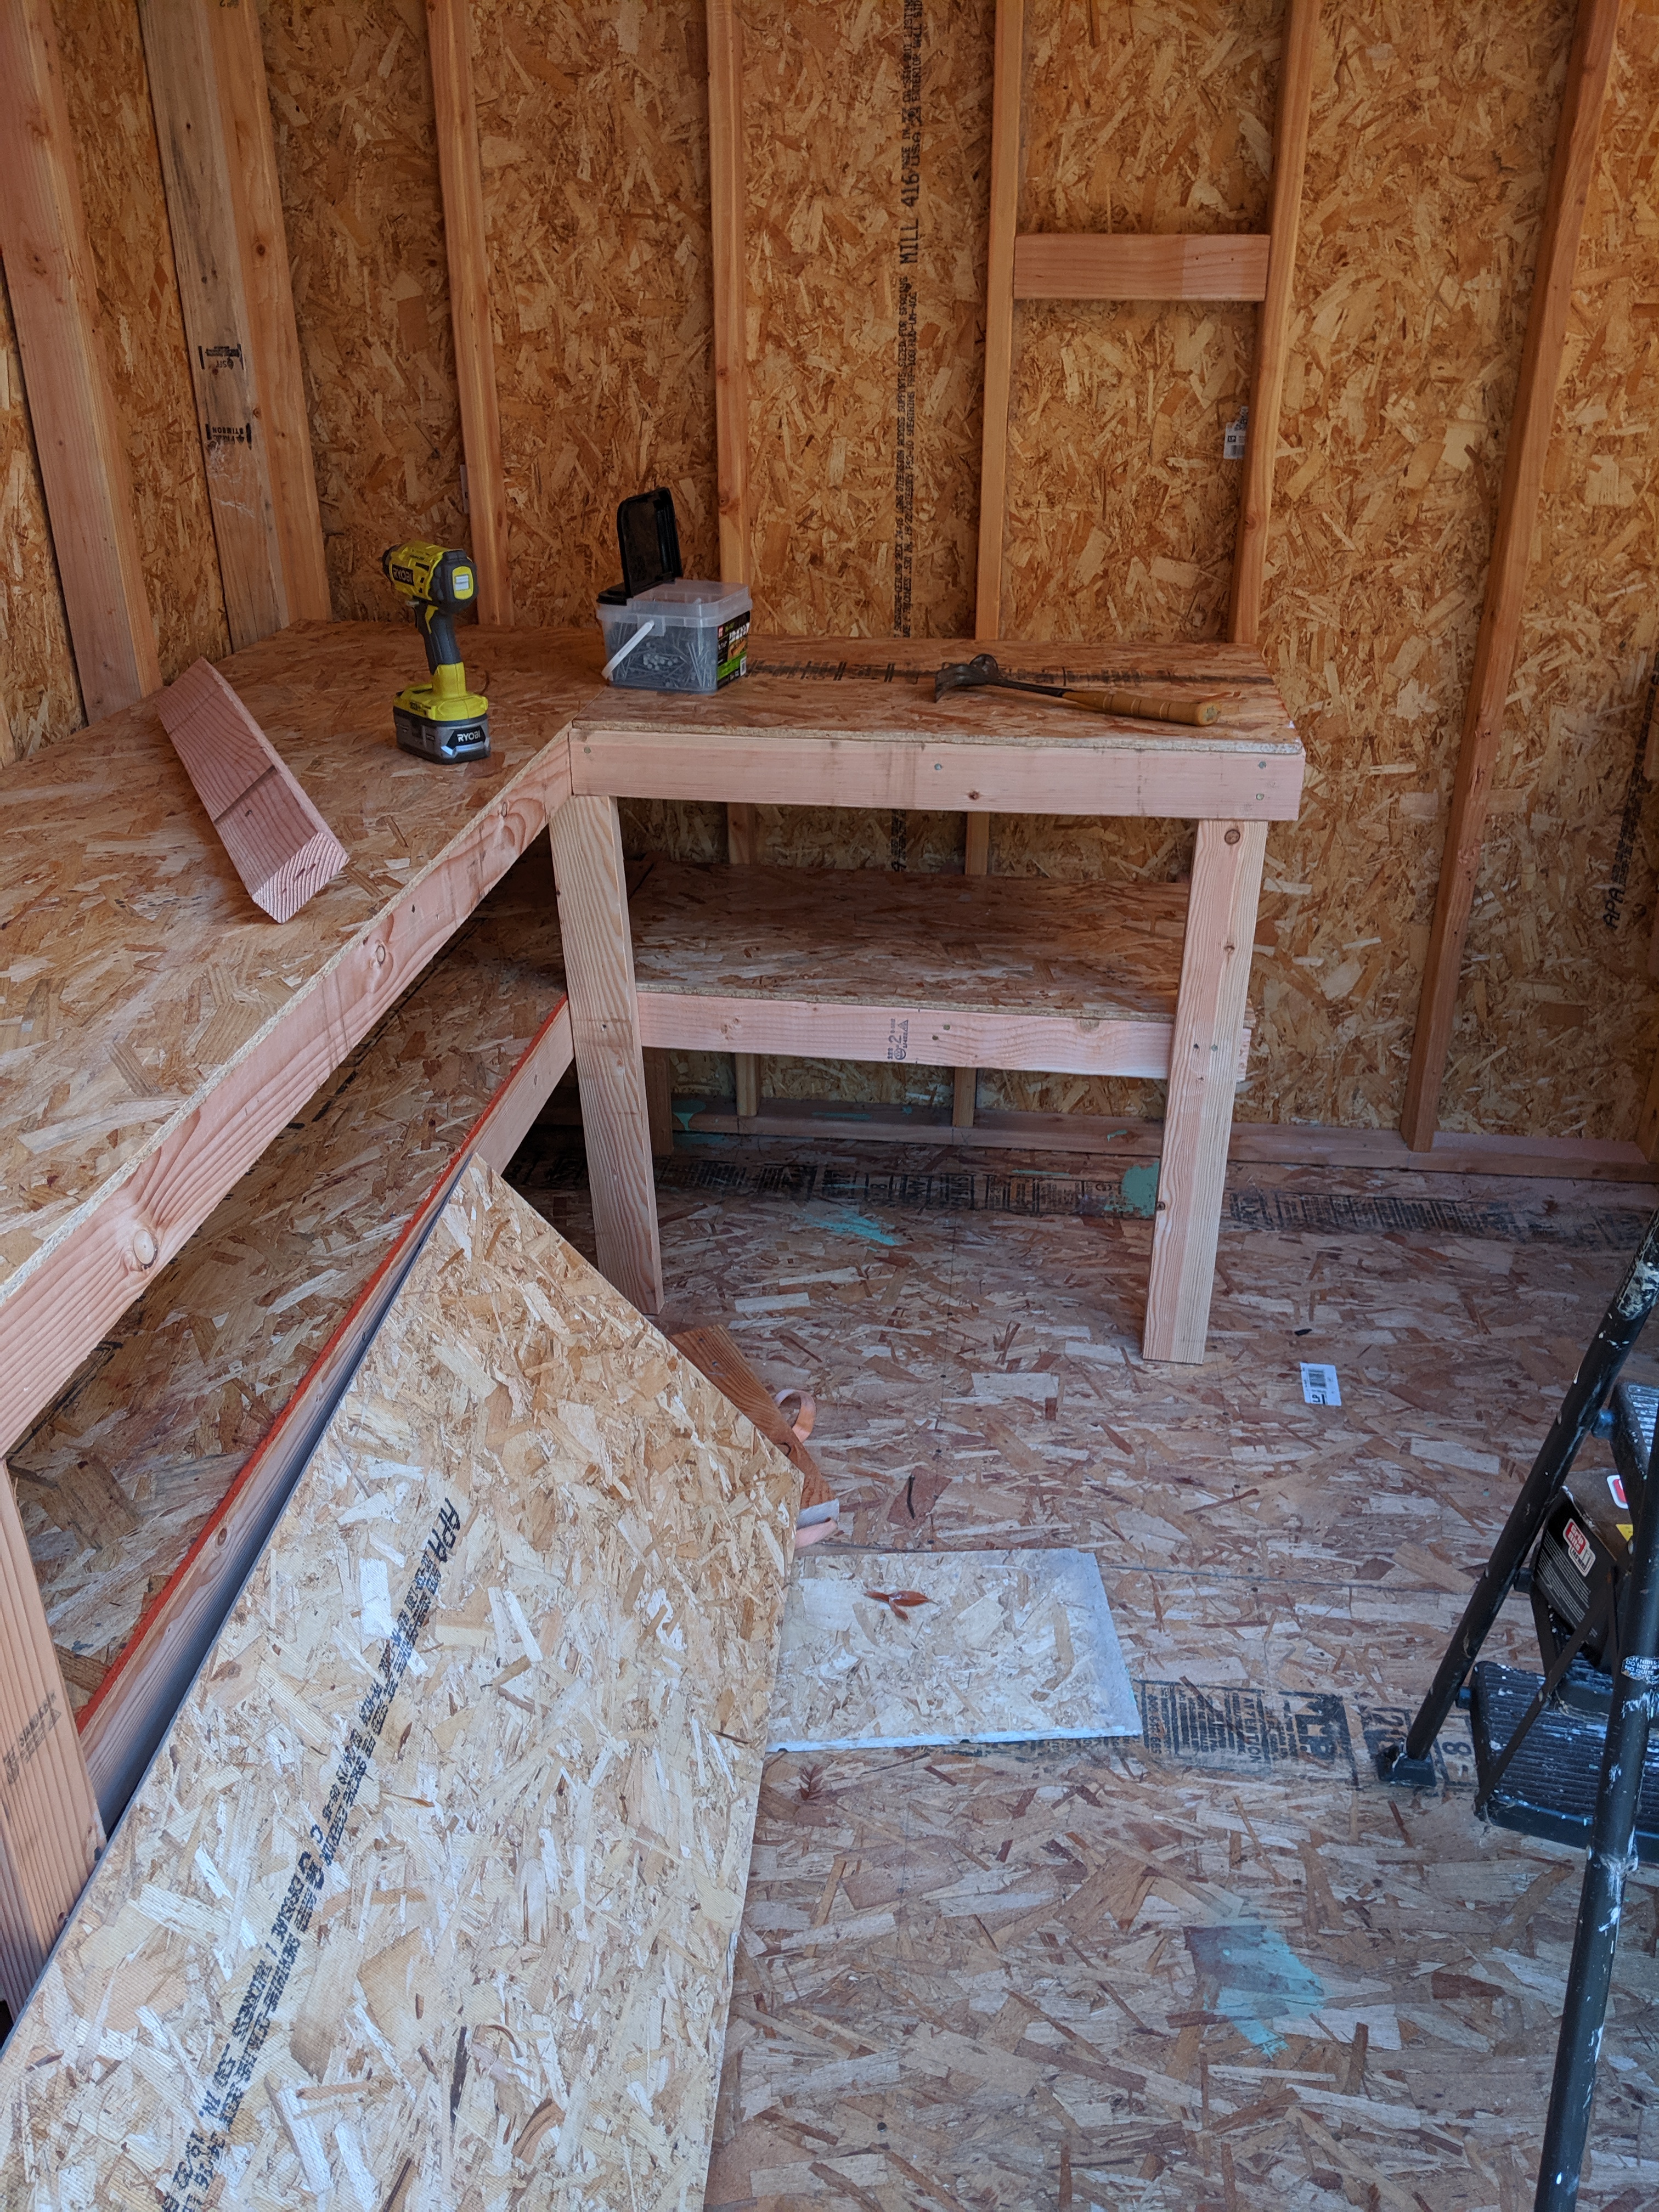
ready for cabinets
When the cabinet guys showed up Jacob honestly thought we were being pranked. These two guys came in a tiny car, hardly the vehicle for someone in the construction/installation biz. But somehow these guys had fit not only themselves, but a portable table saw, air compressor and air guns, as well as a variety of other tools! They got to work right away and we were impressed with their craftsmanship (especially with the custom cuts they had to make to fit everything into our nonstandard space).
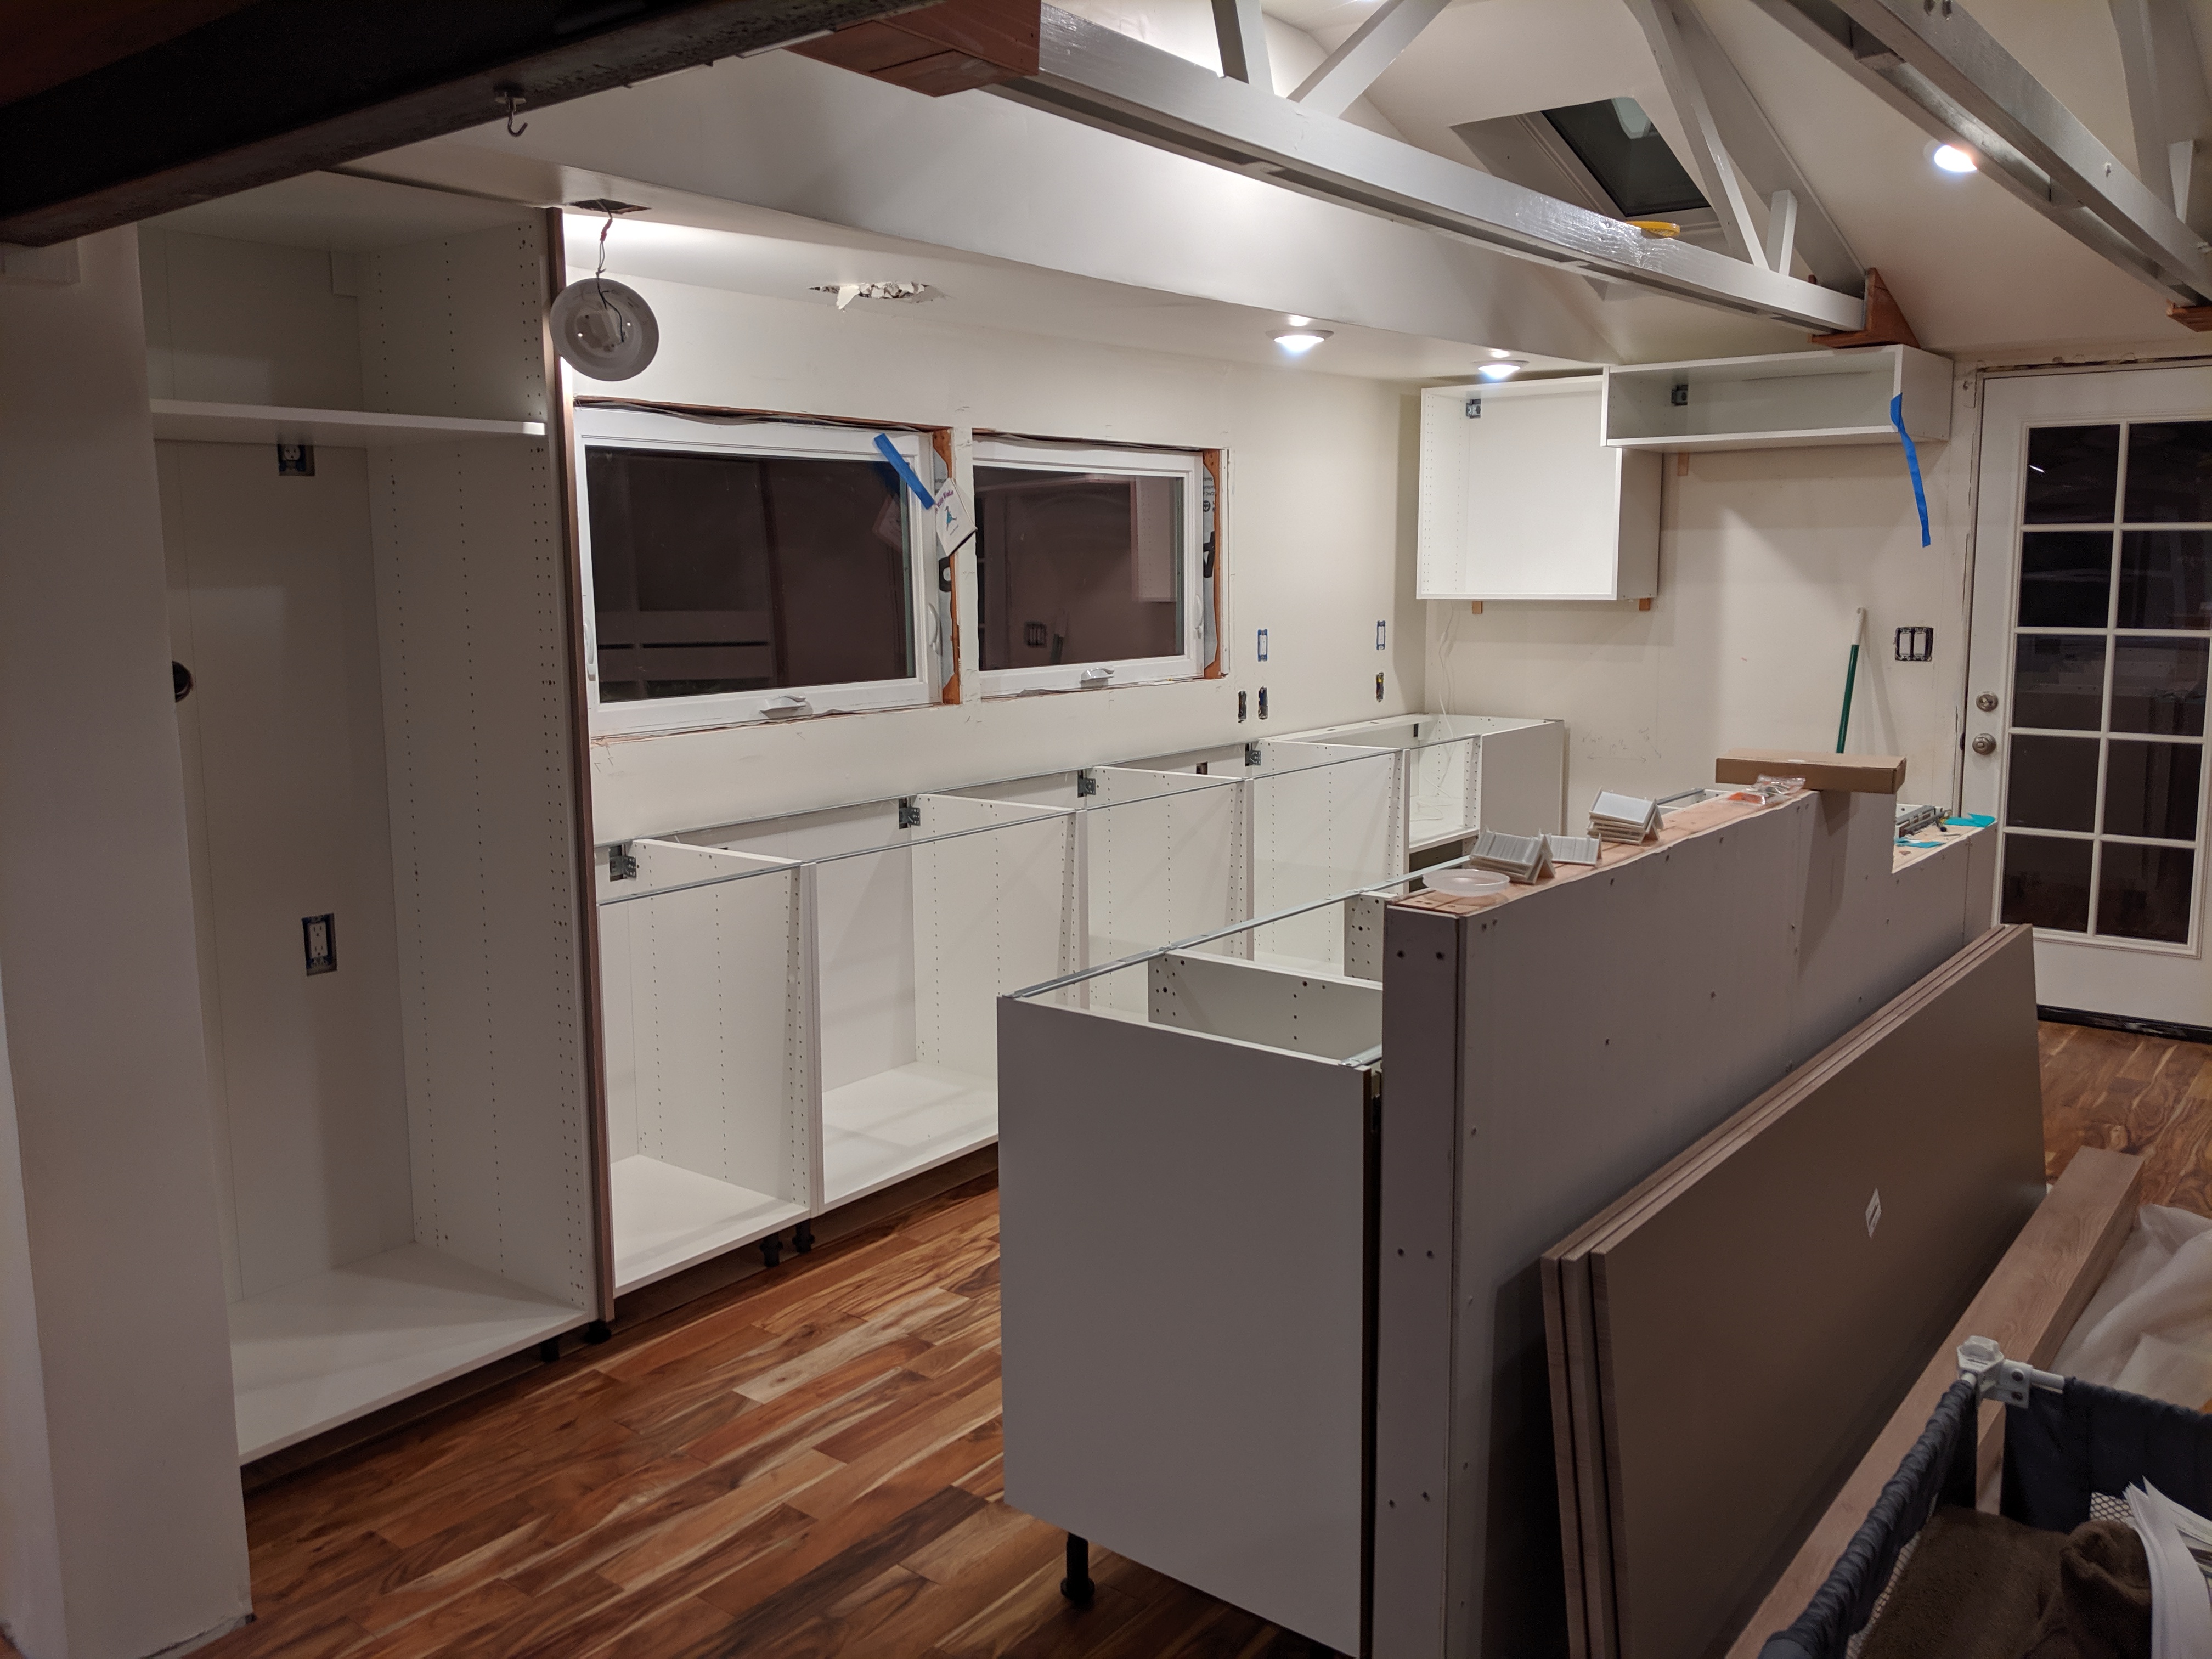
cabinets in
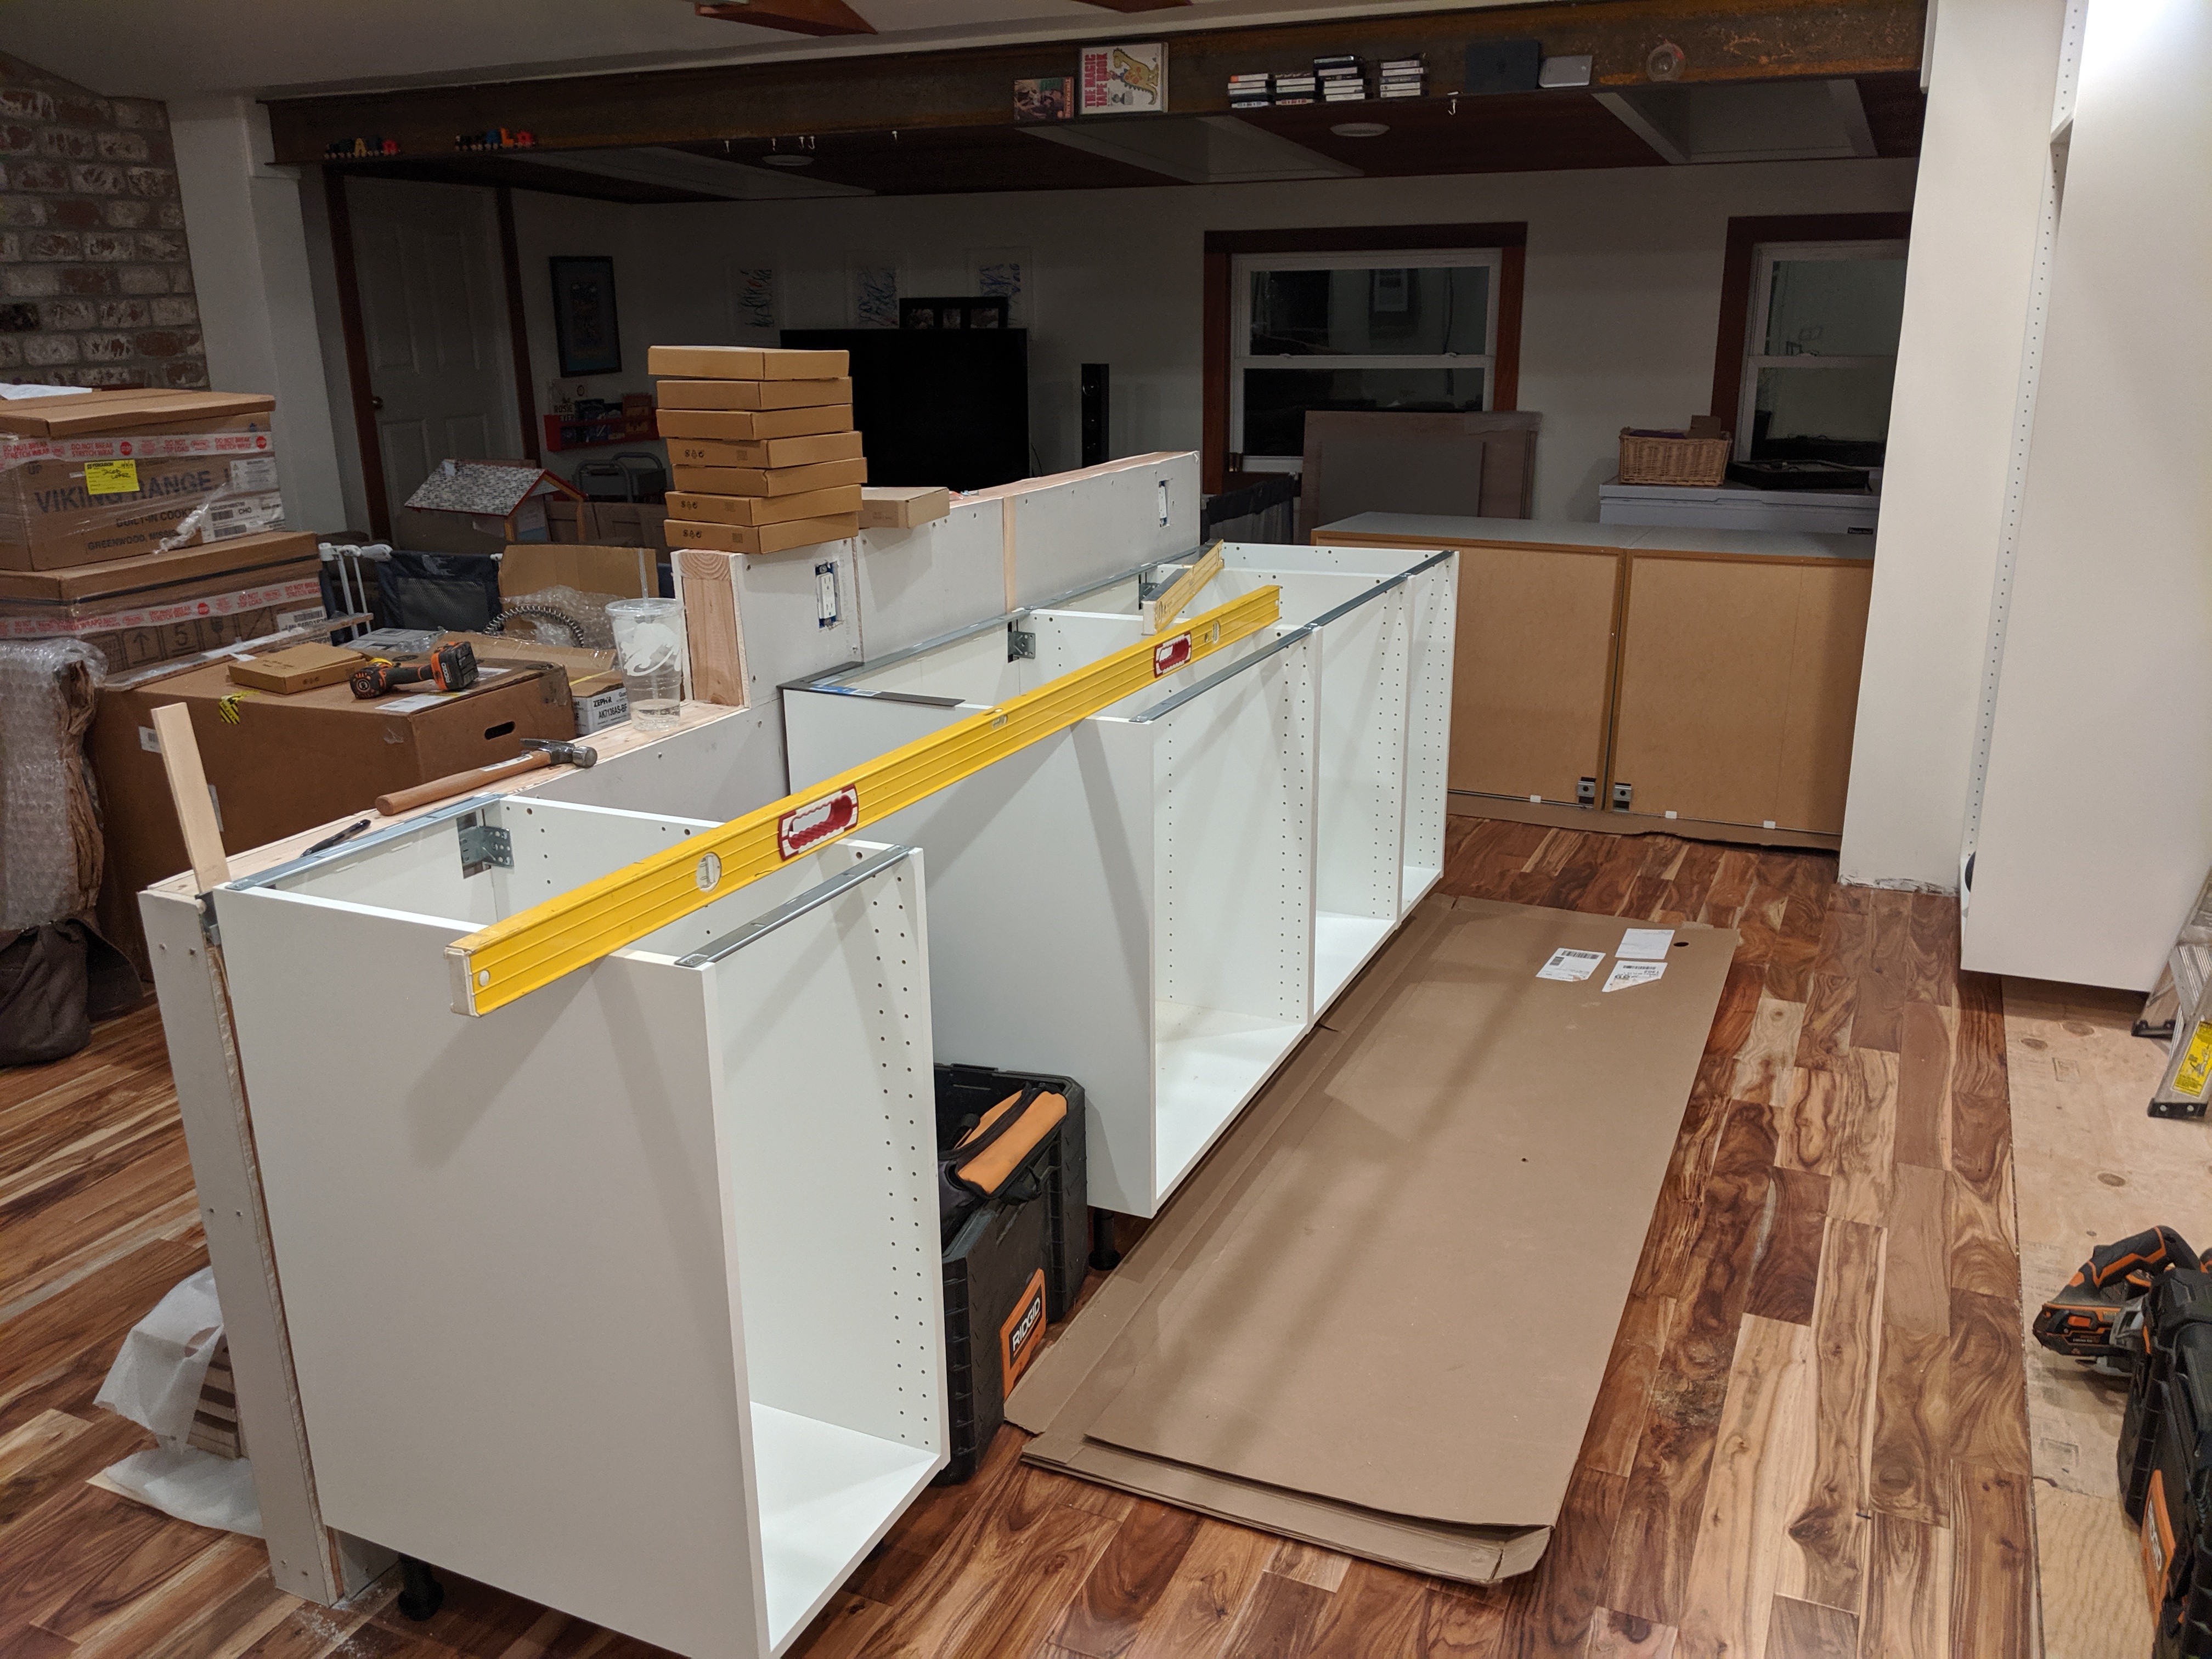
island cabinets
start of the bar area
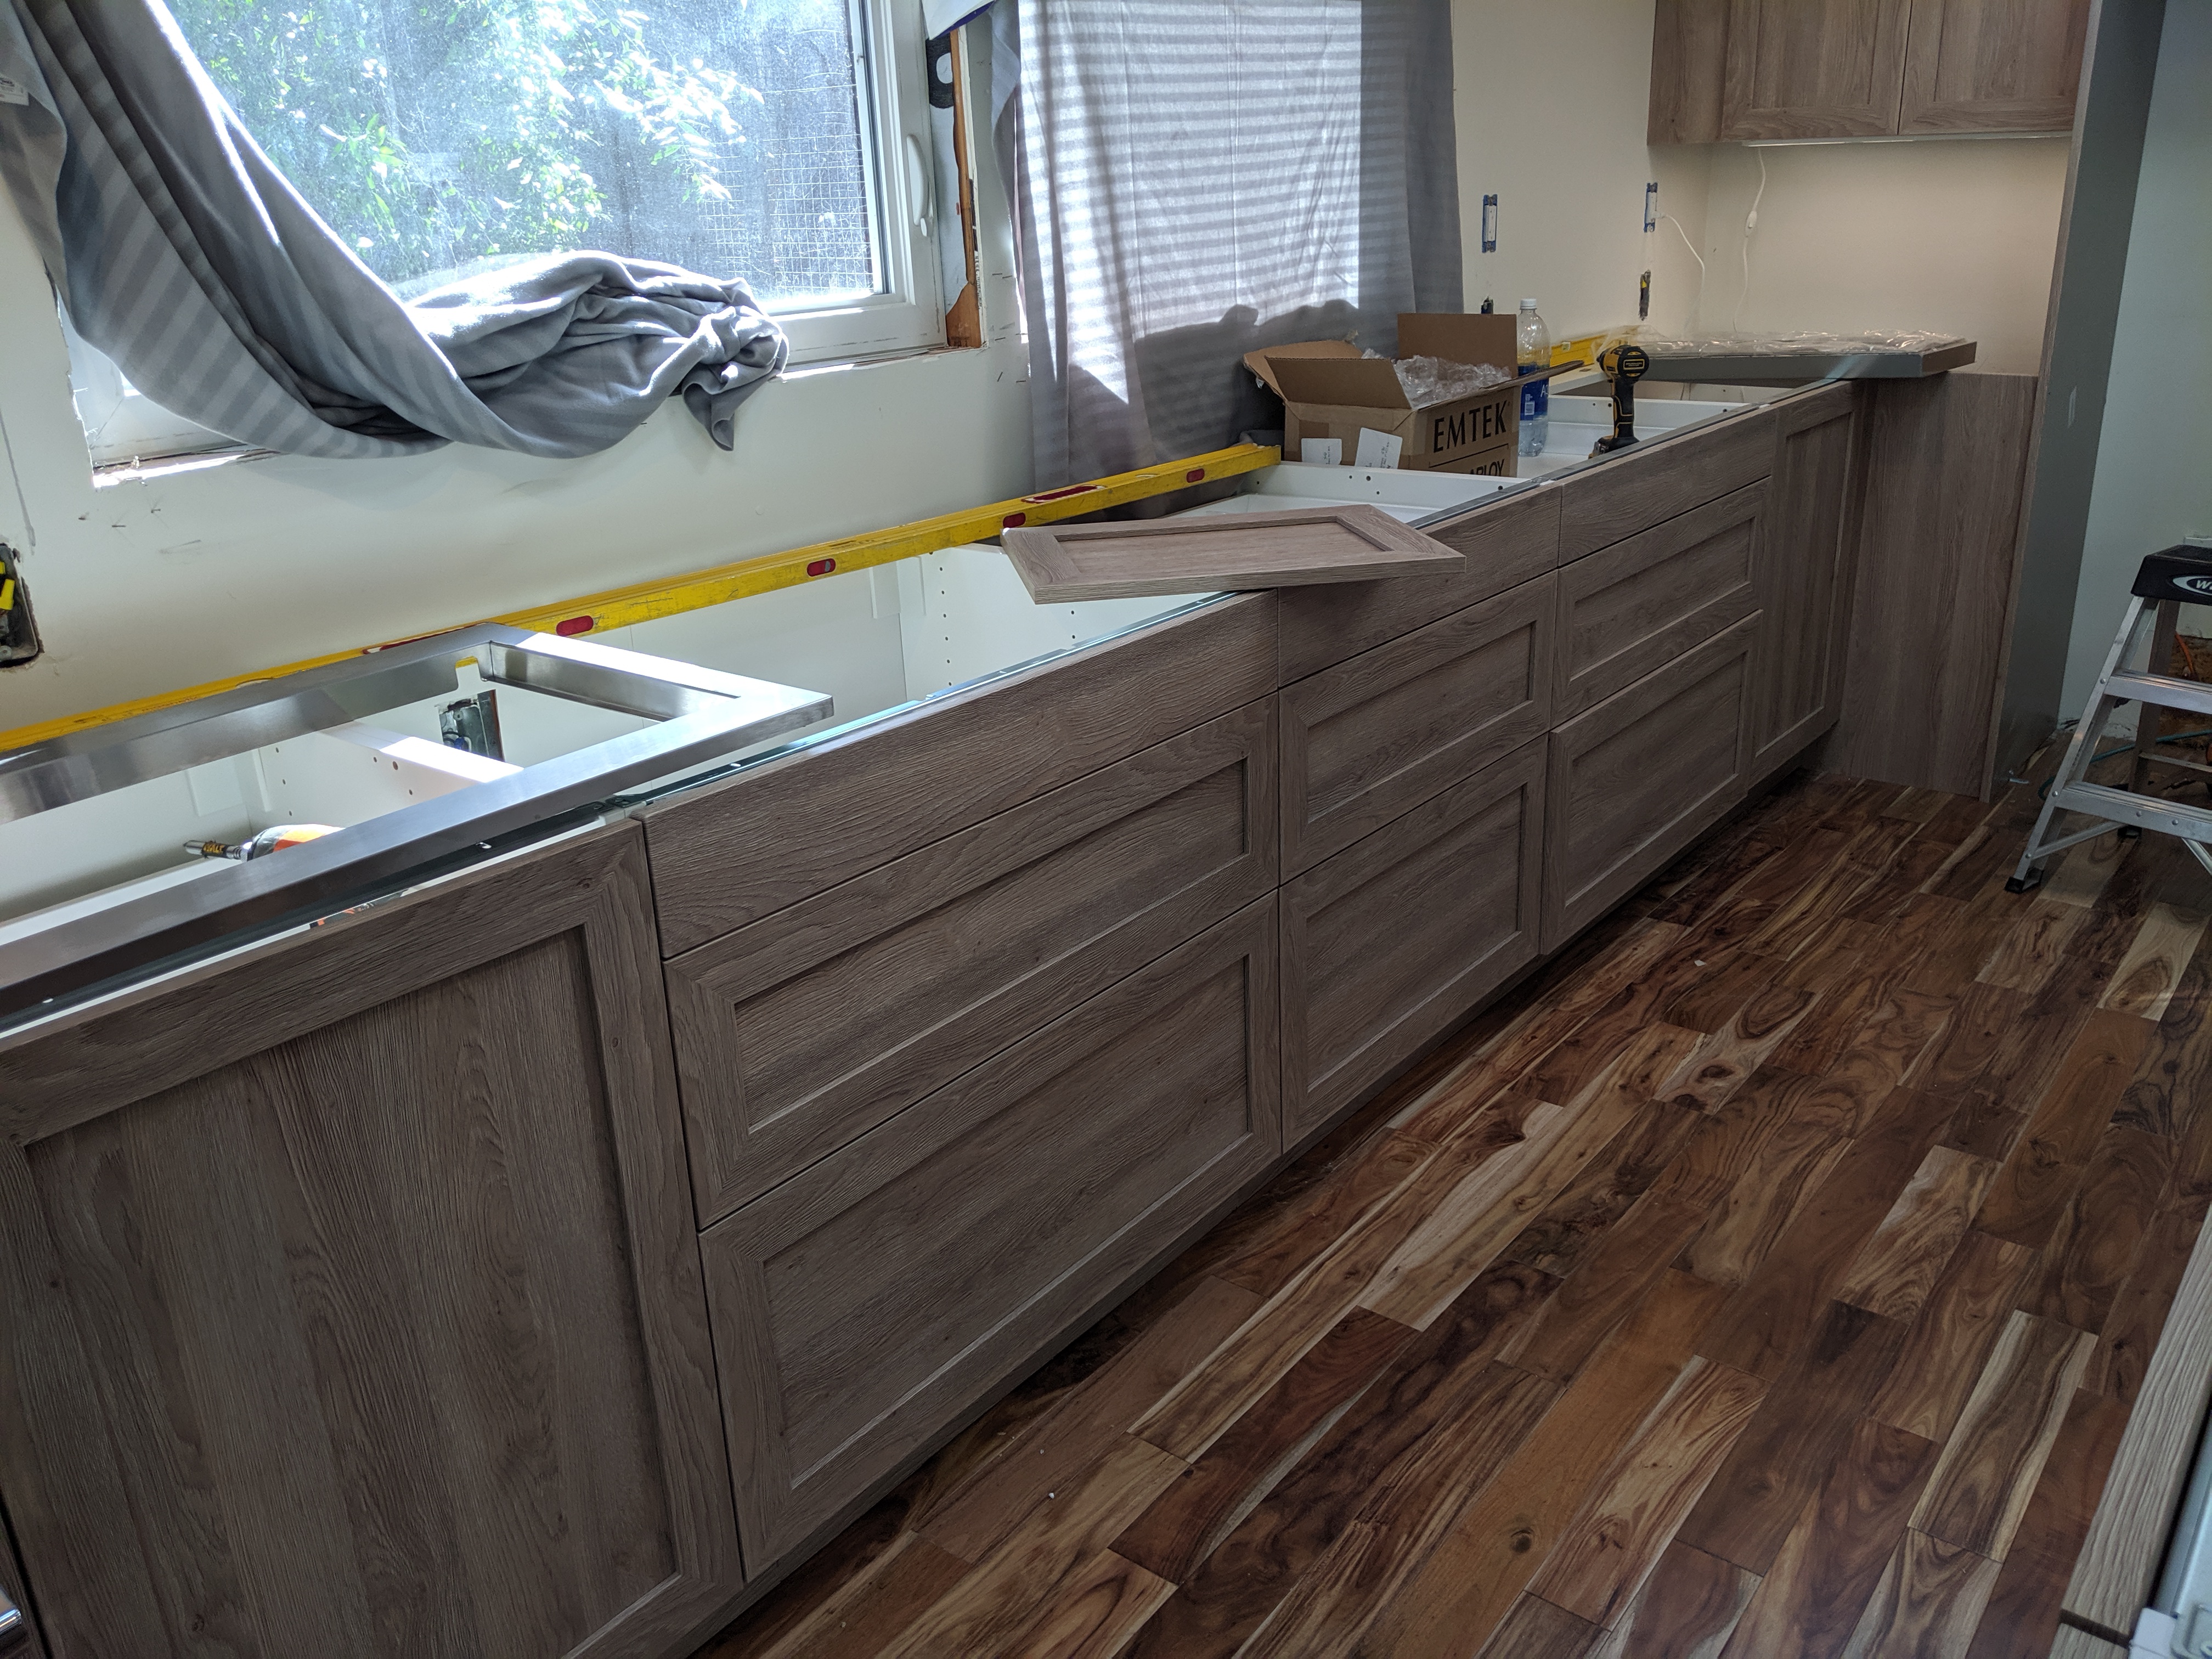
fronts going in
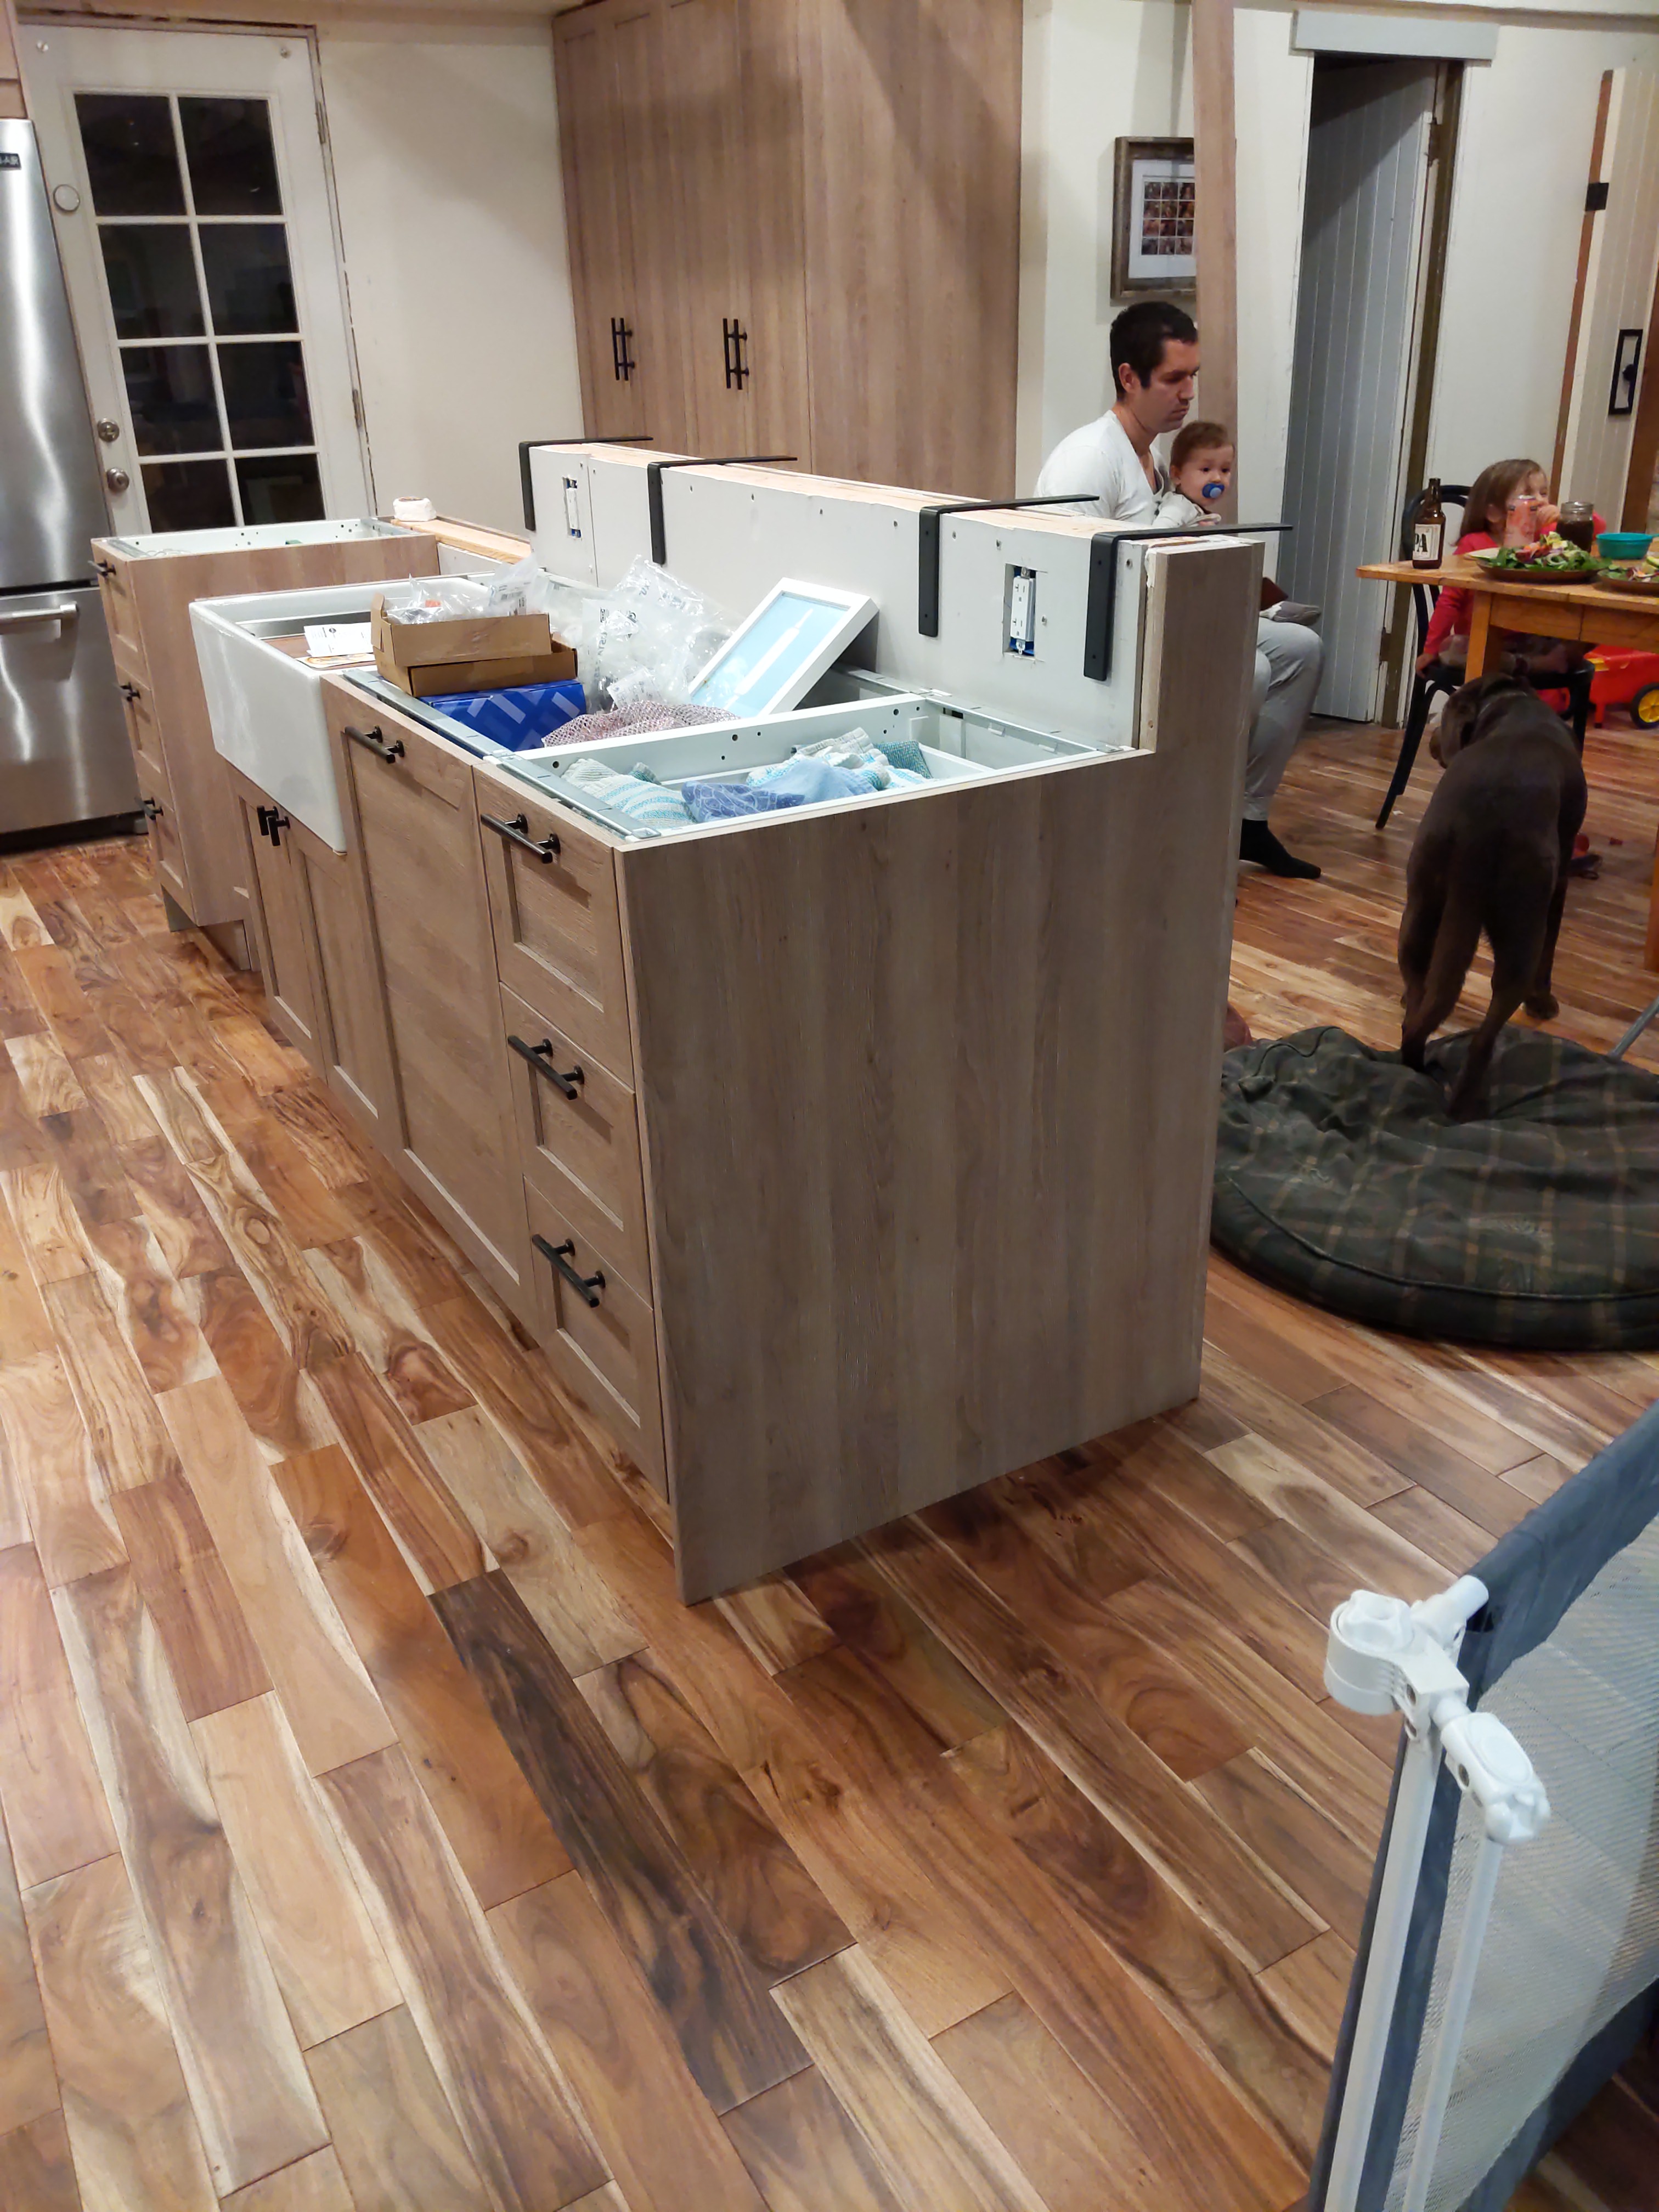
island wrapped
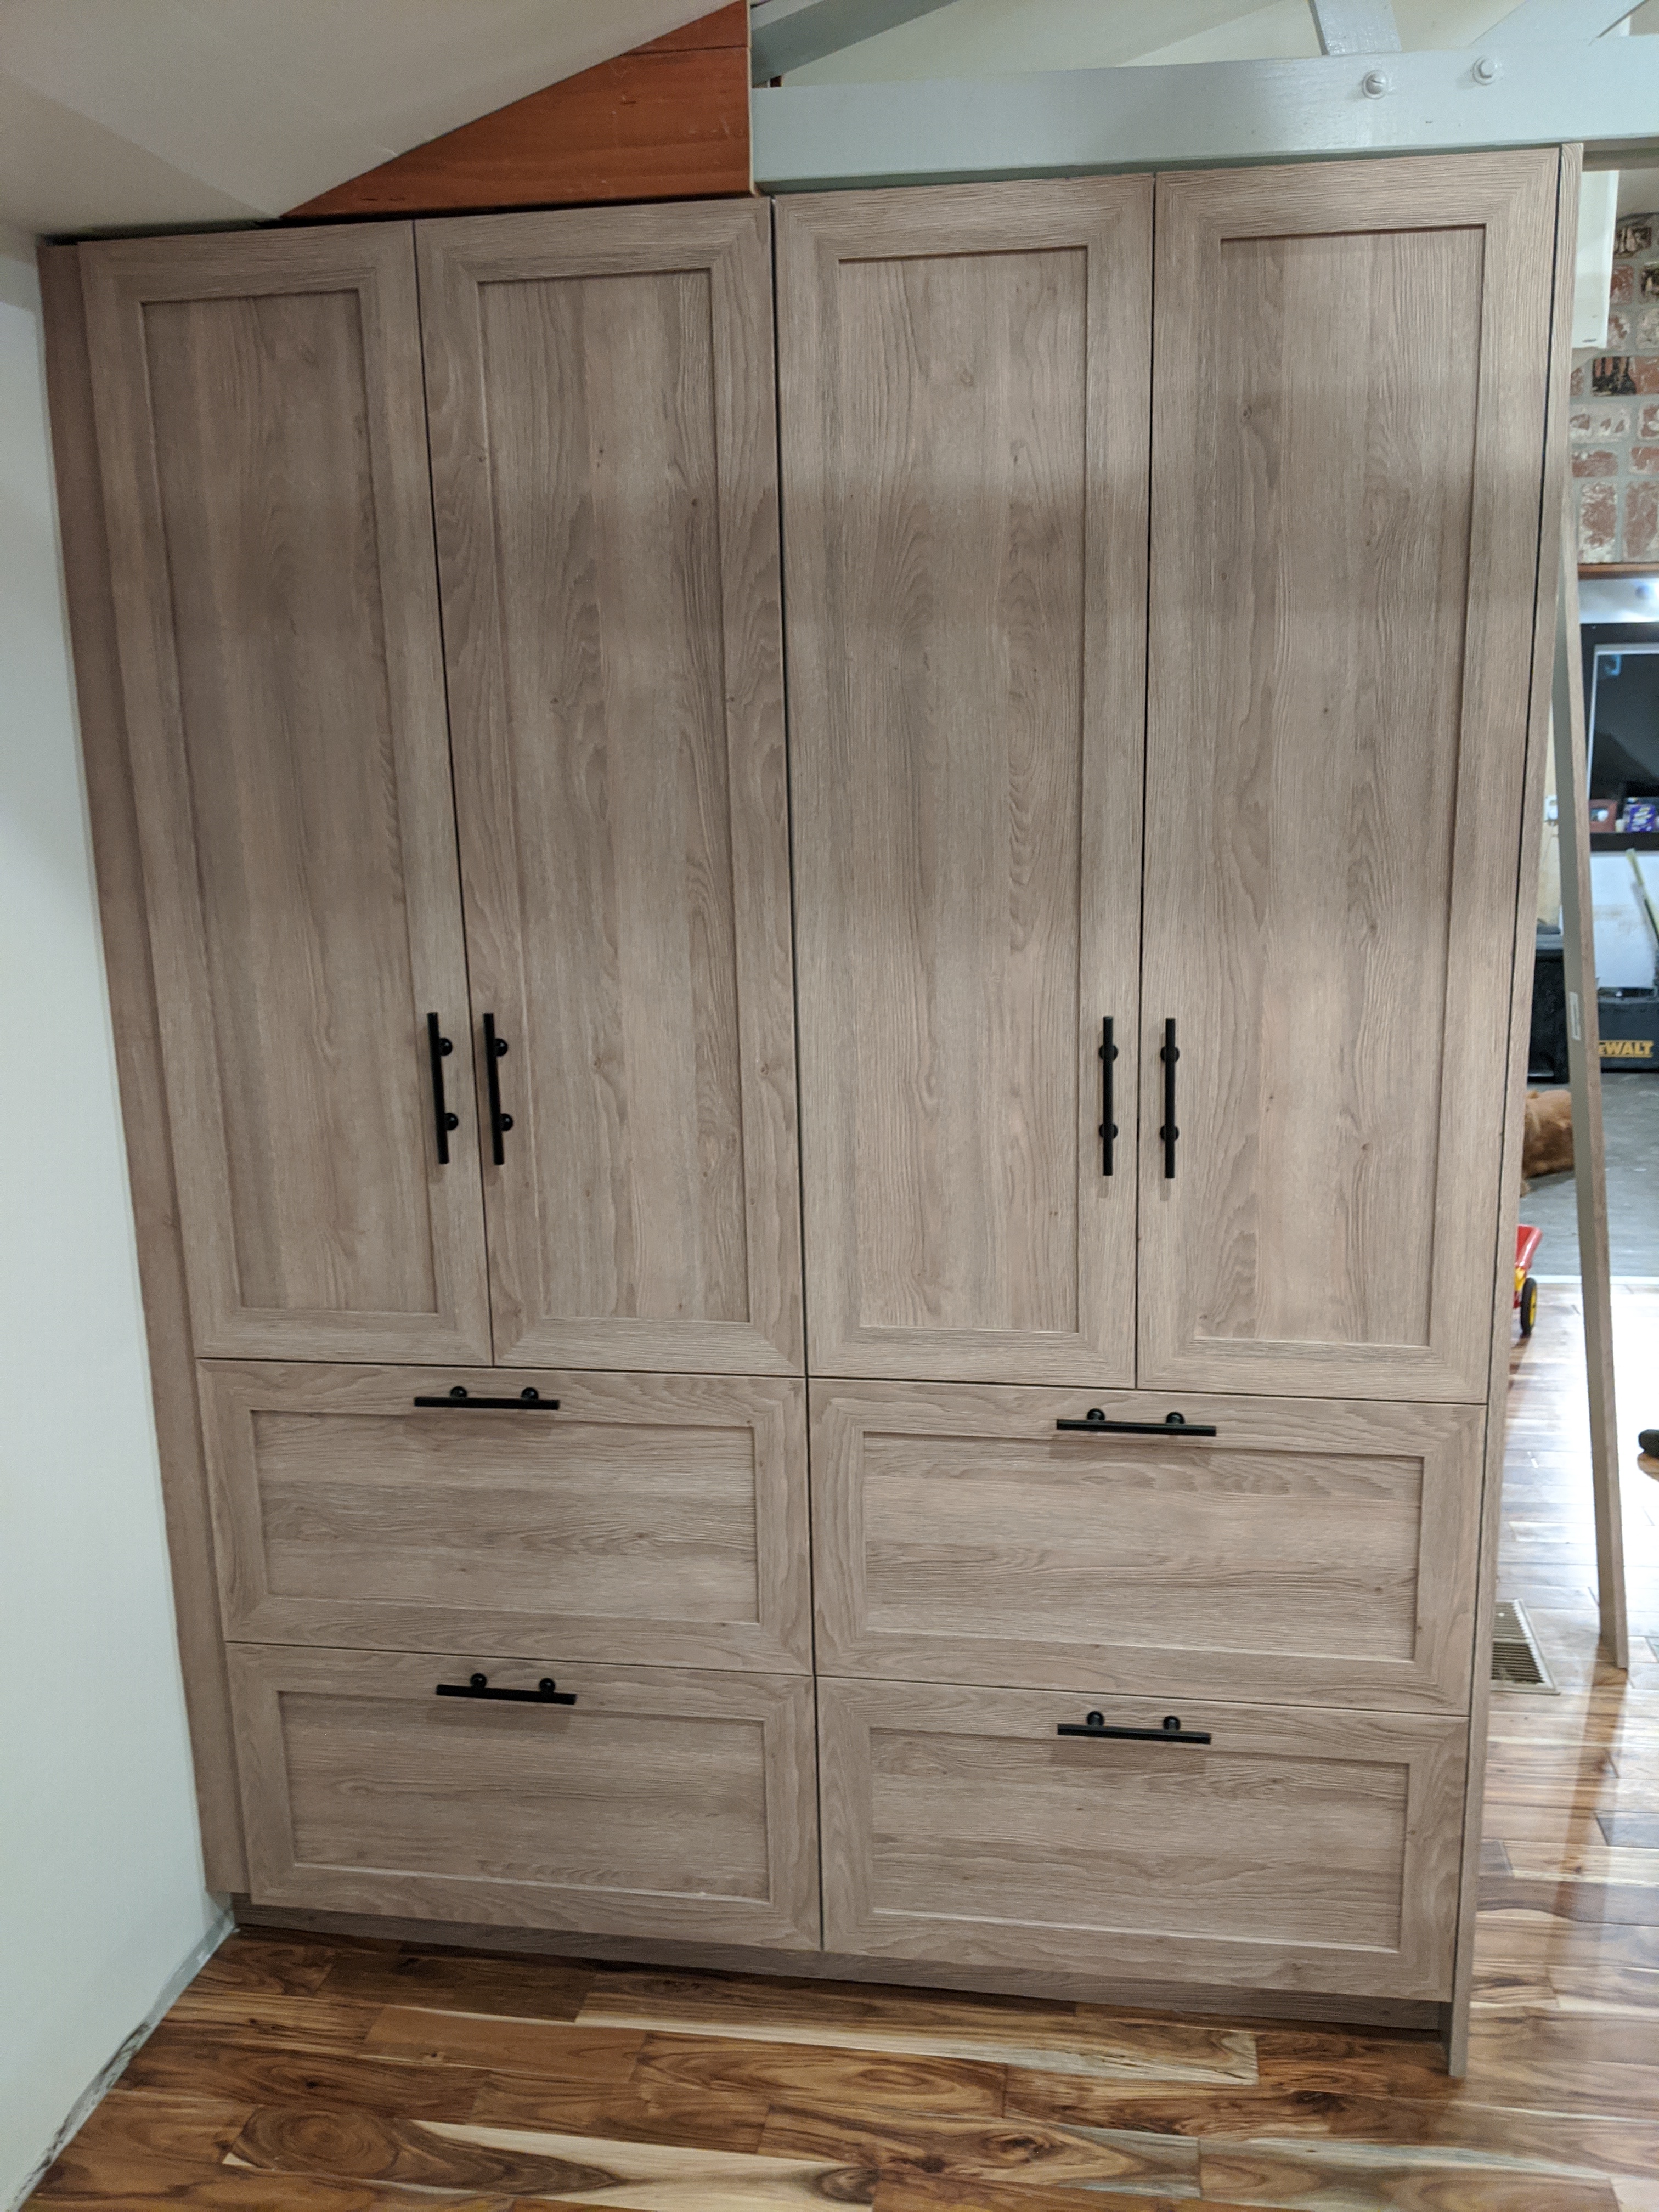
pantry
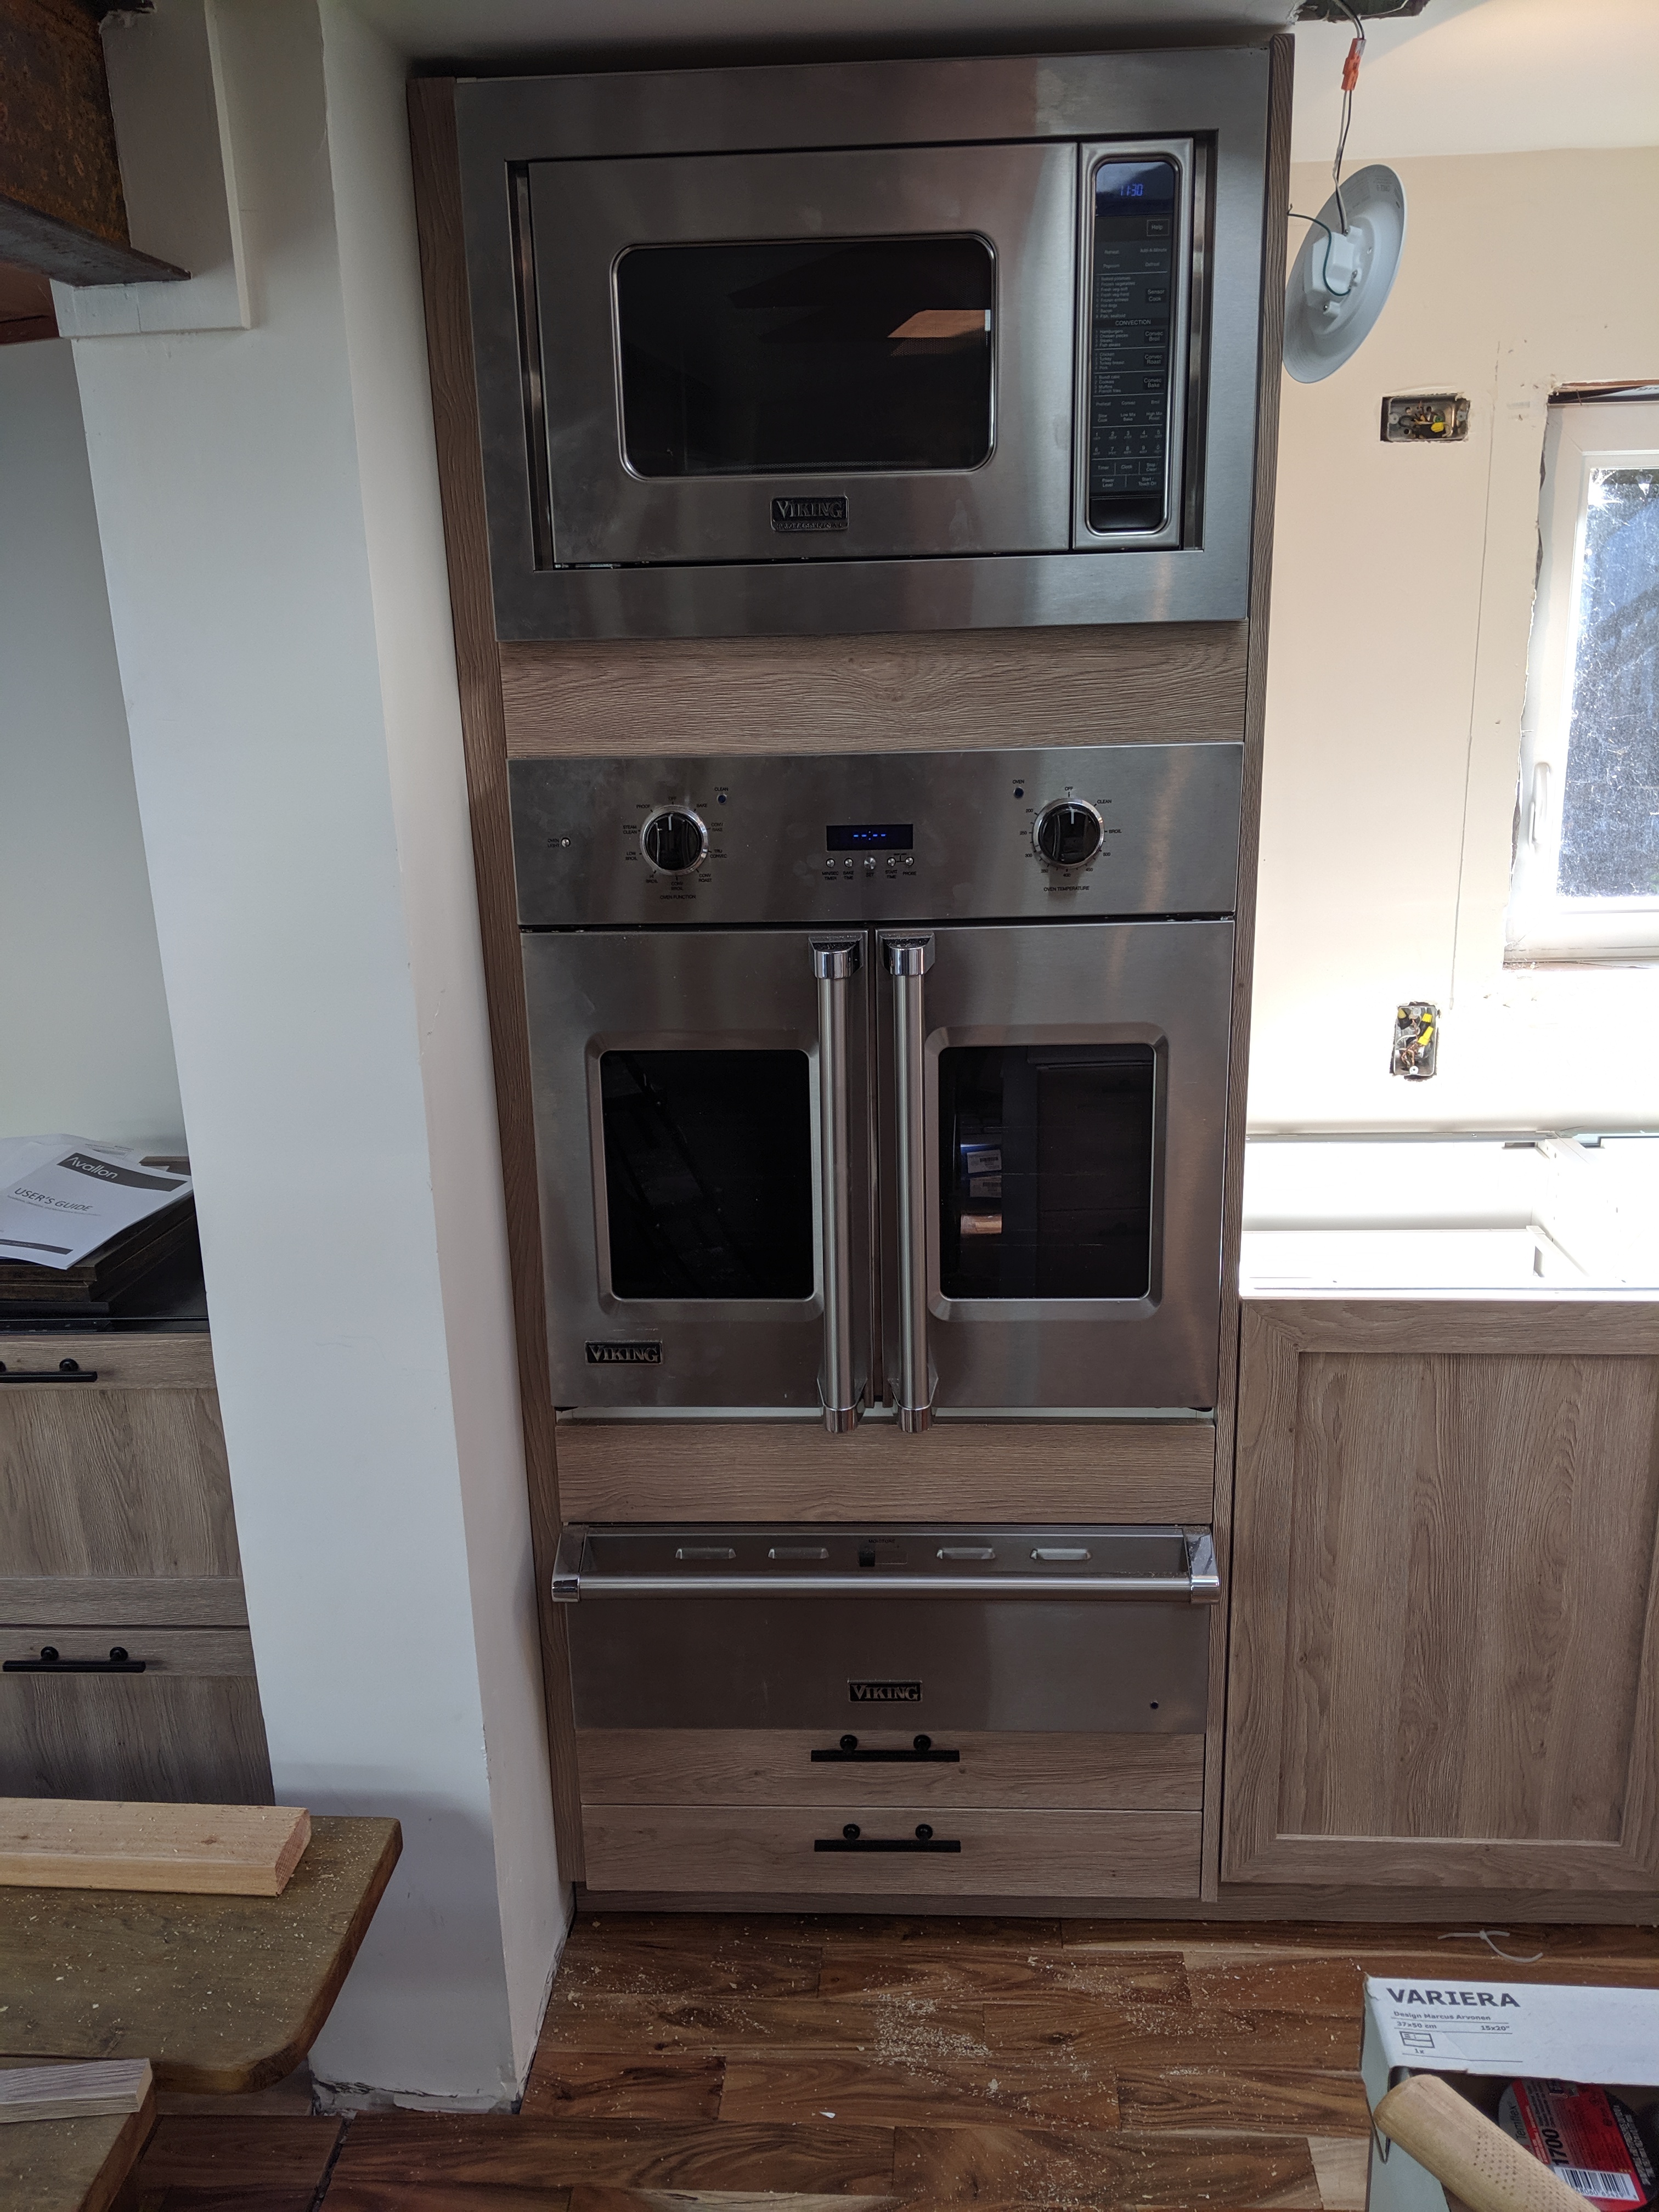
microwave/over/warming drawer
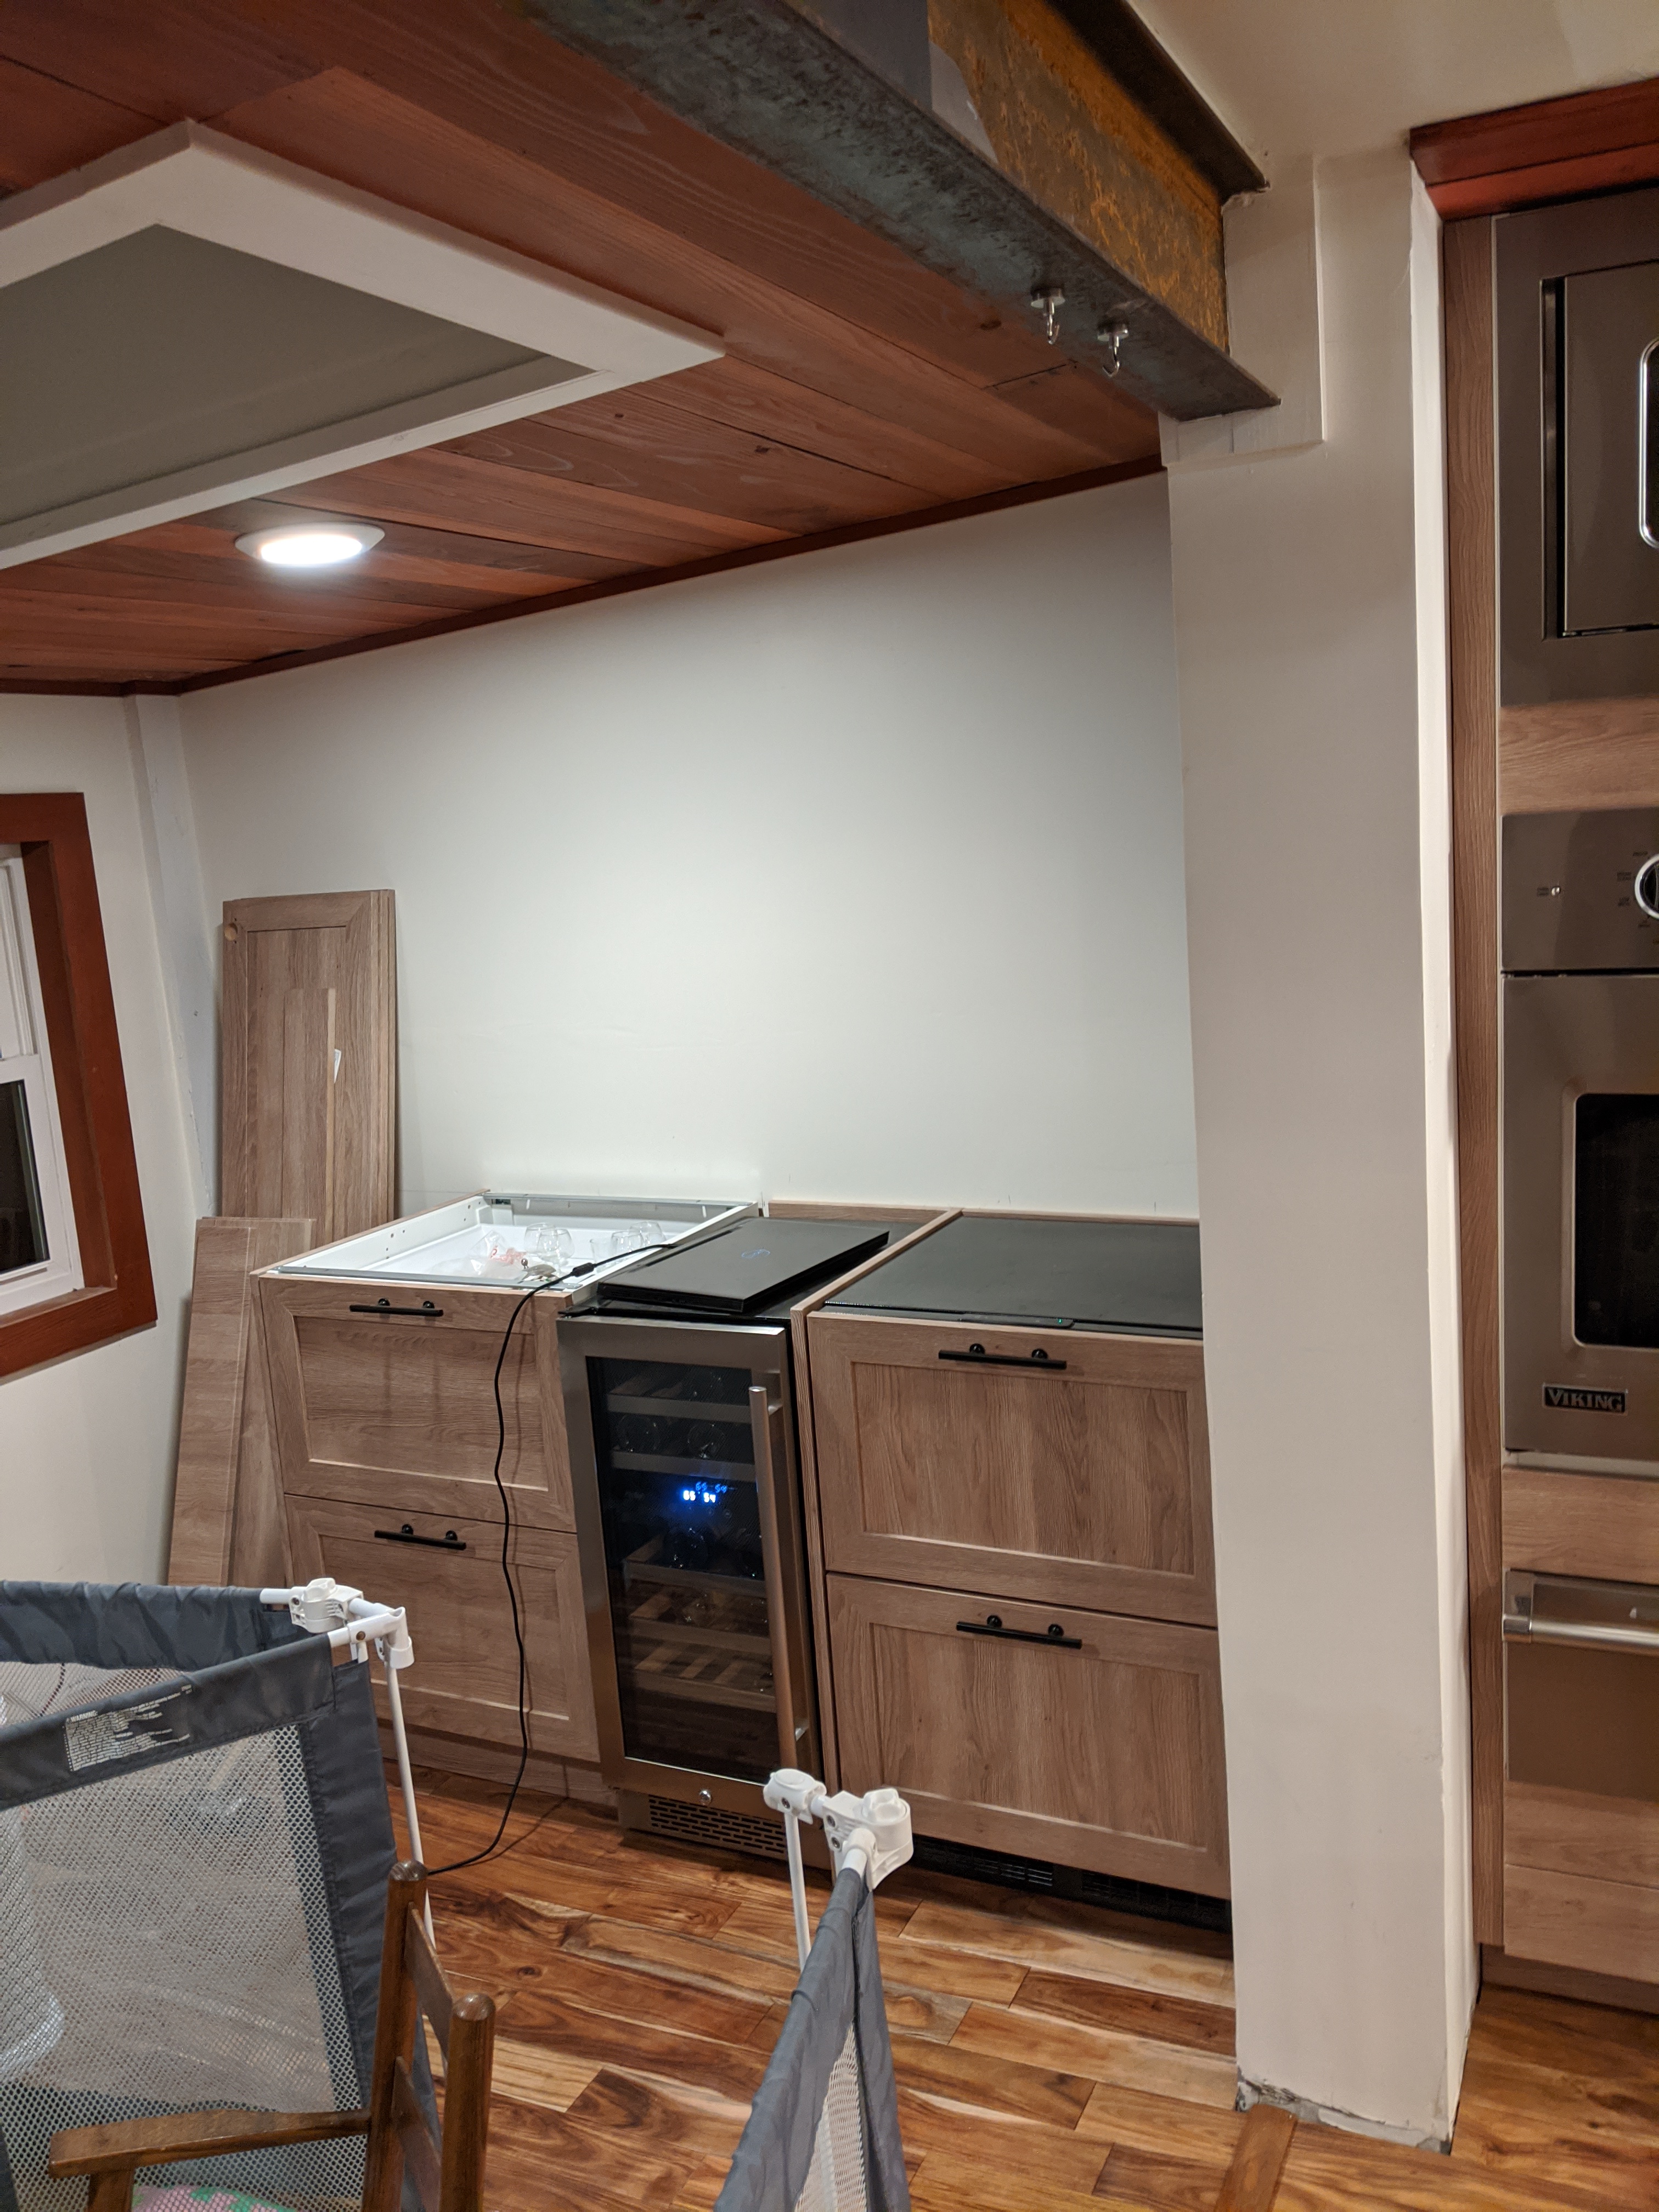
bar area almost complete
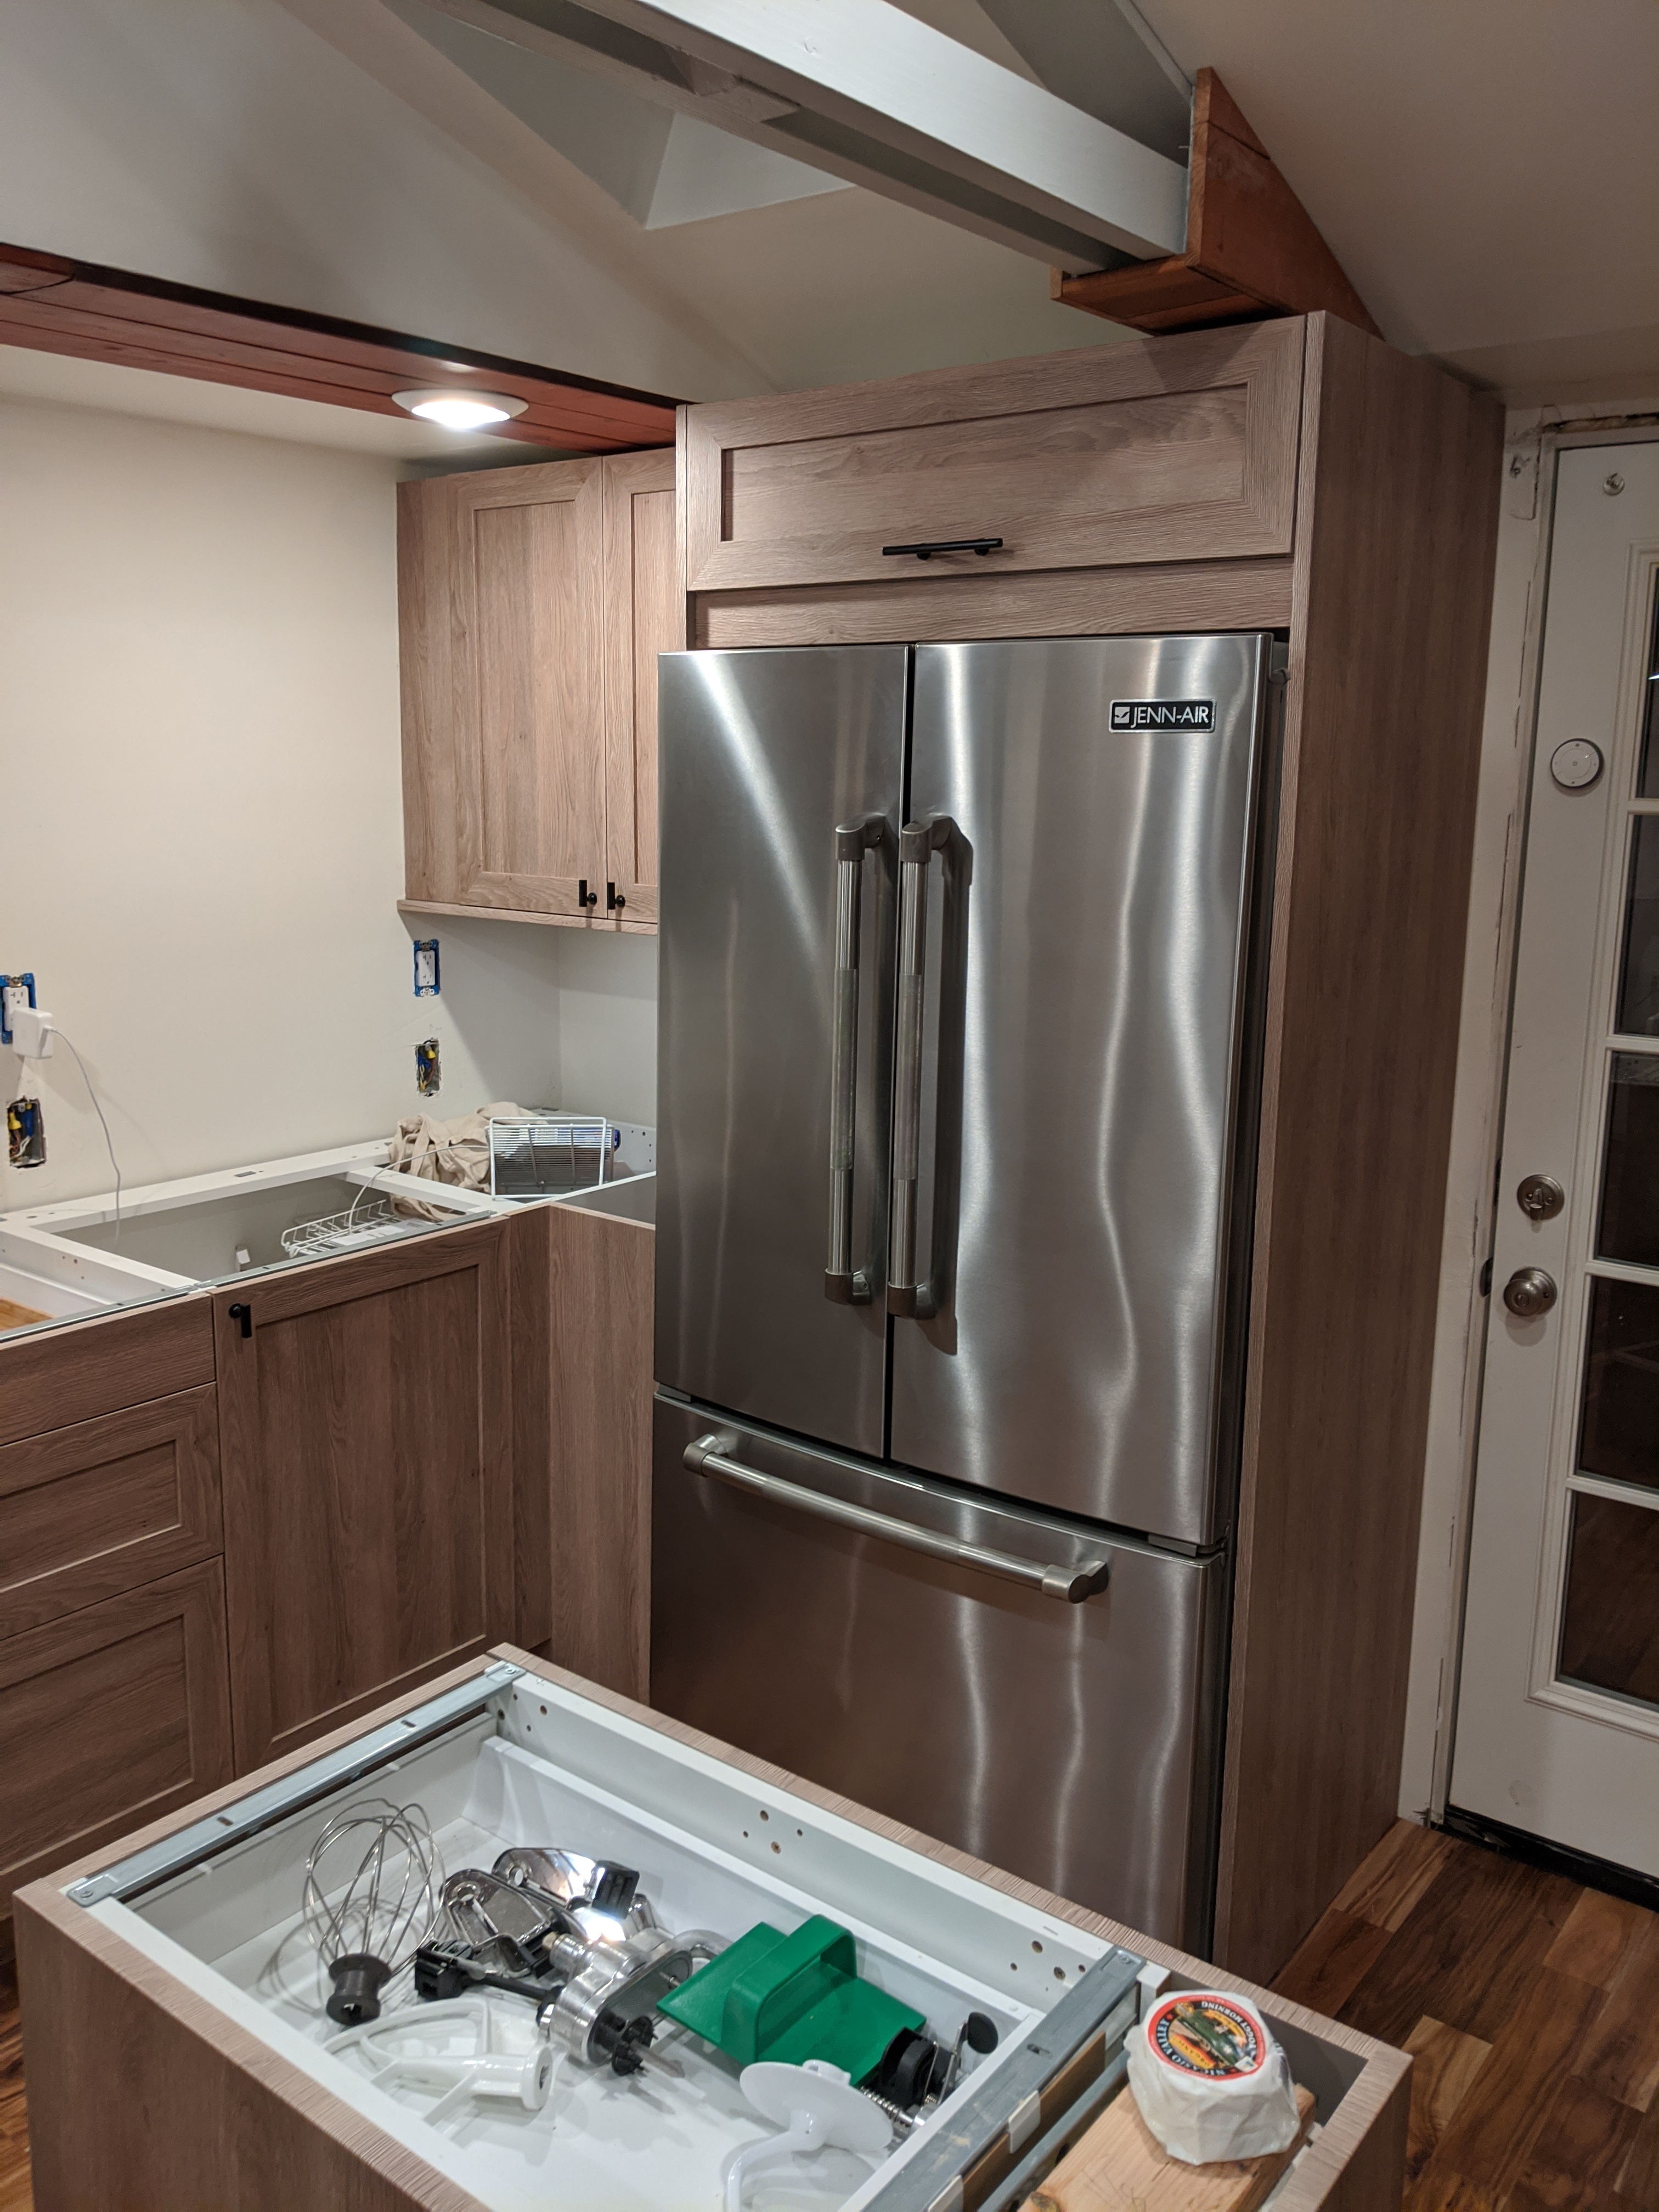
fridge installed
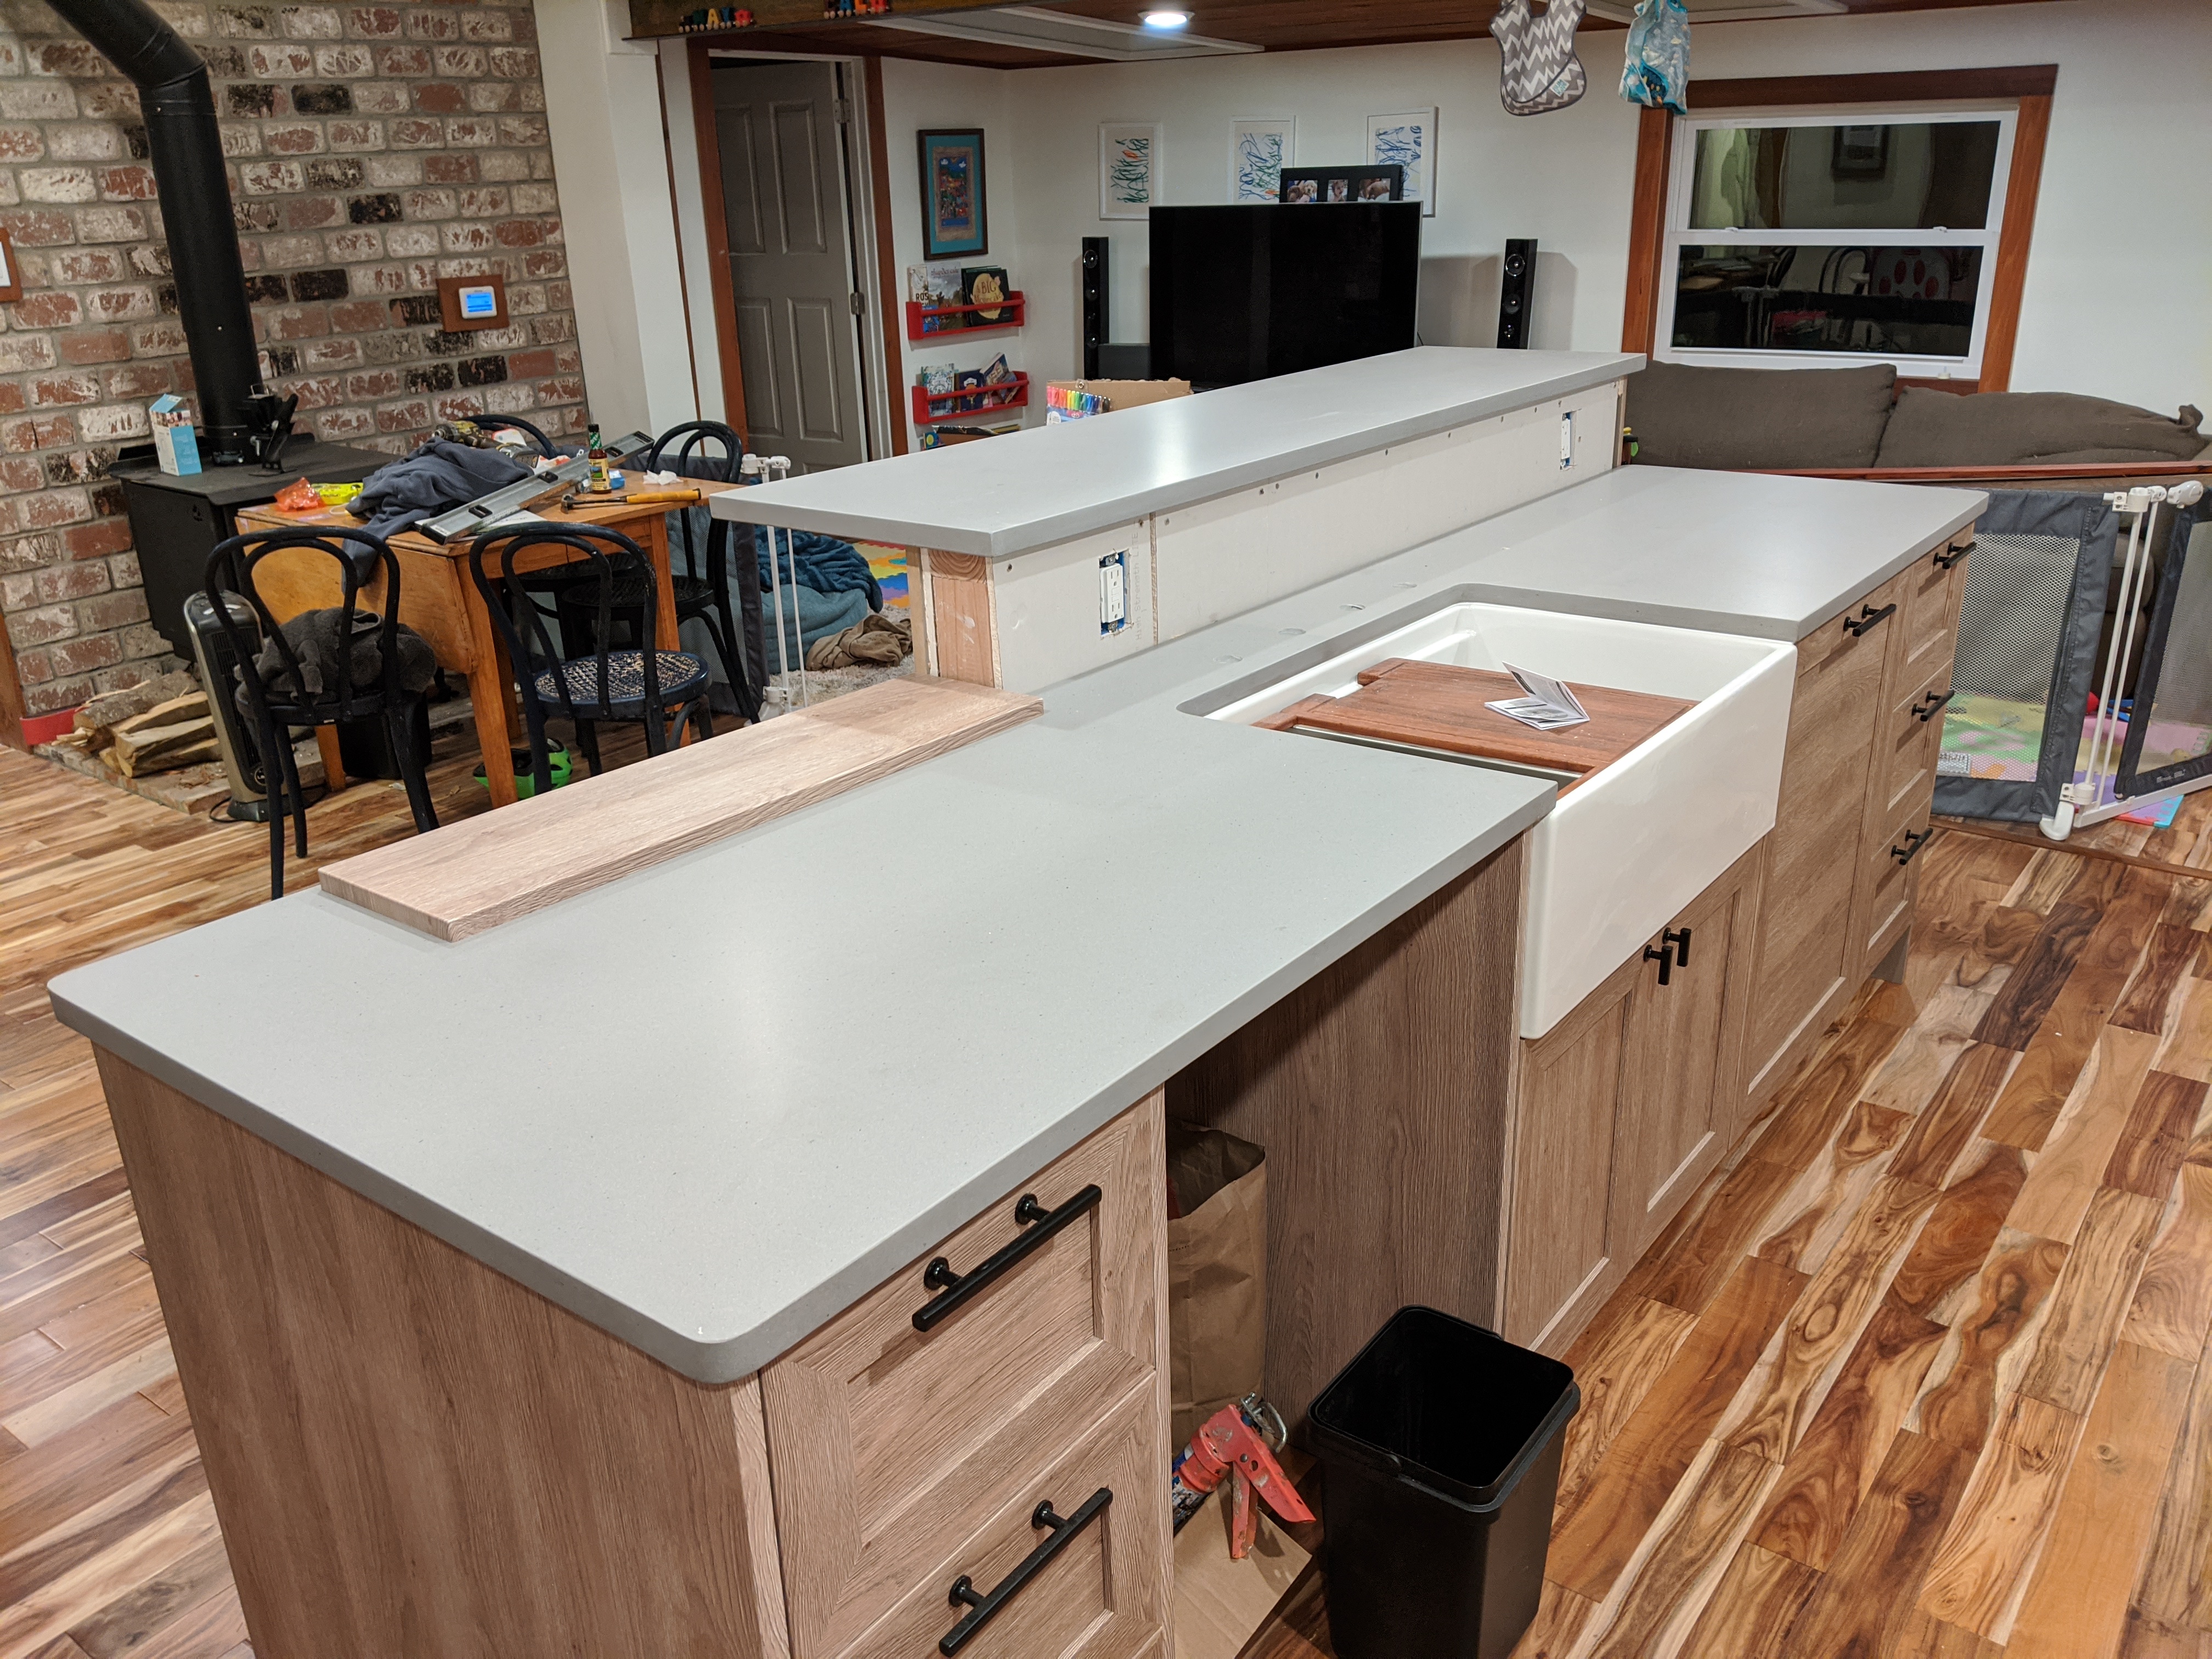
countertops going in!
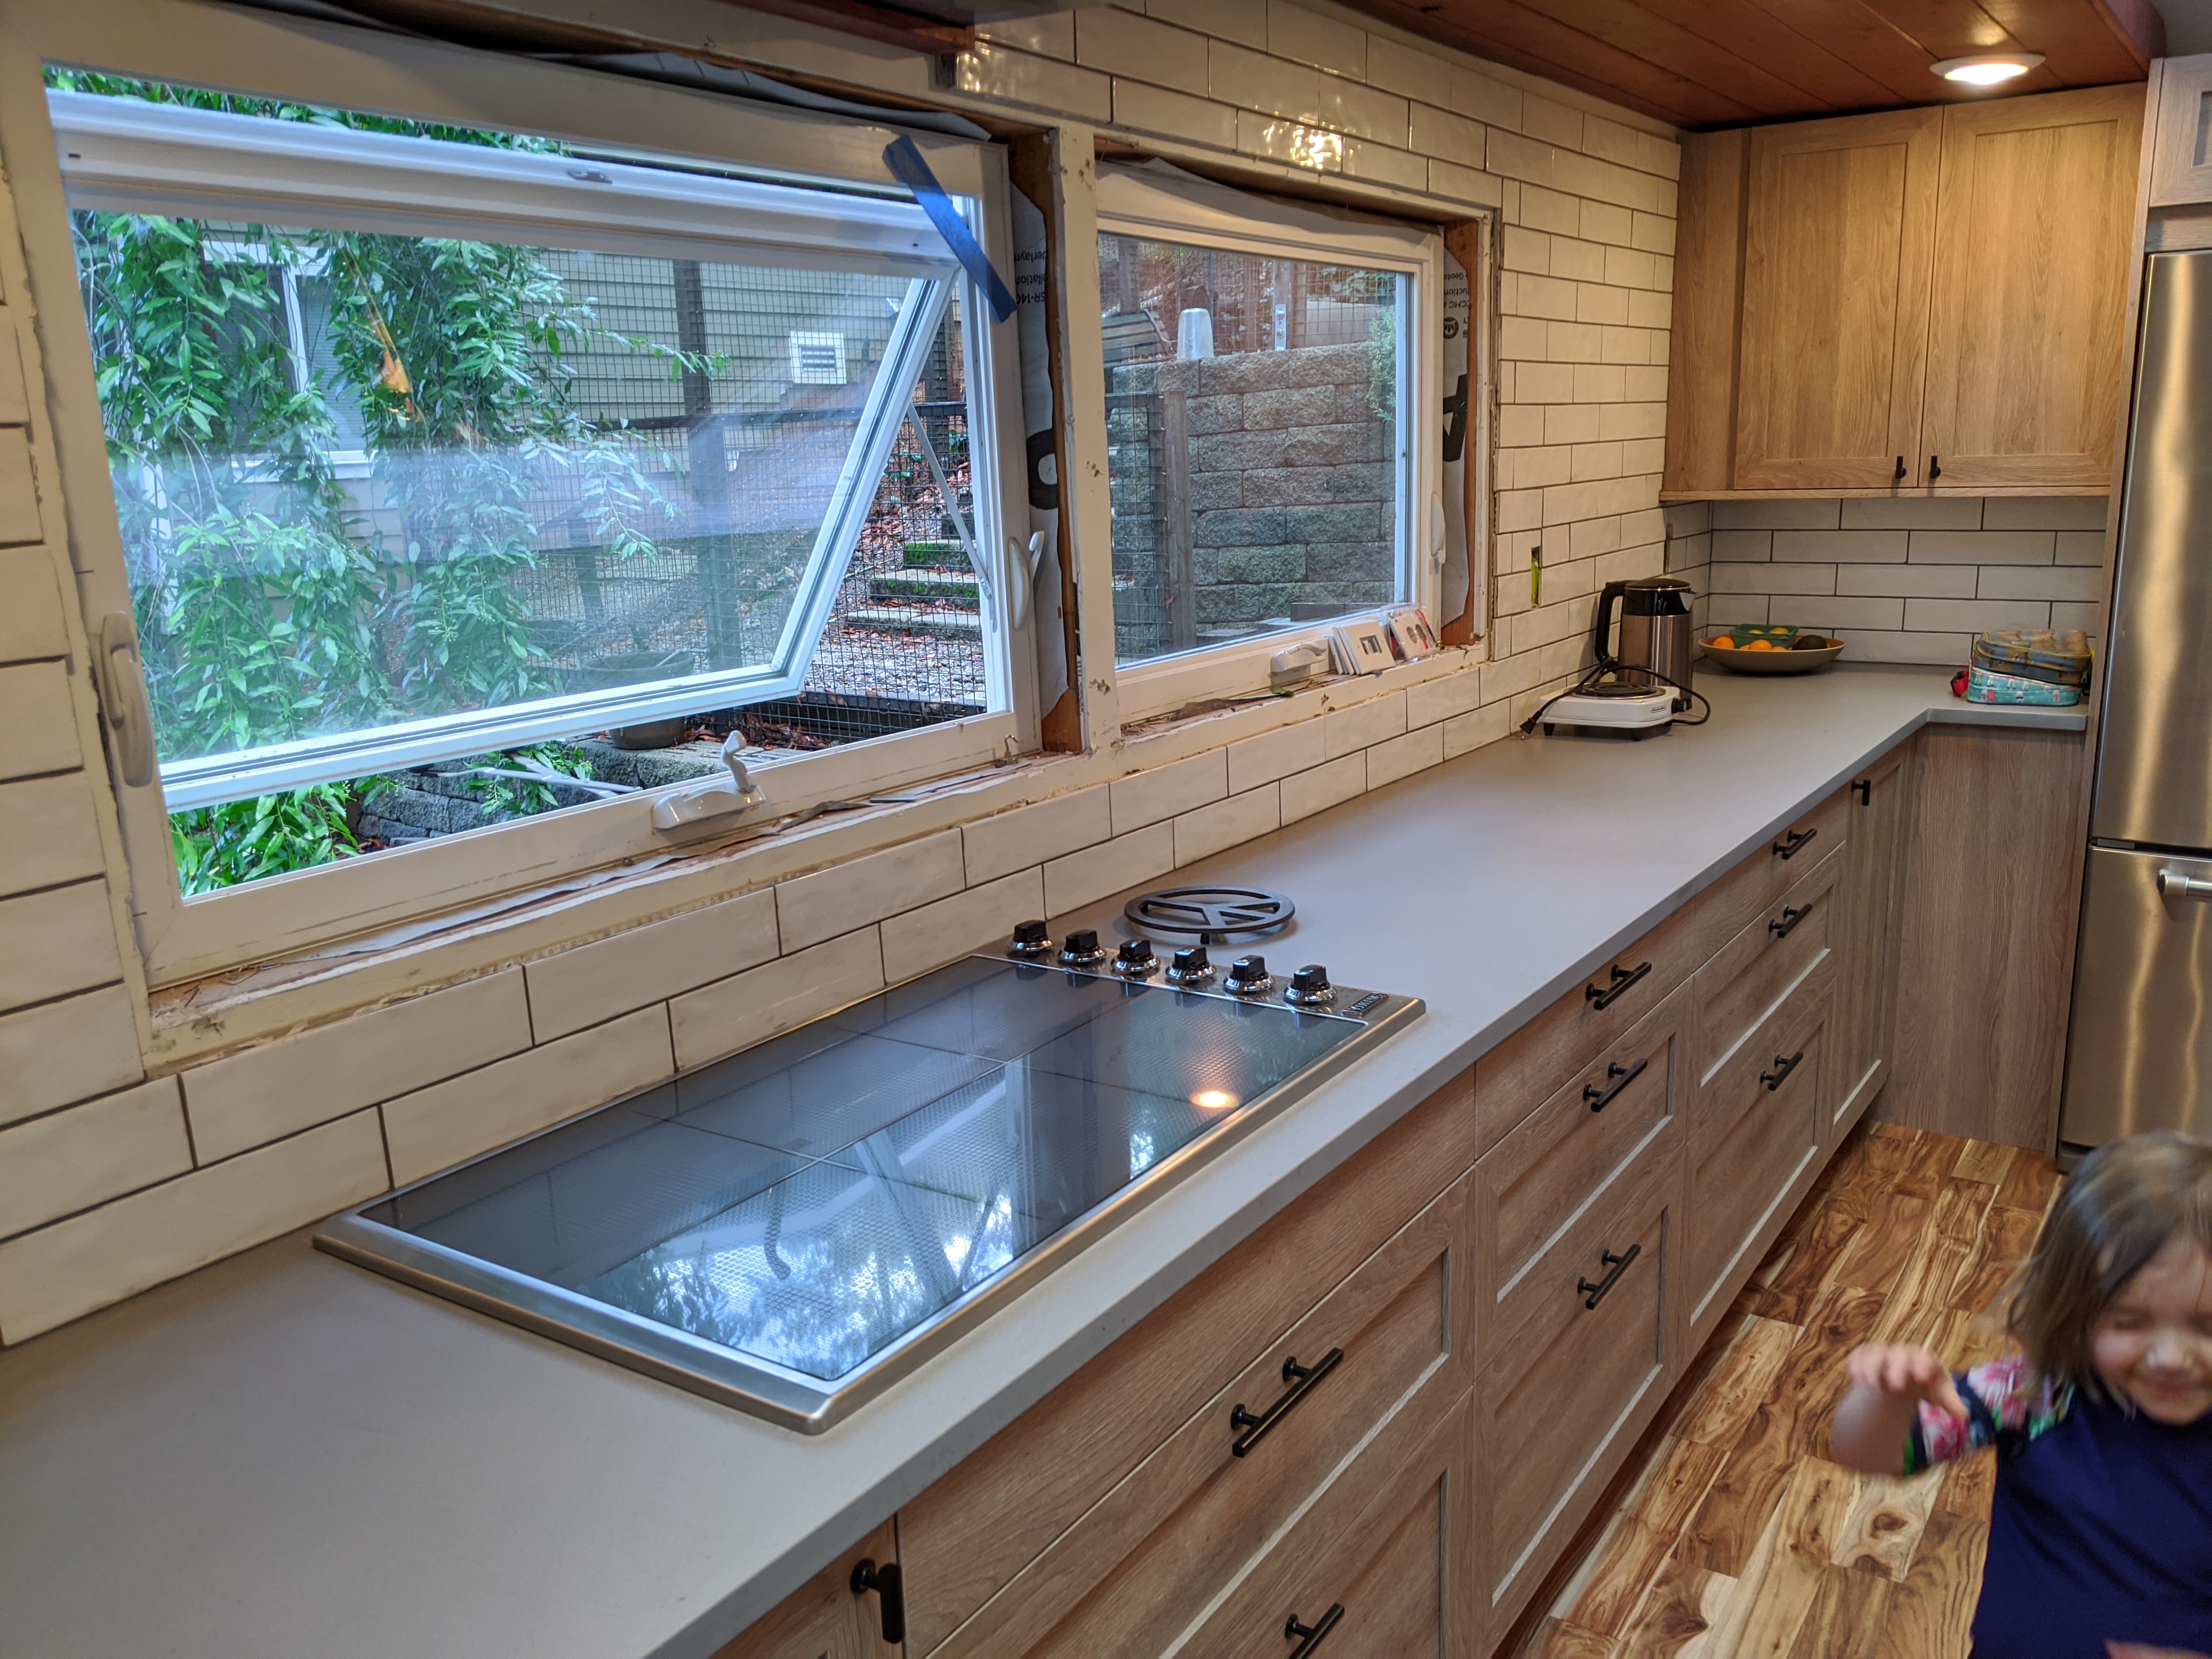
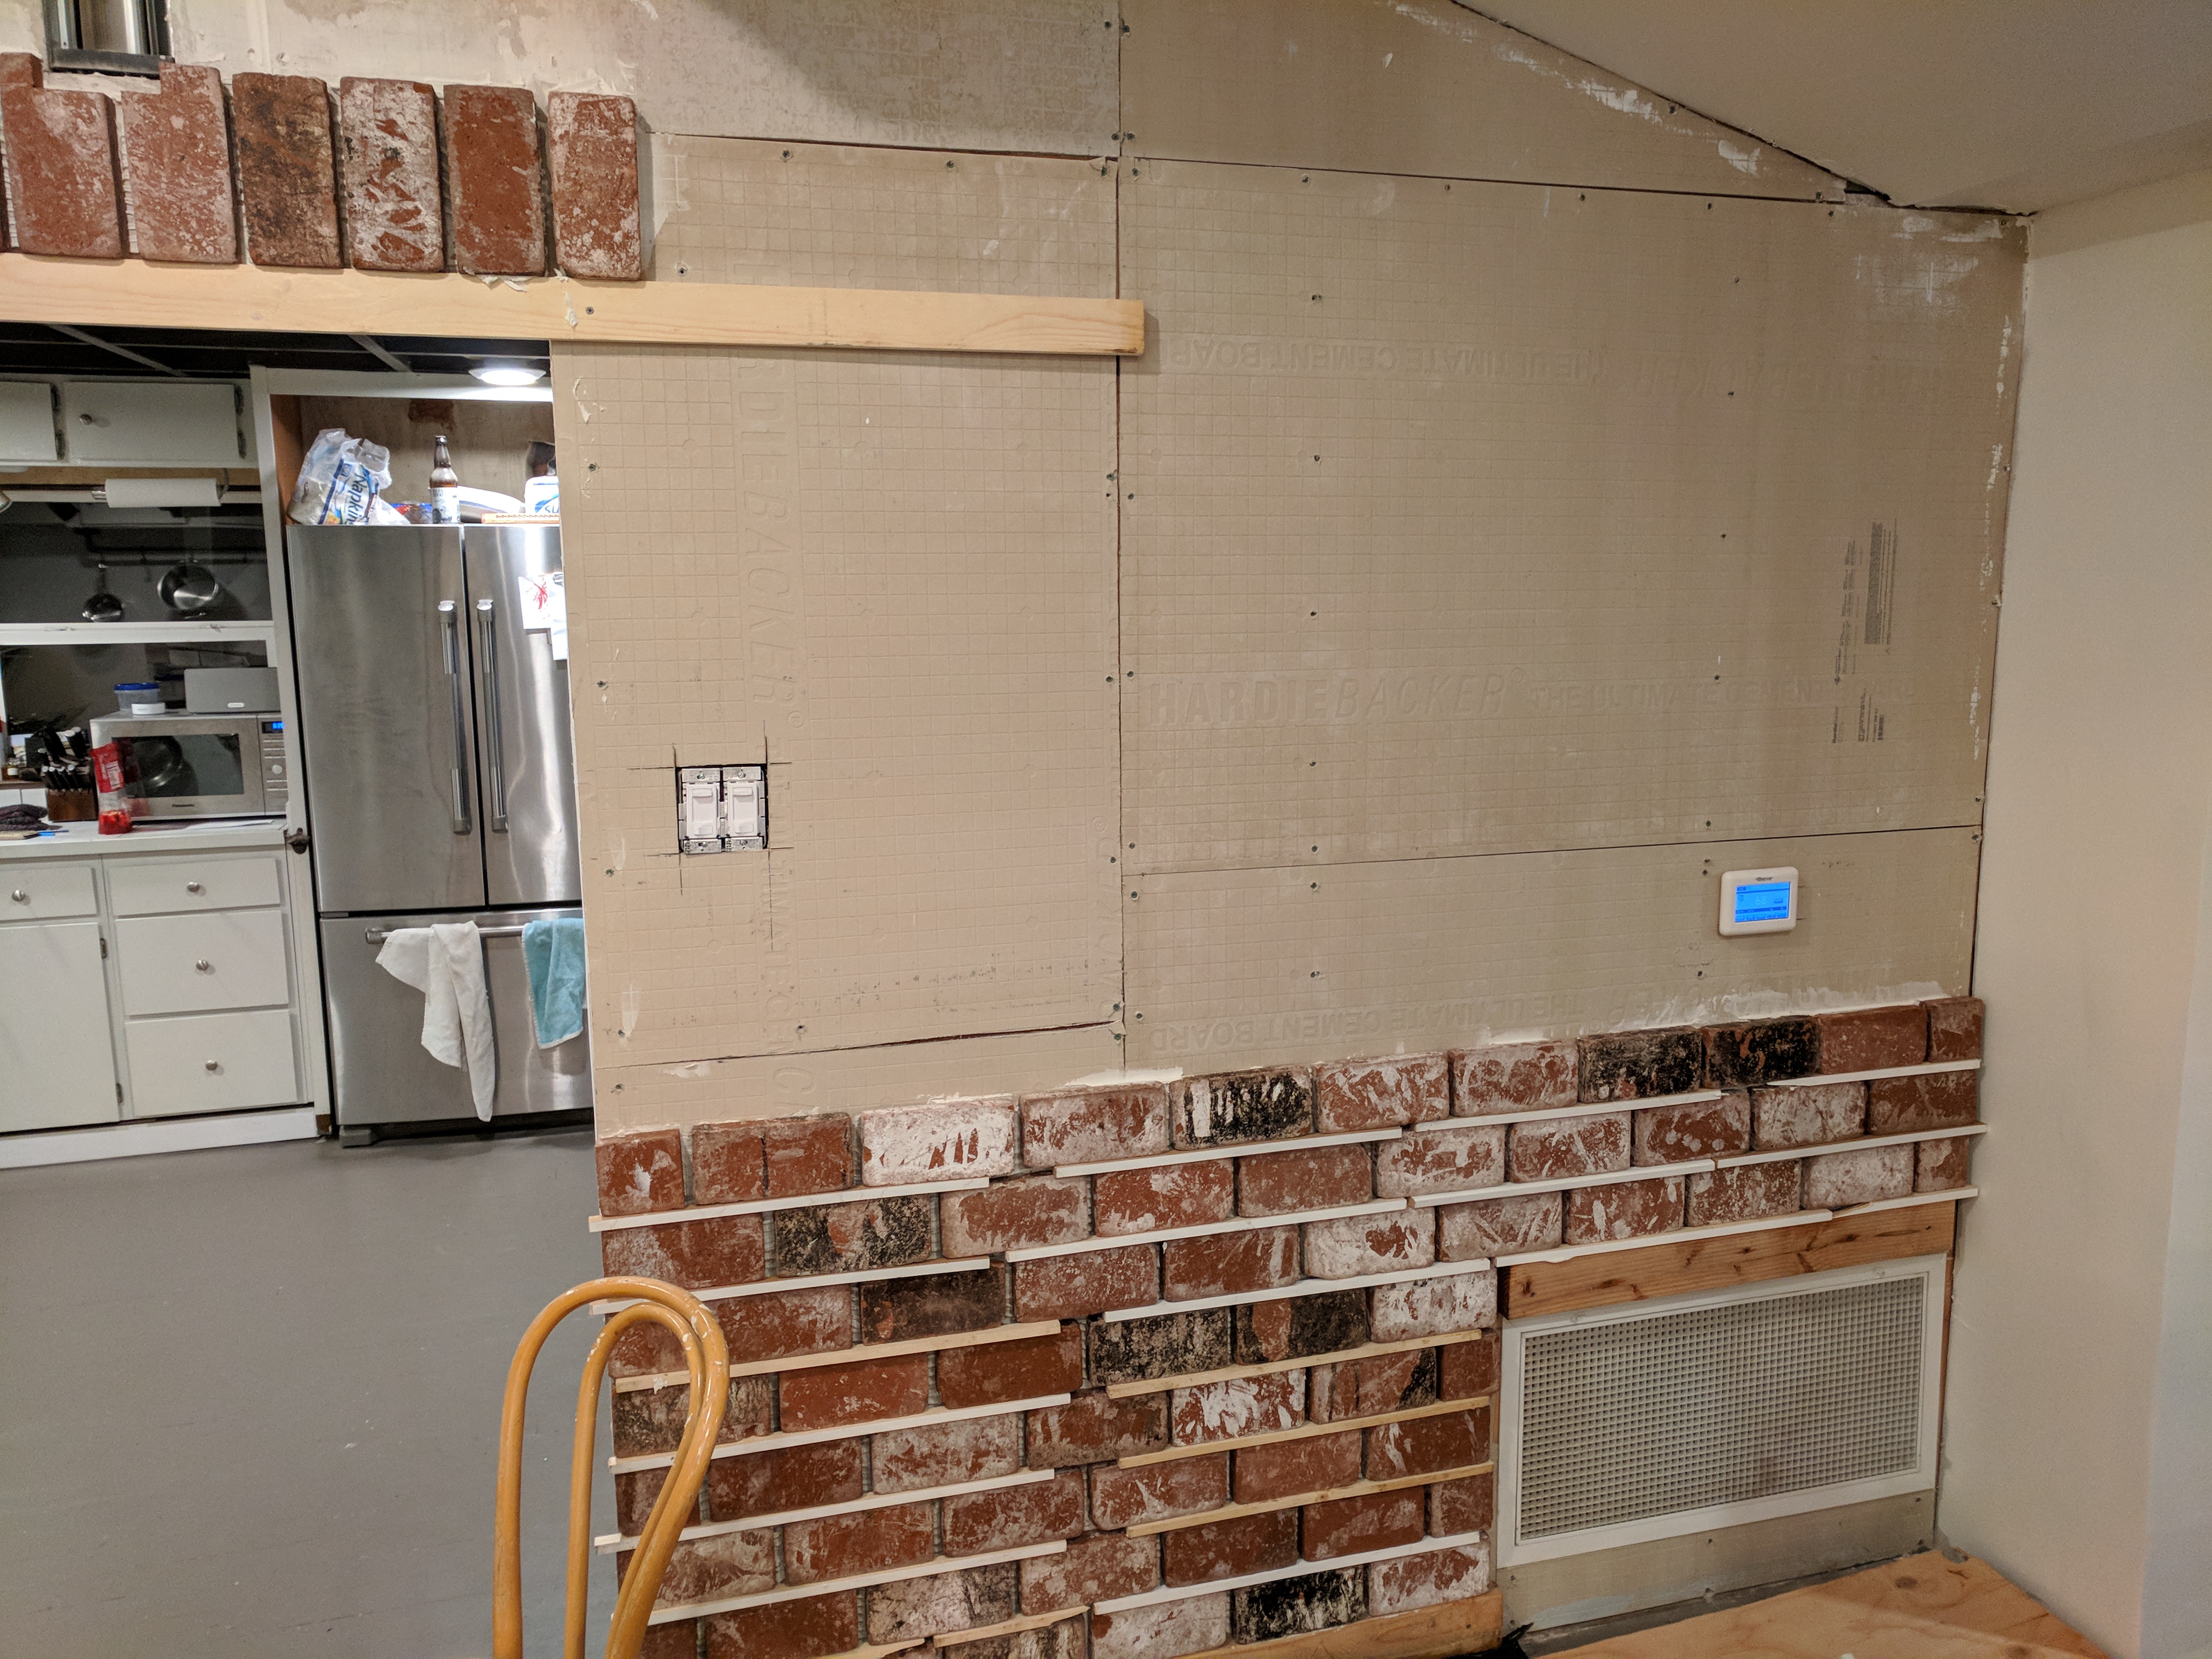
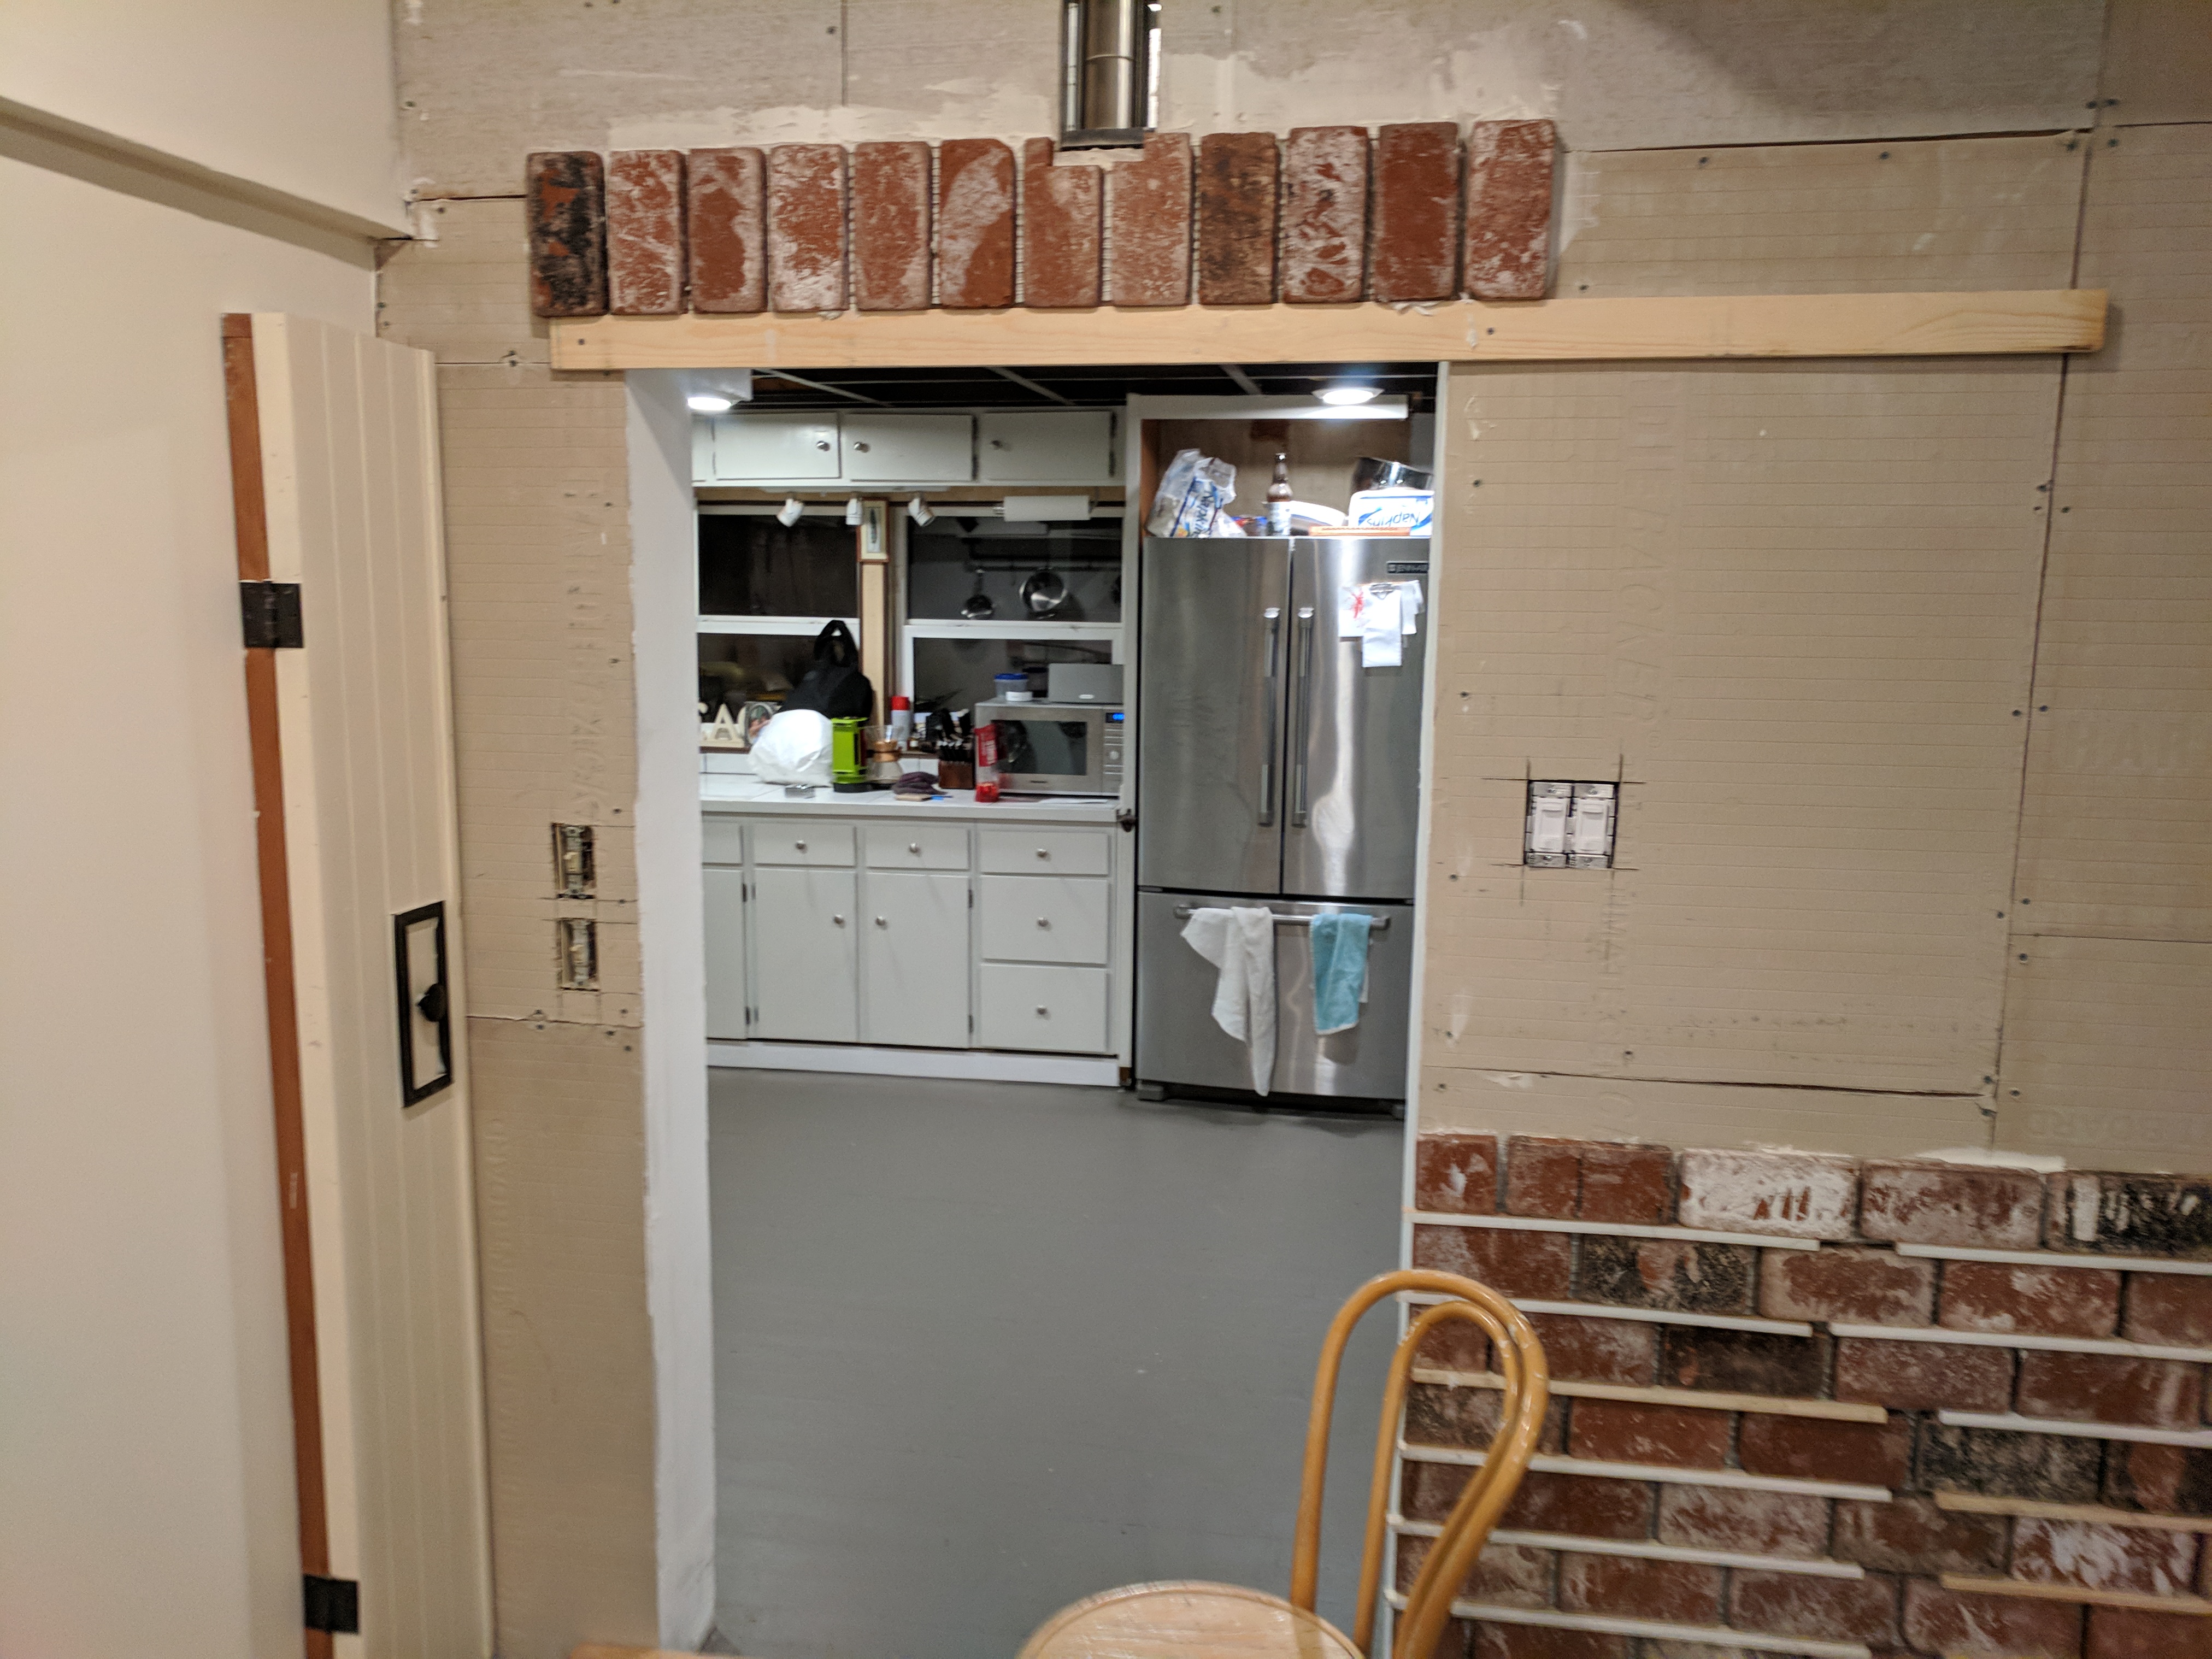
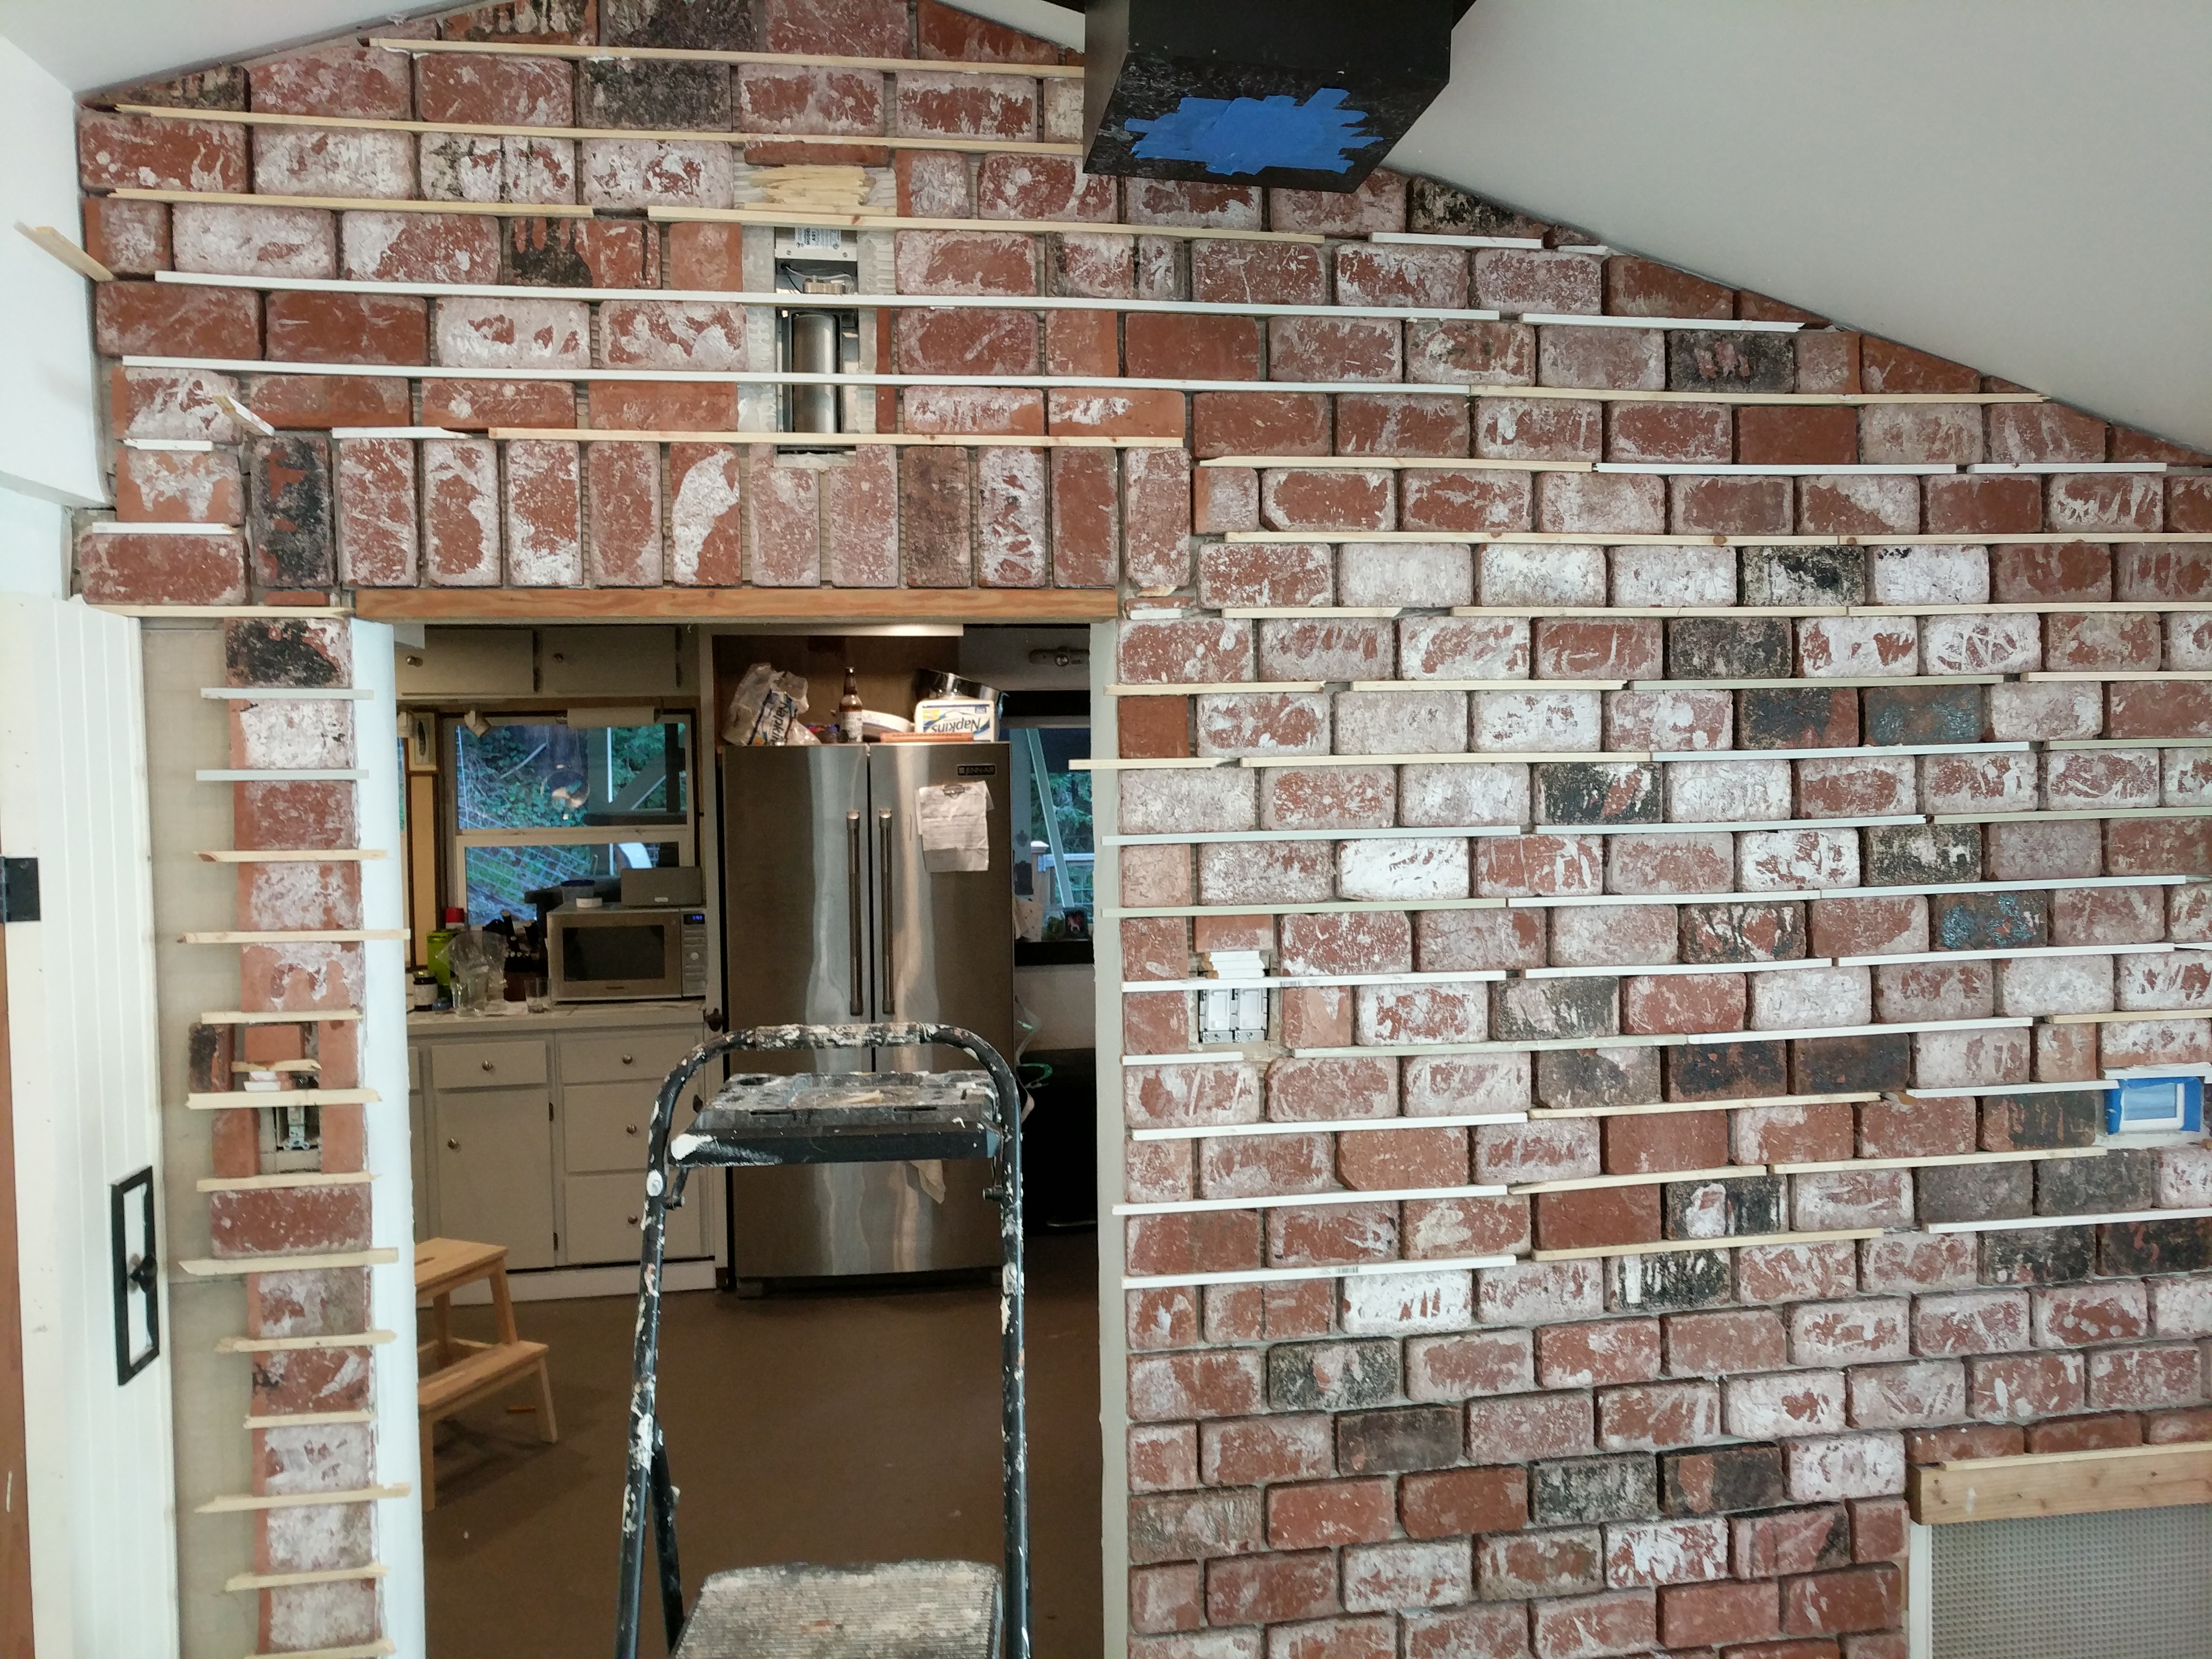
… and Maya is so excited! (plus the tiled wall- Jacob did most of the tile work, but I was able to help during nap time)
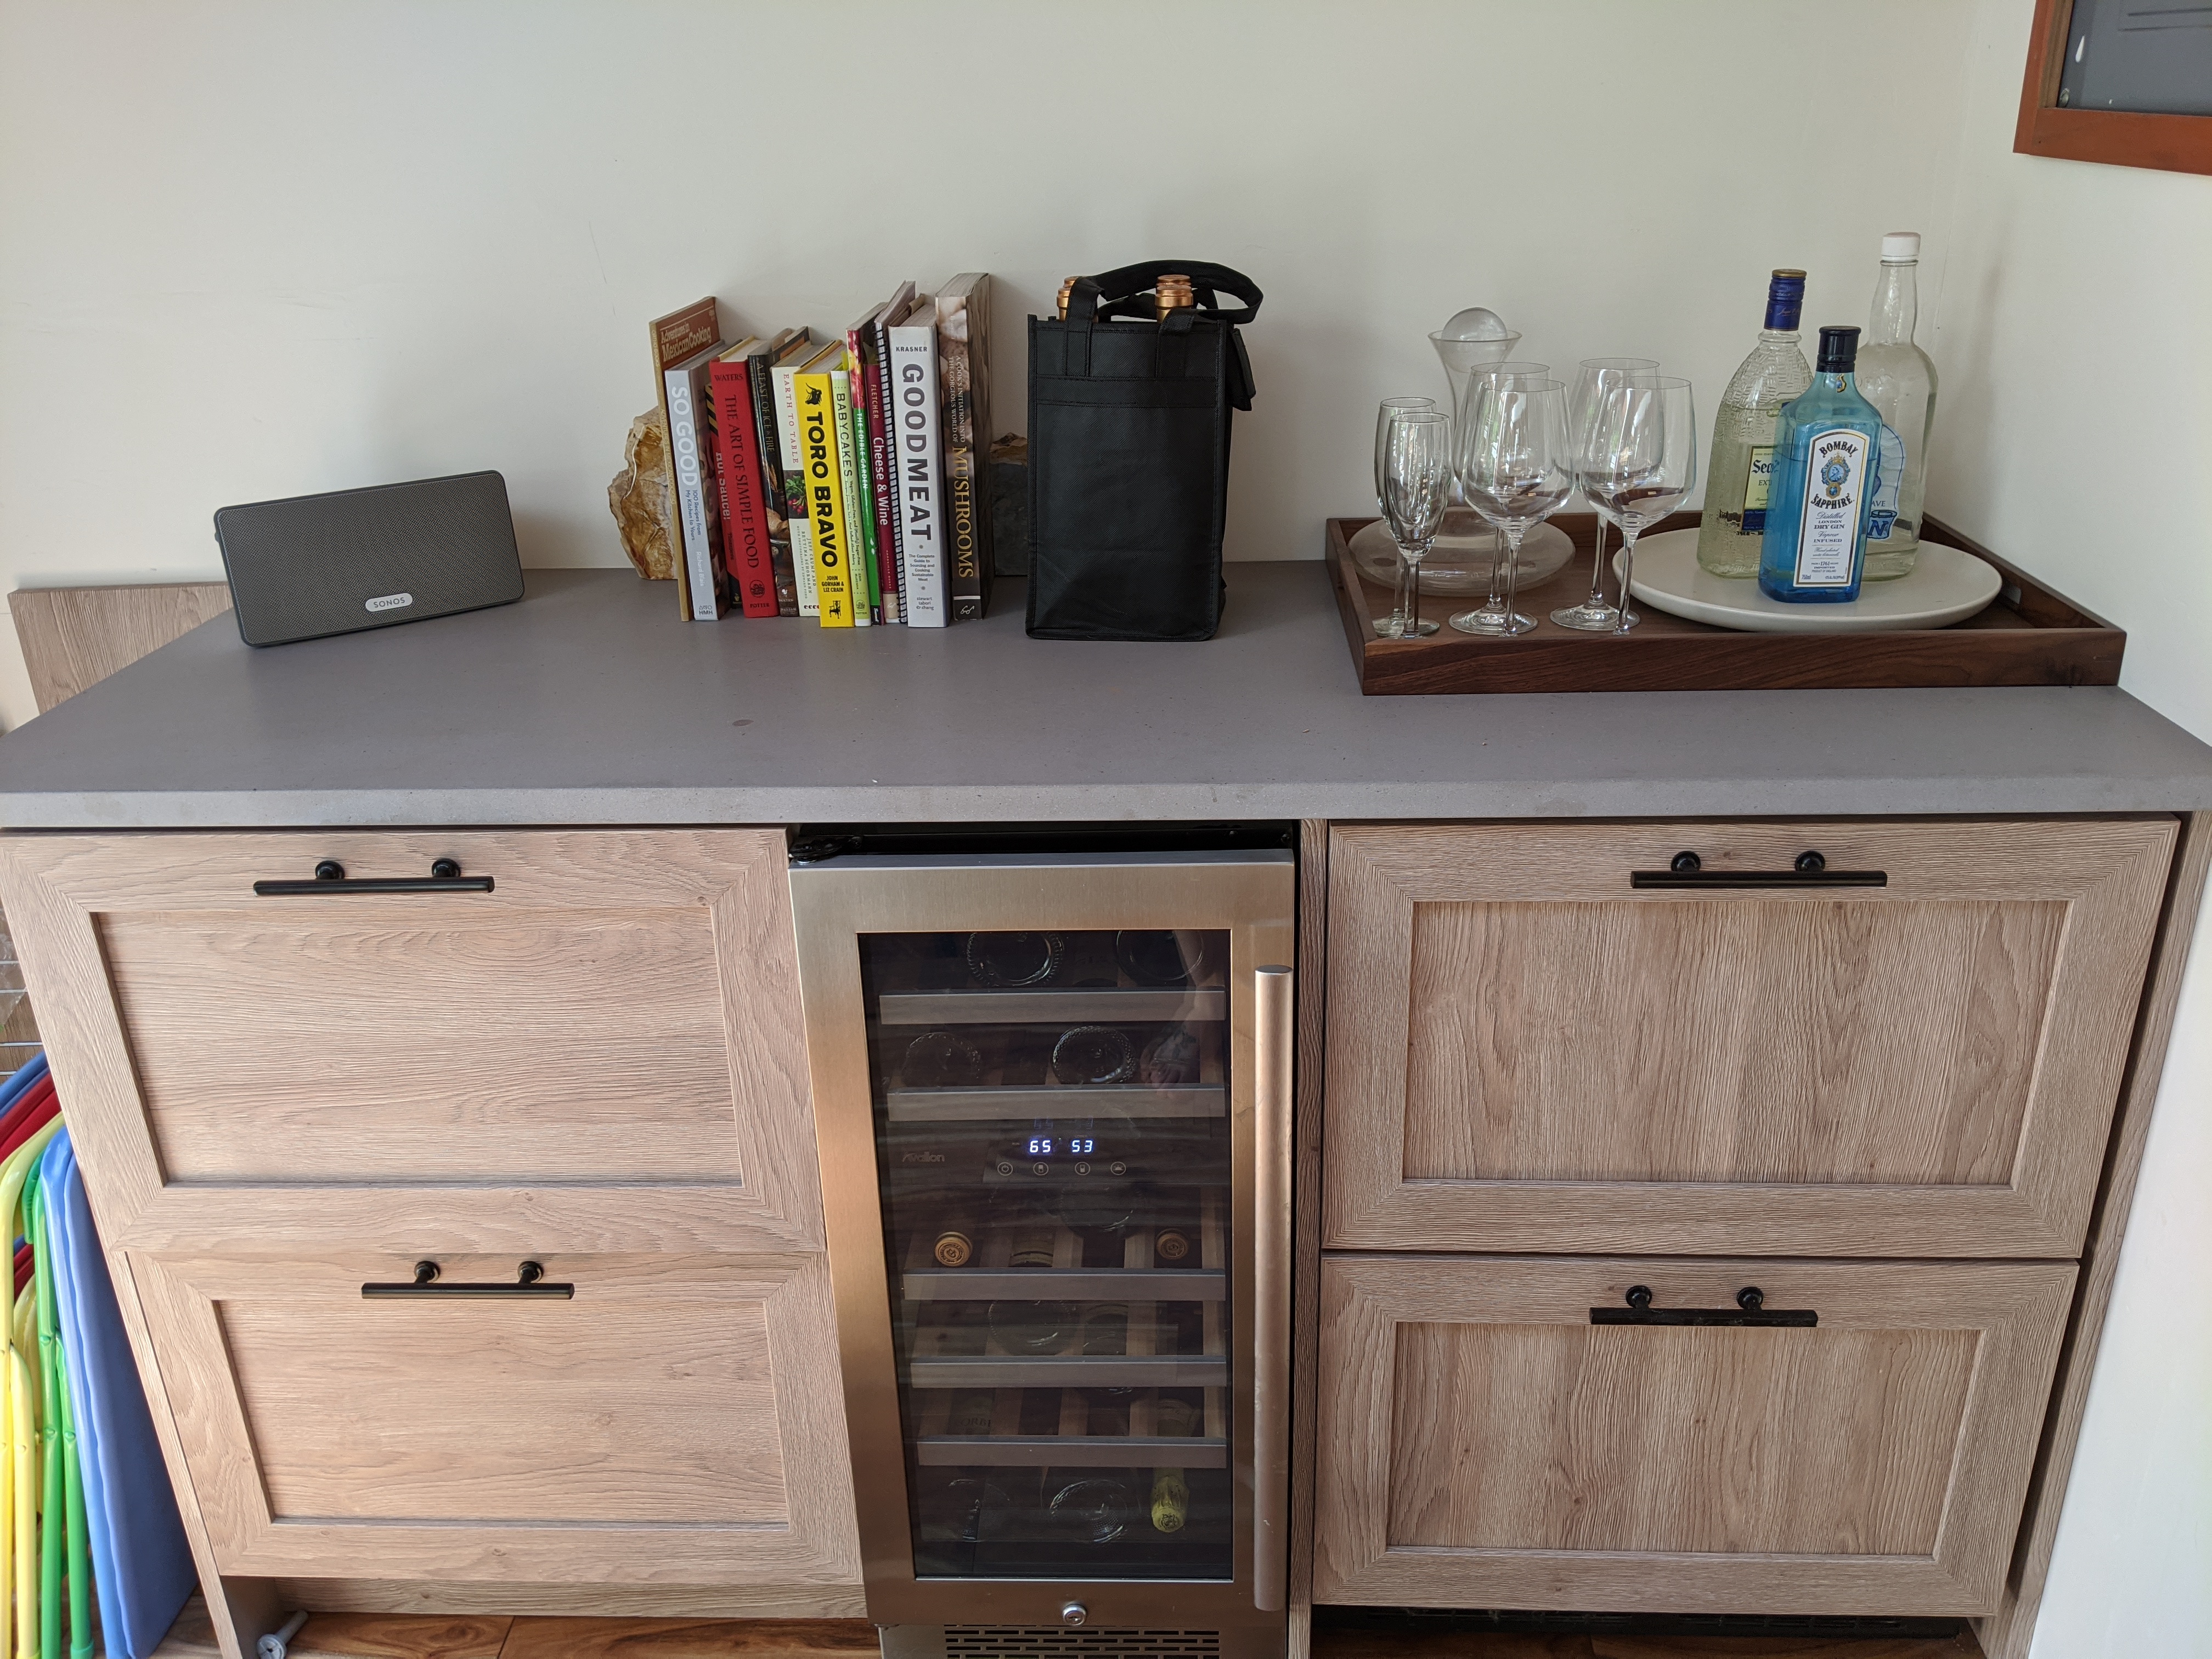
bar area all done and stocked
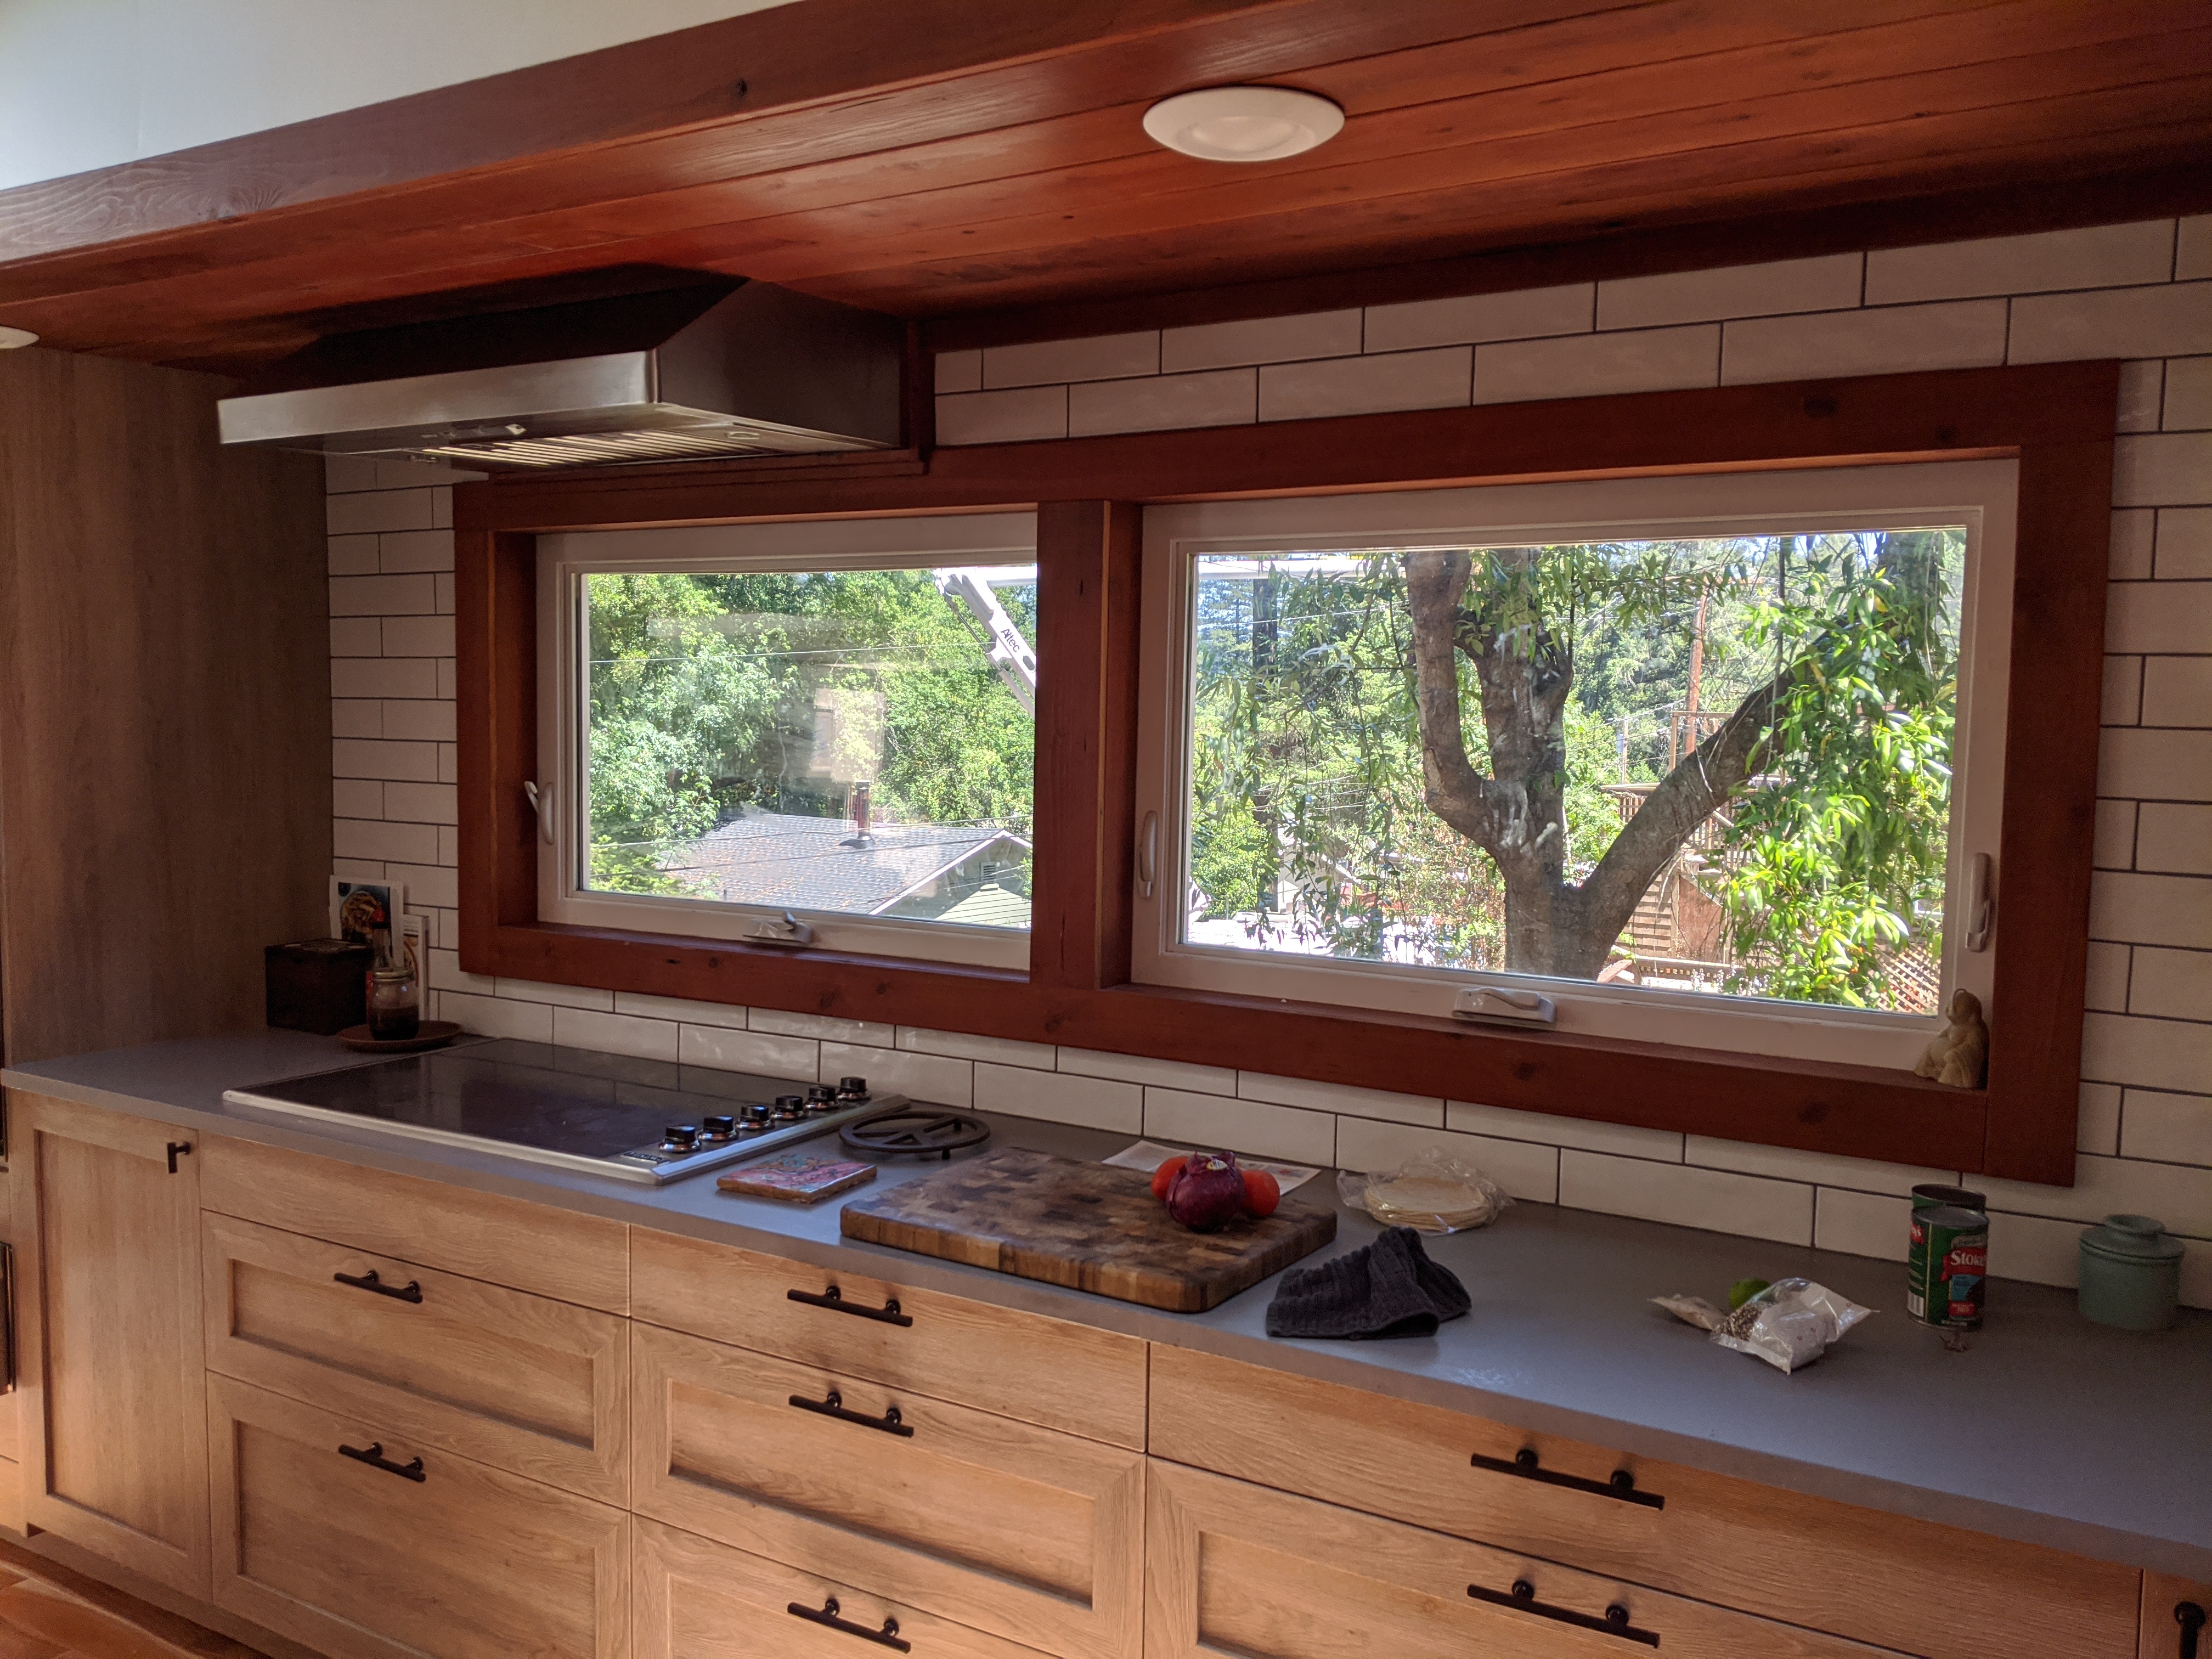
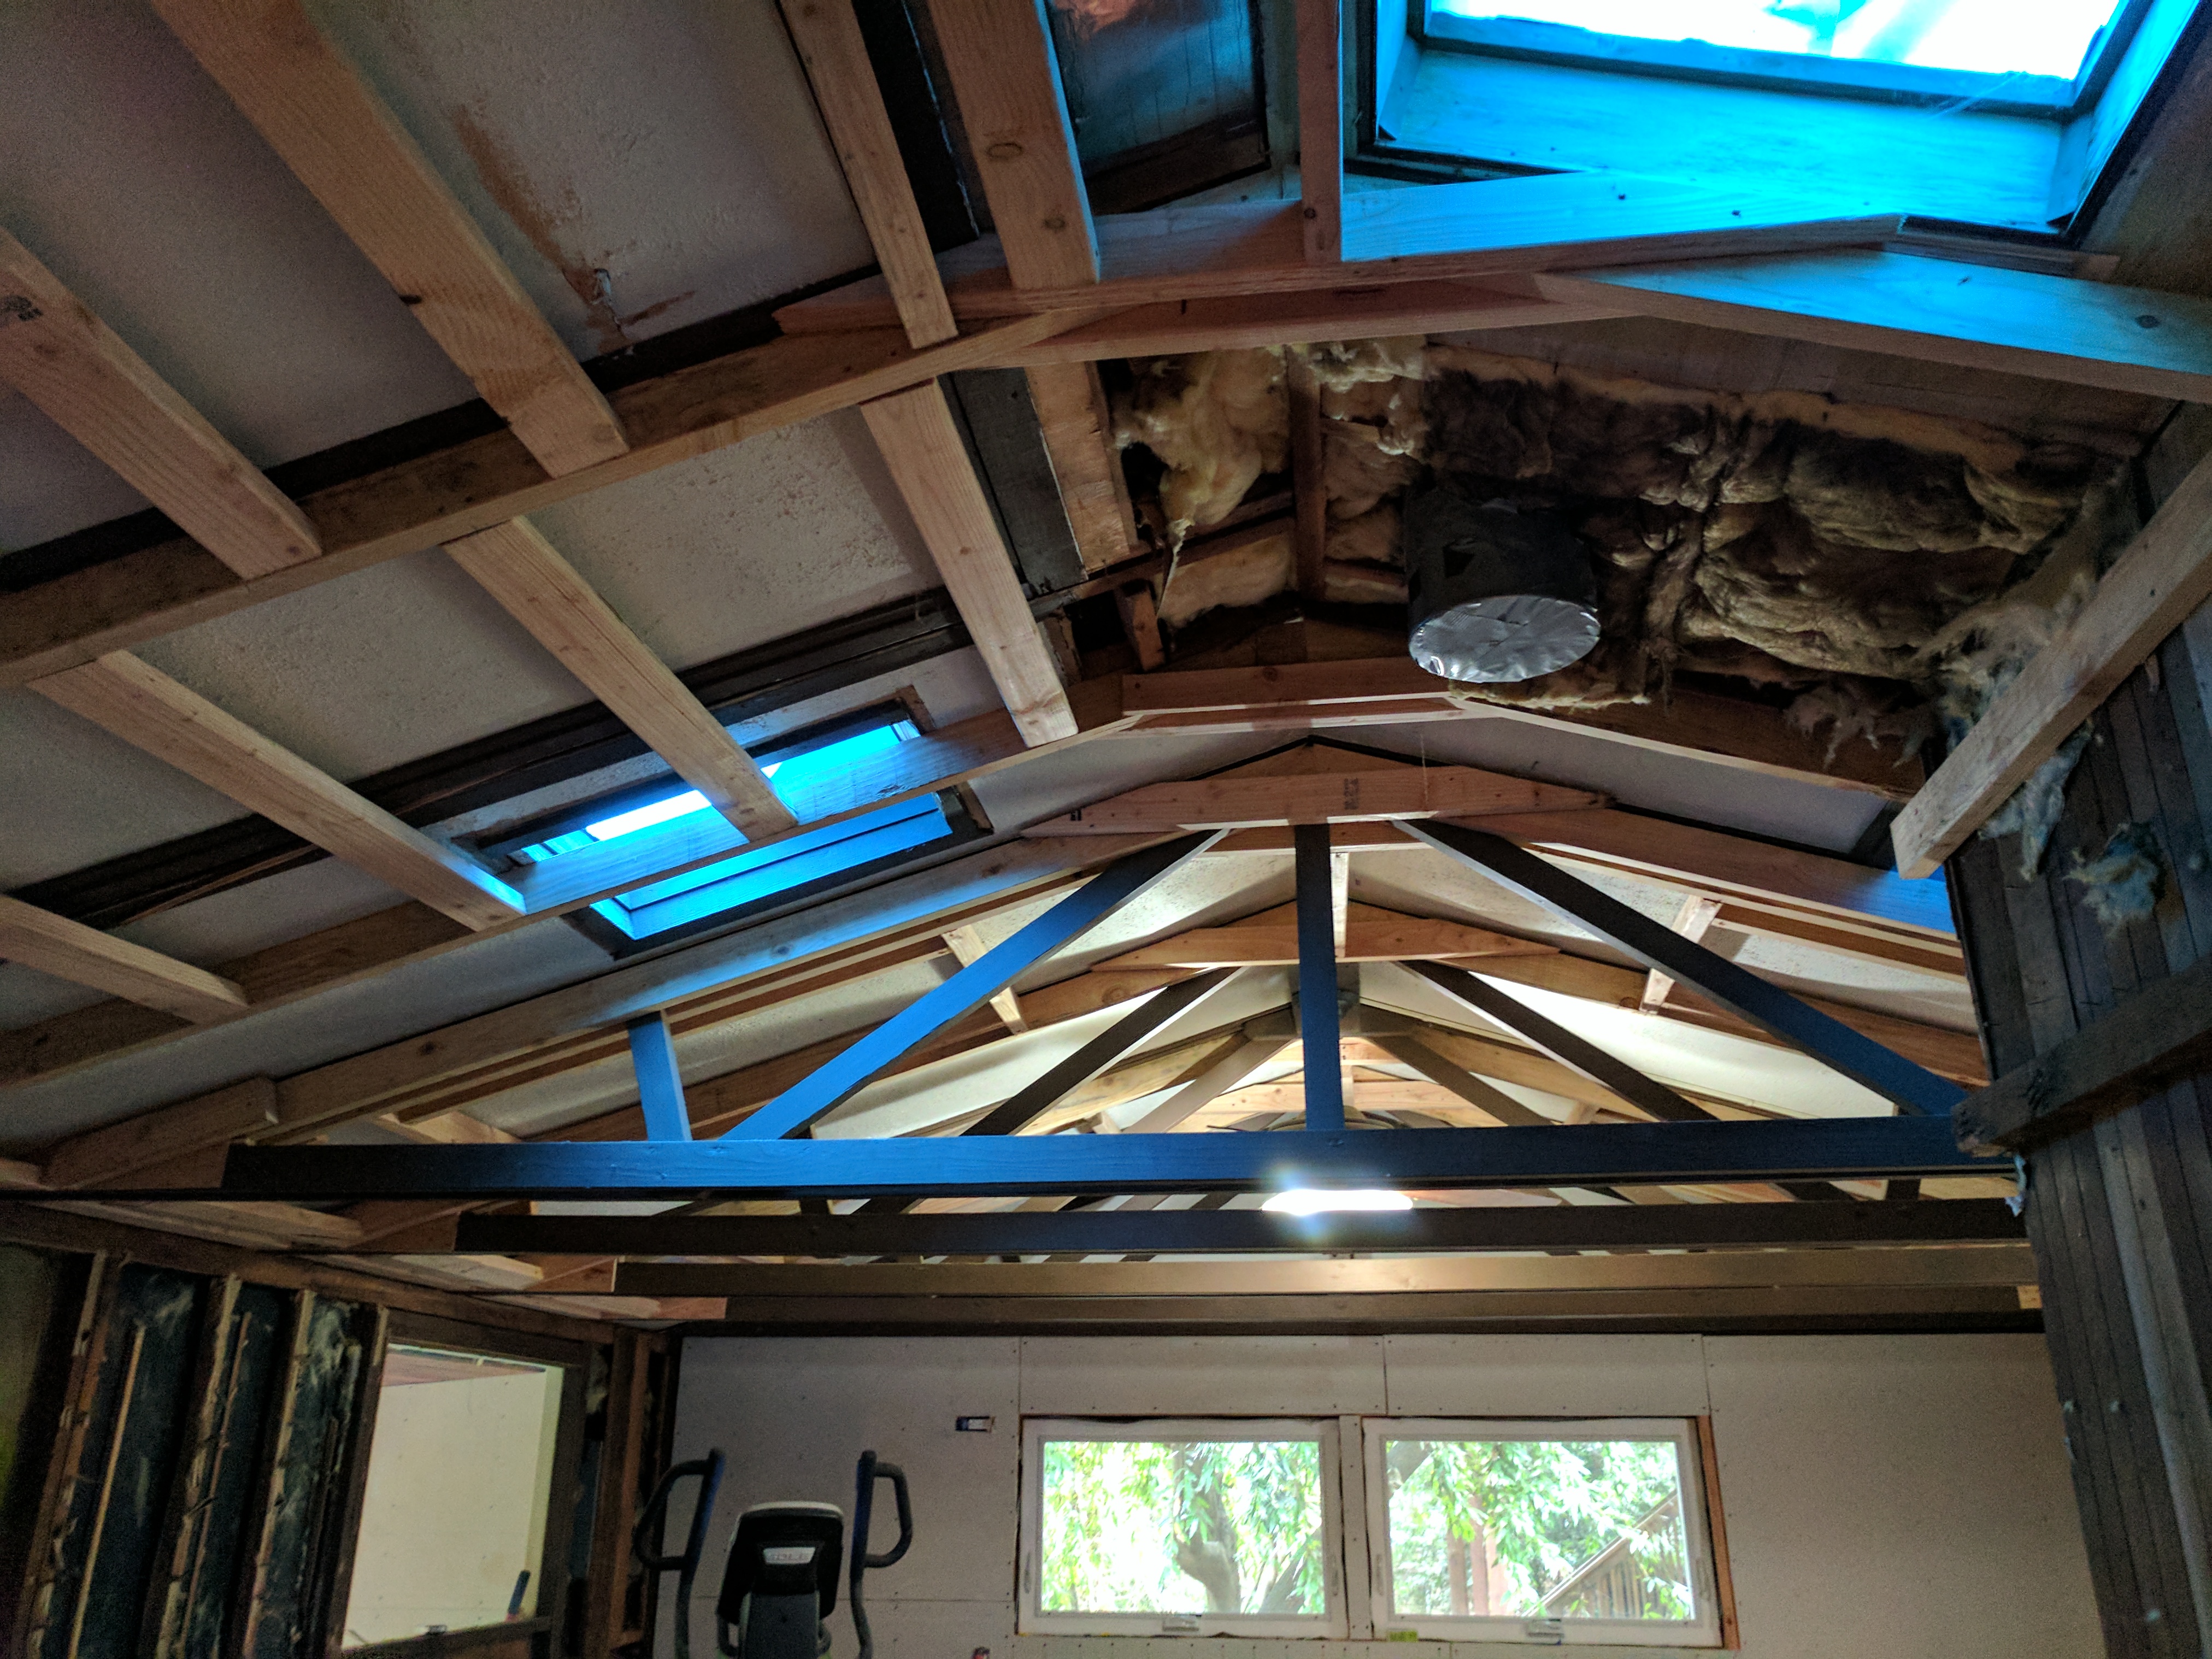
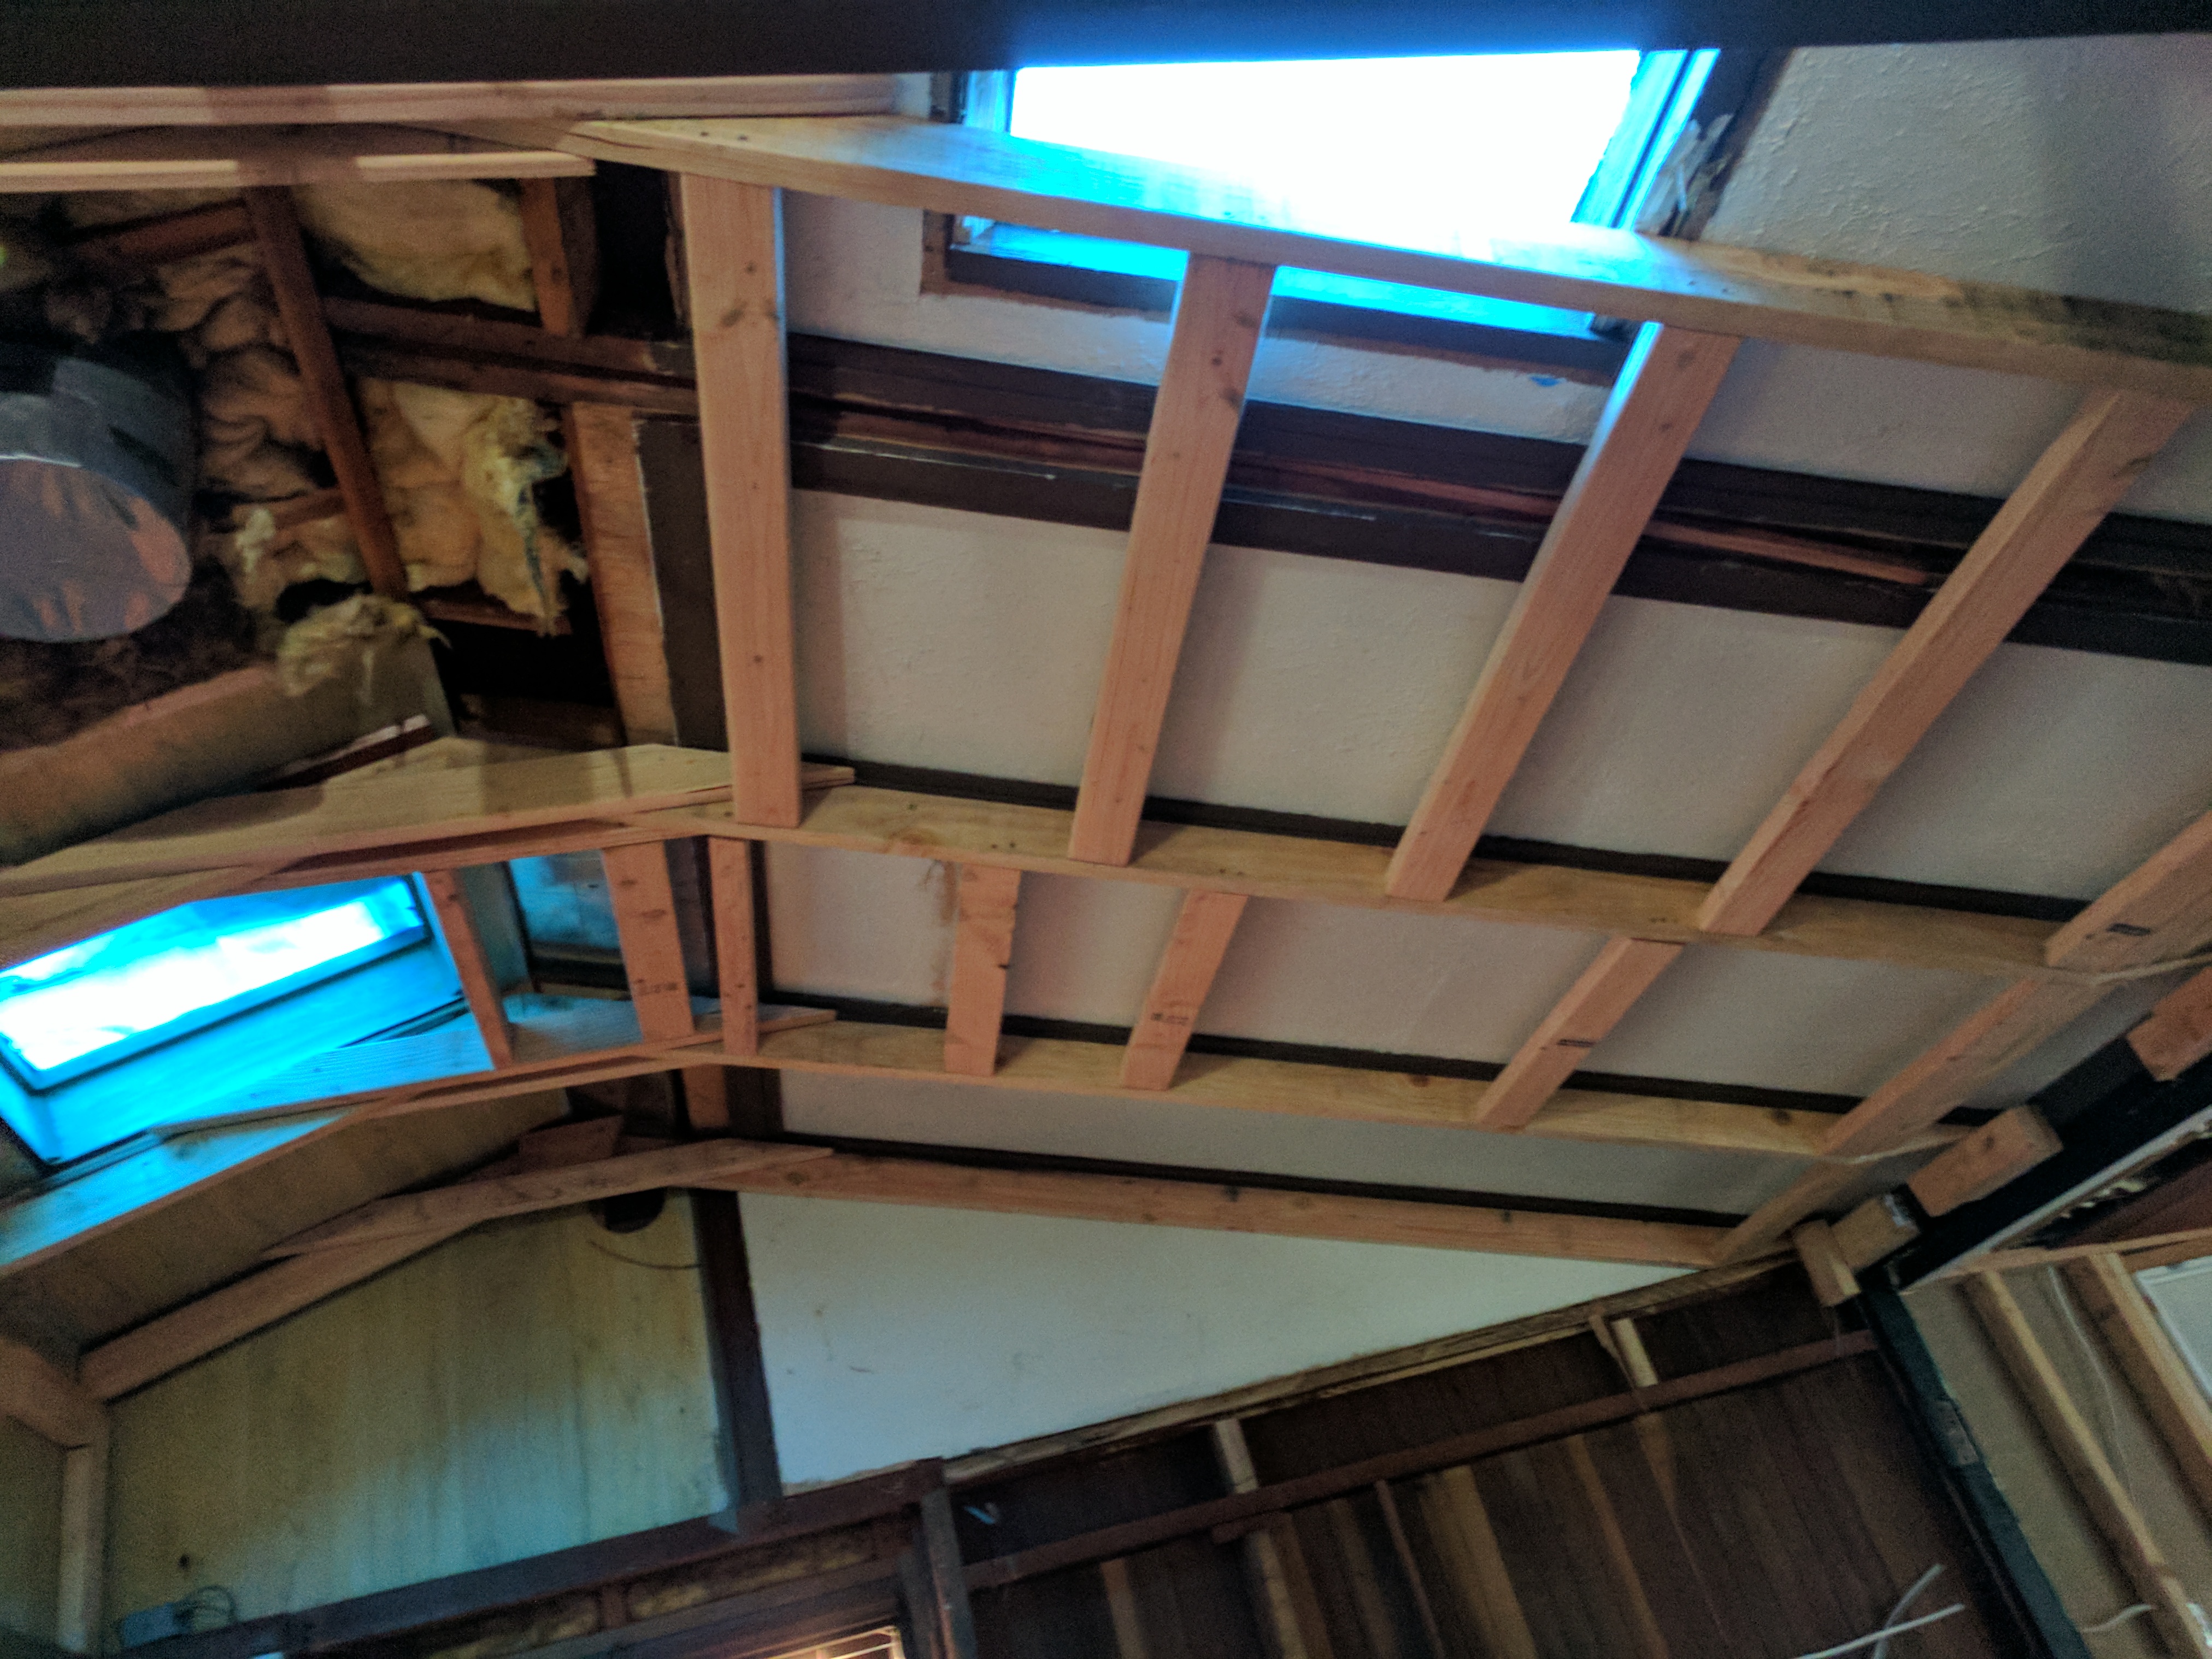
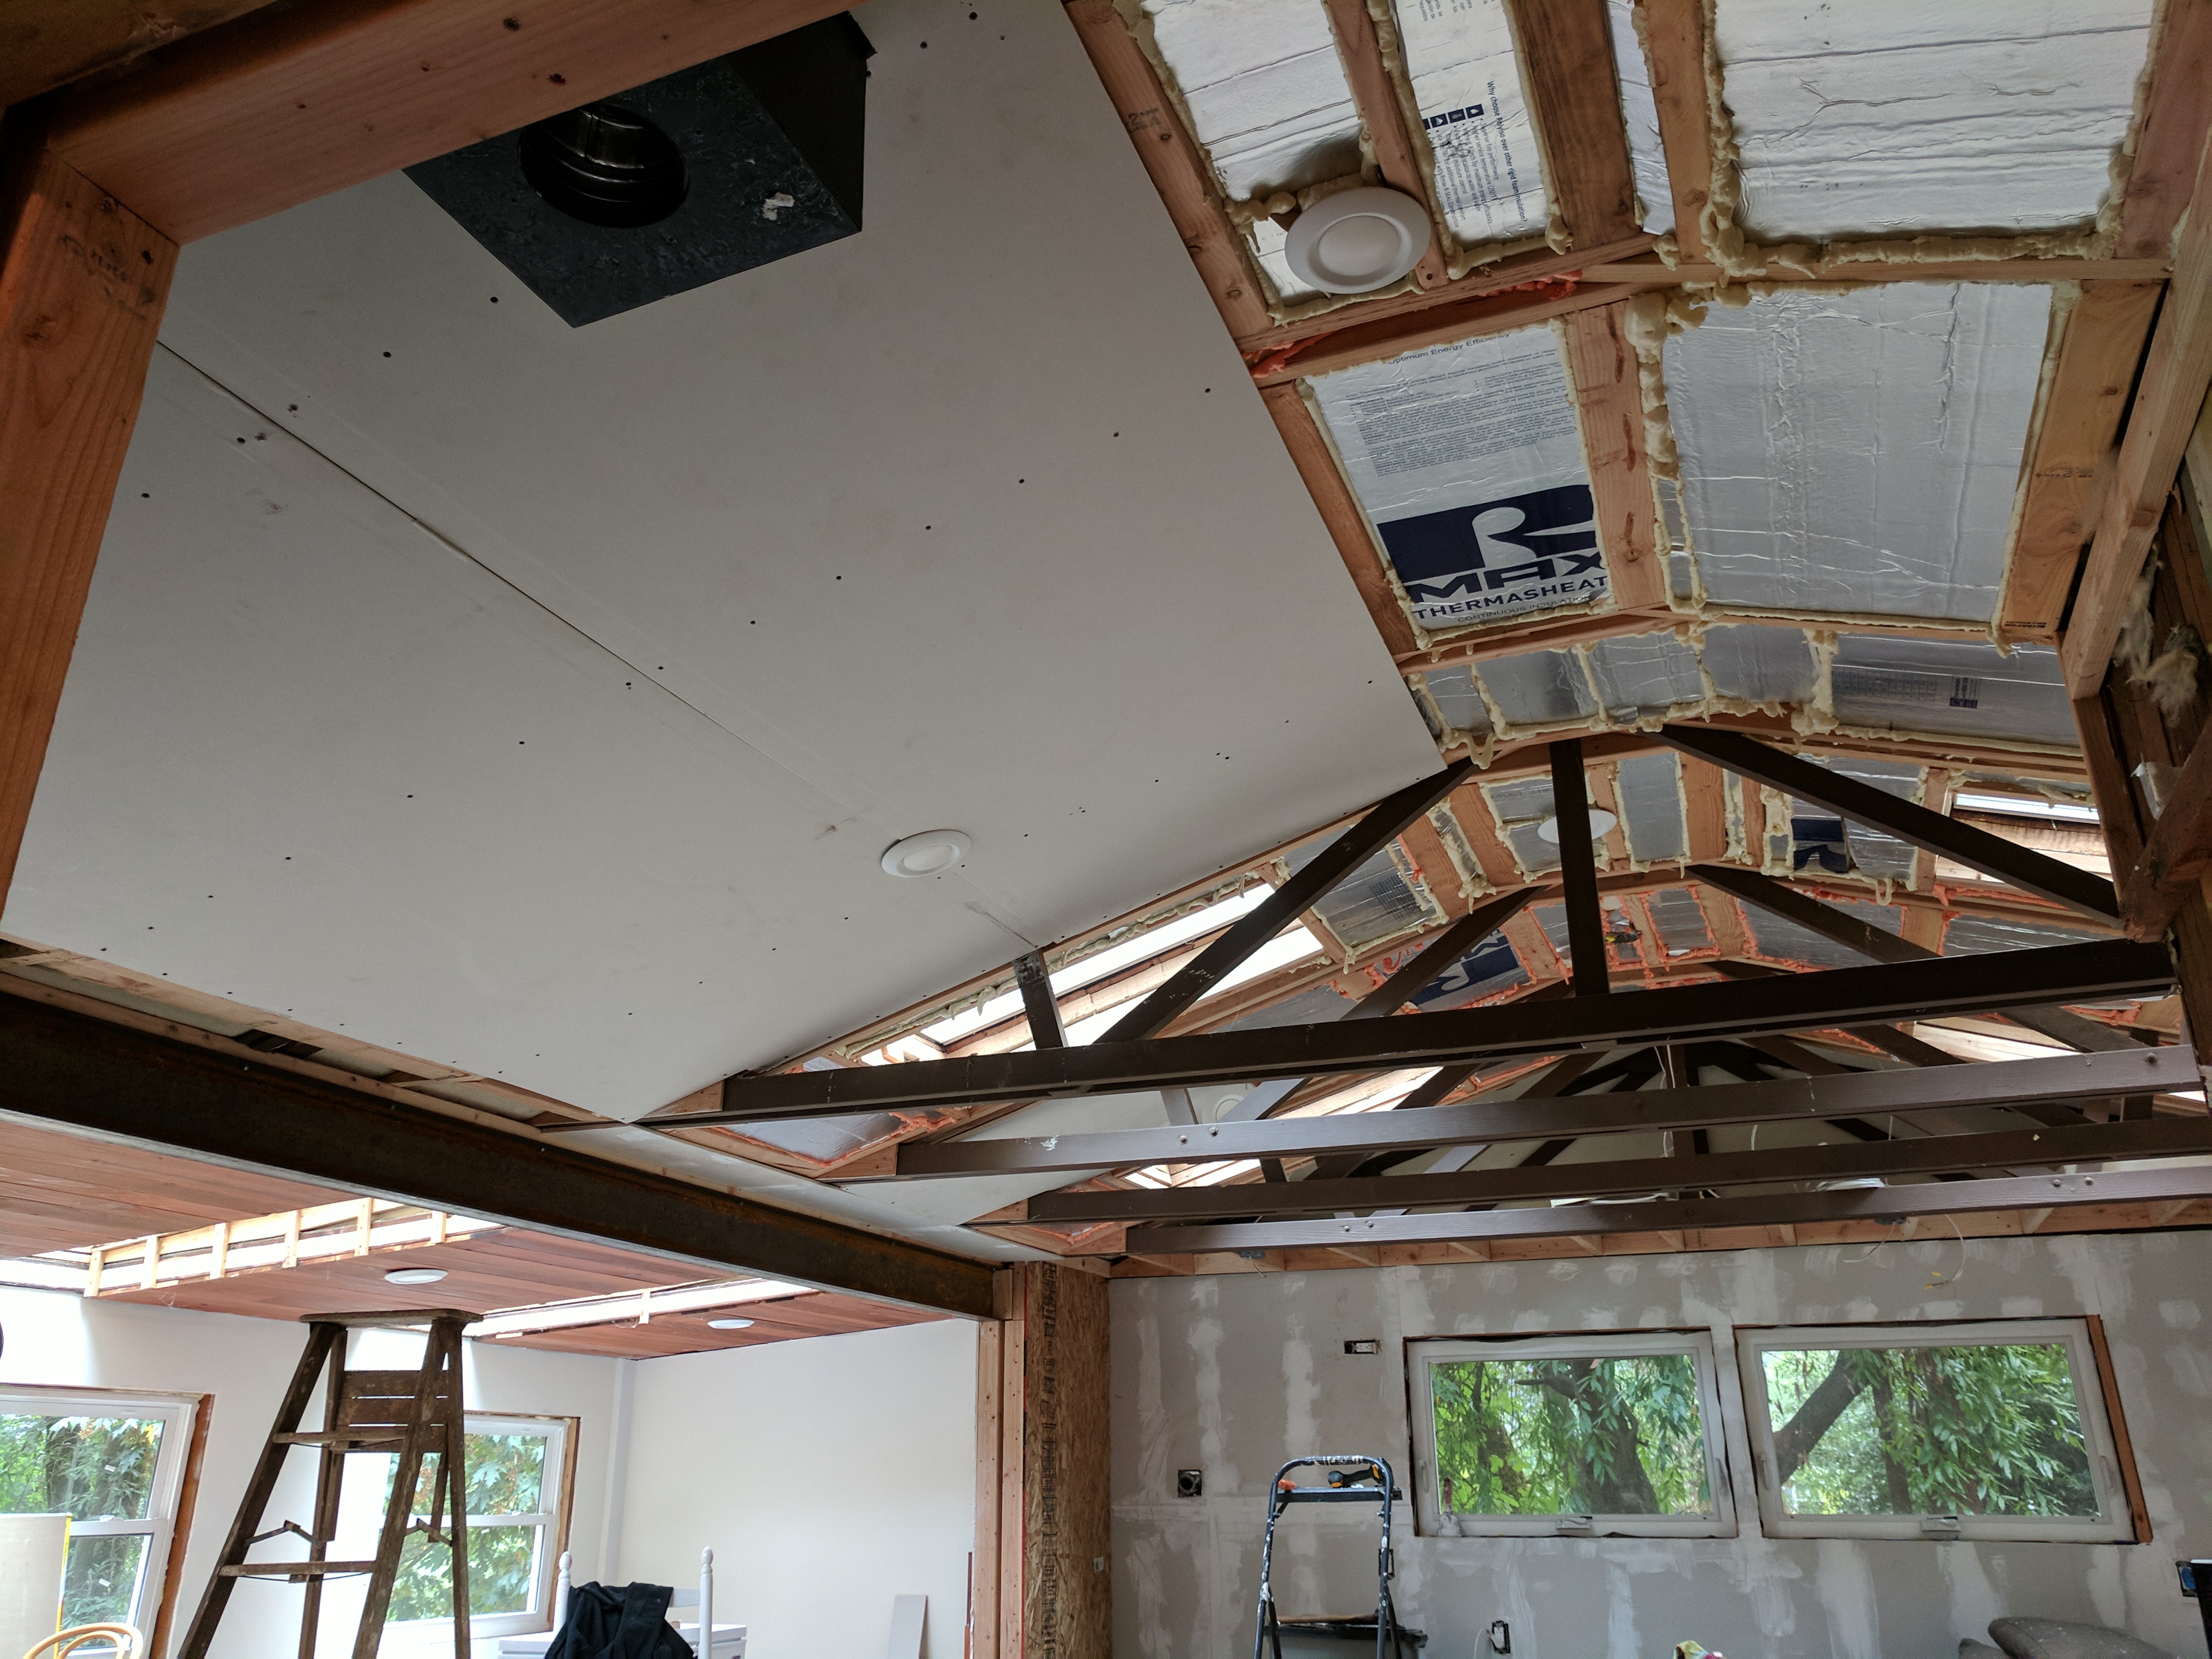
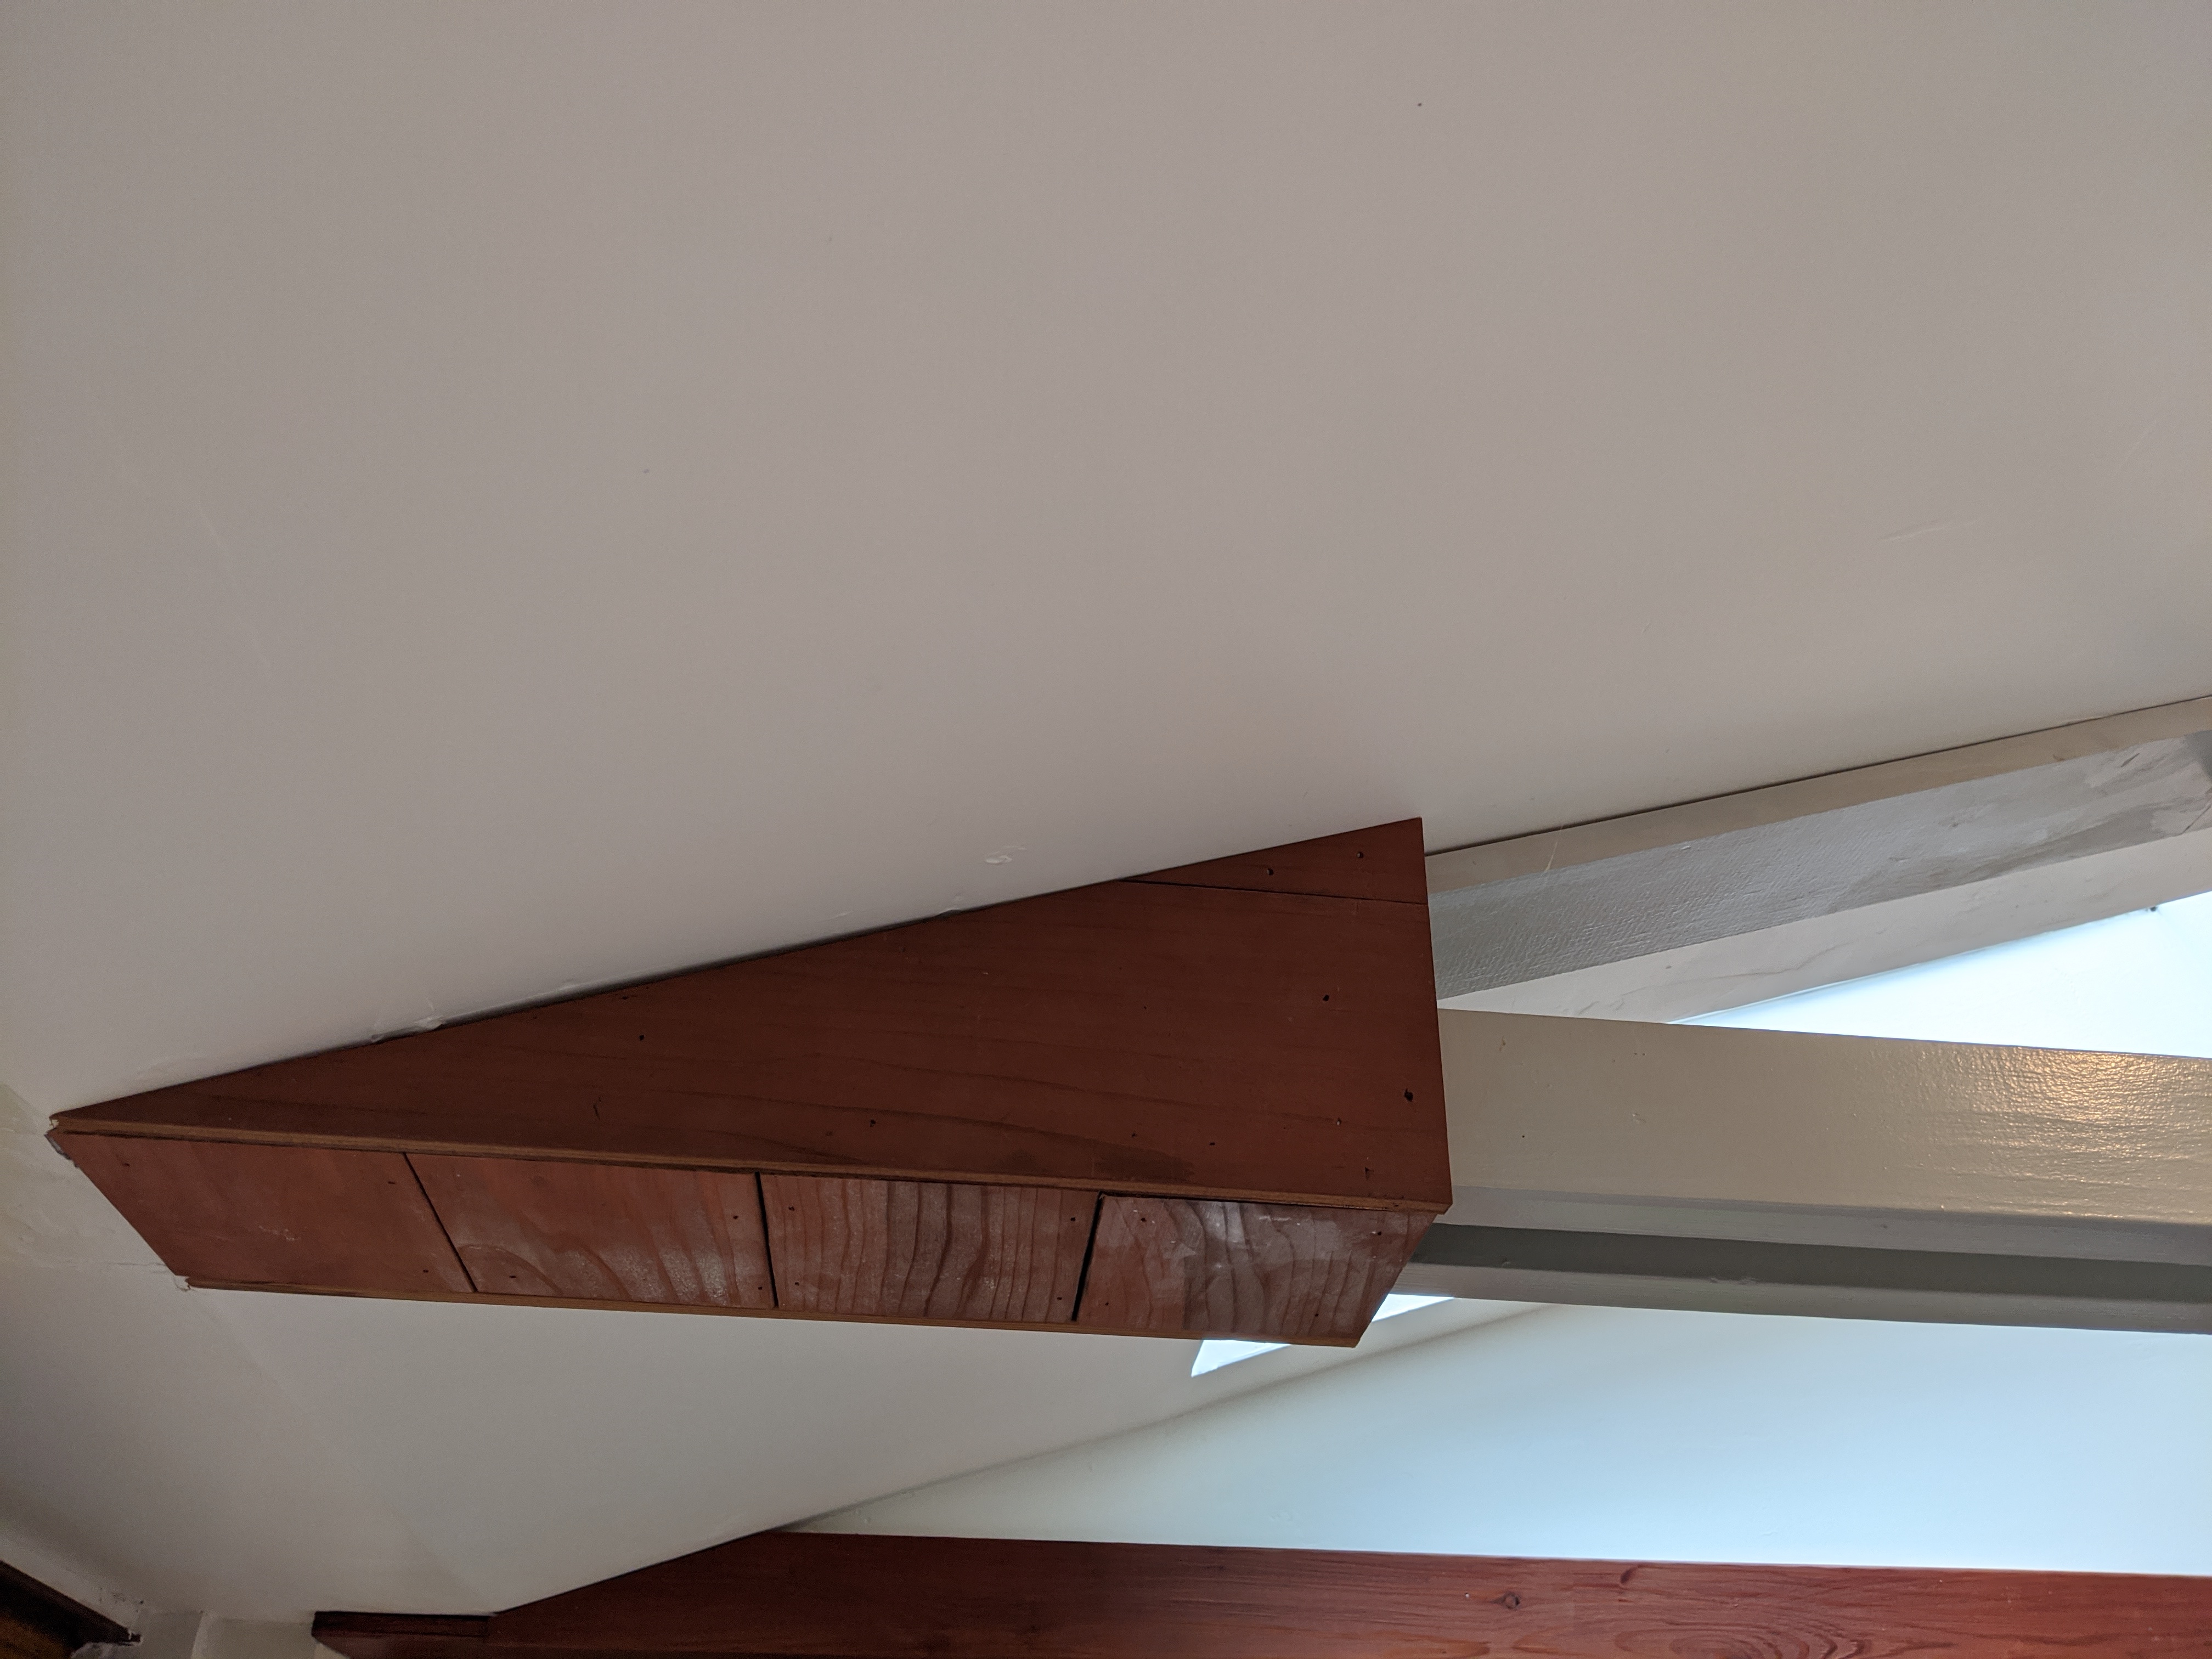
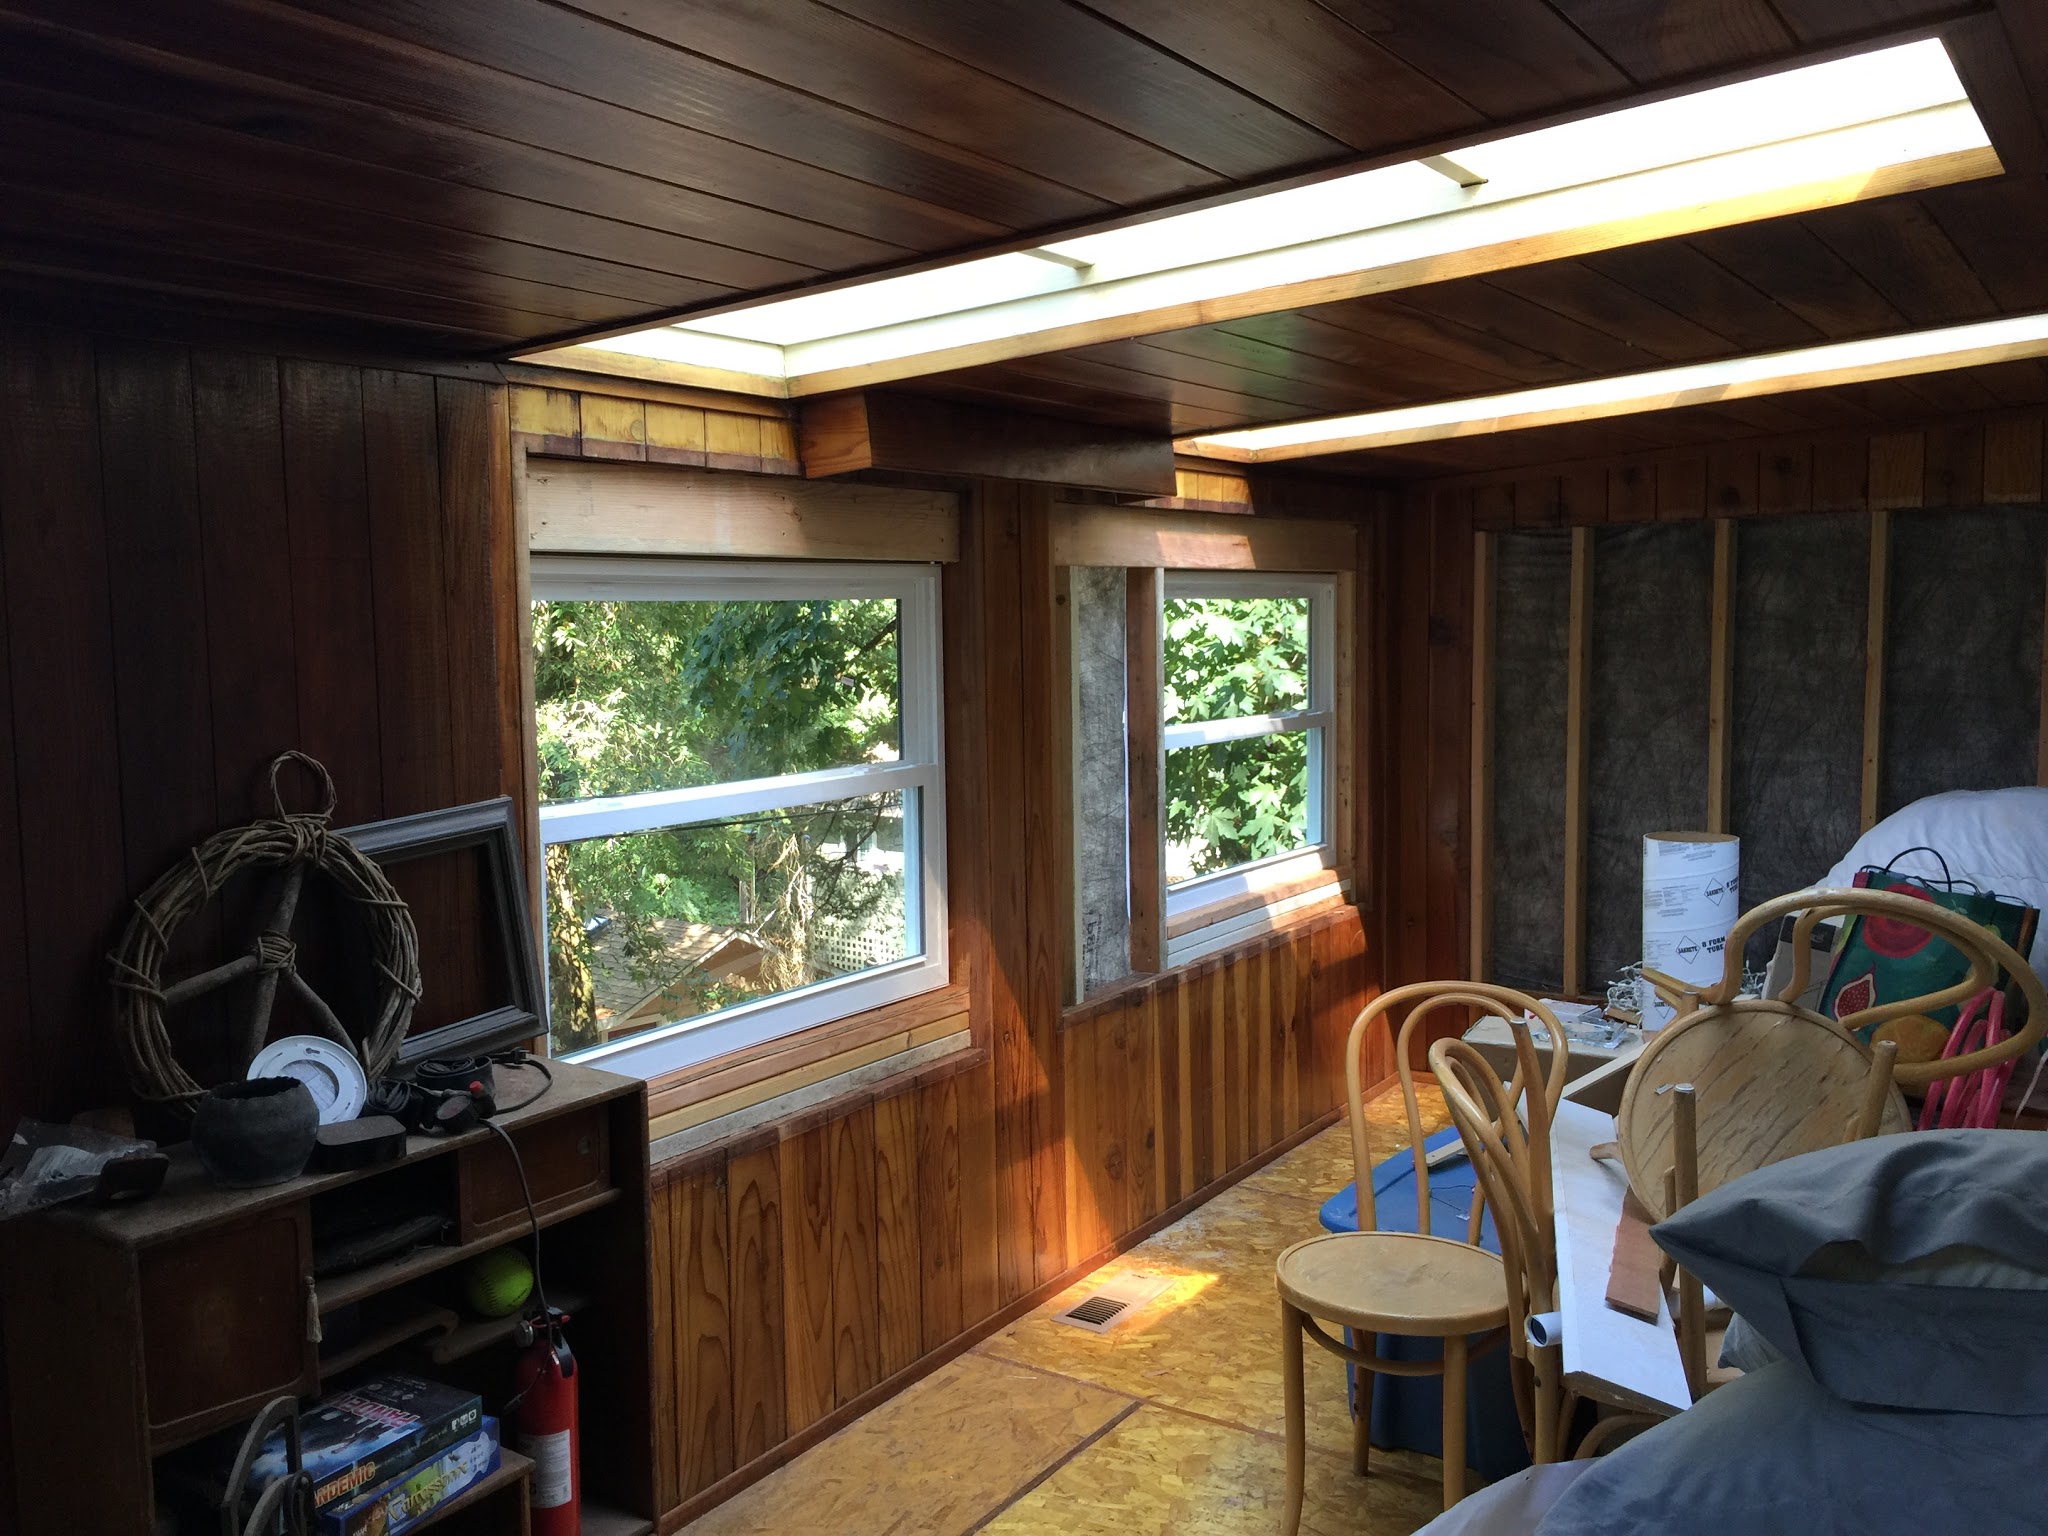
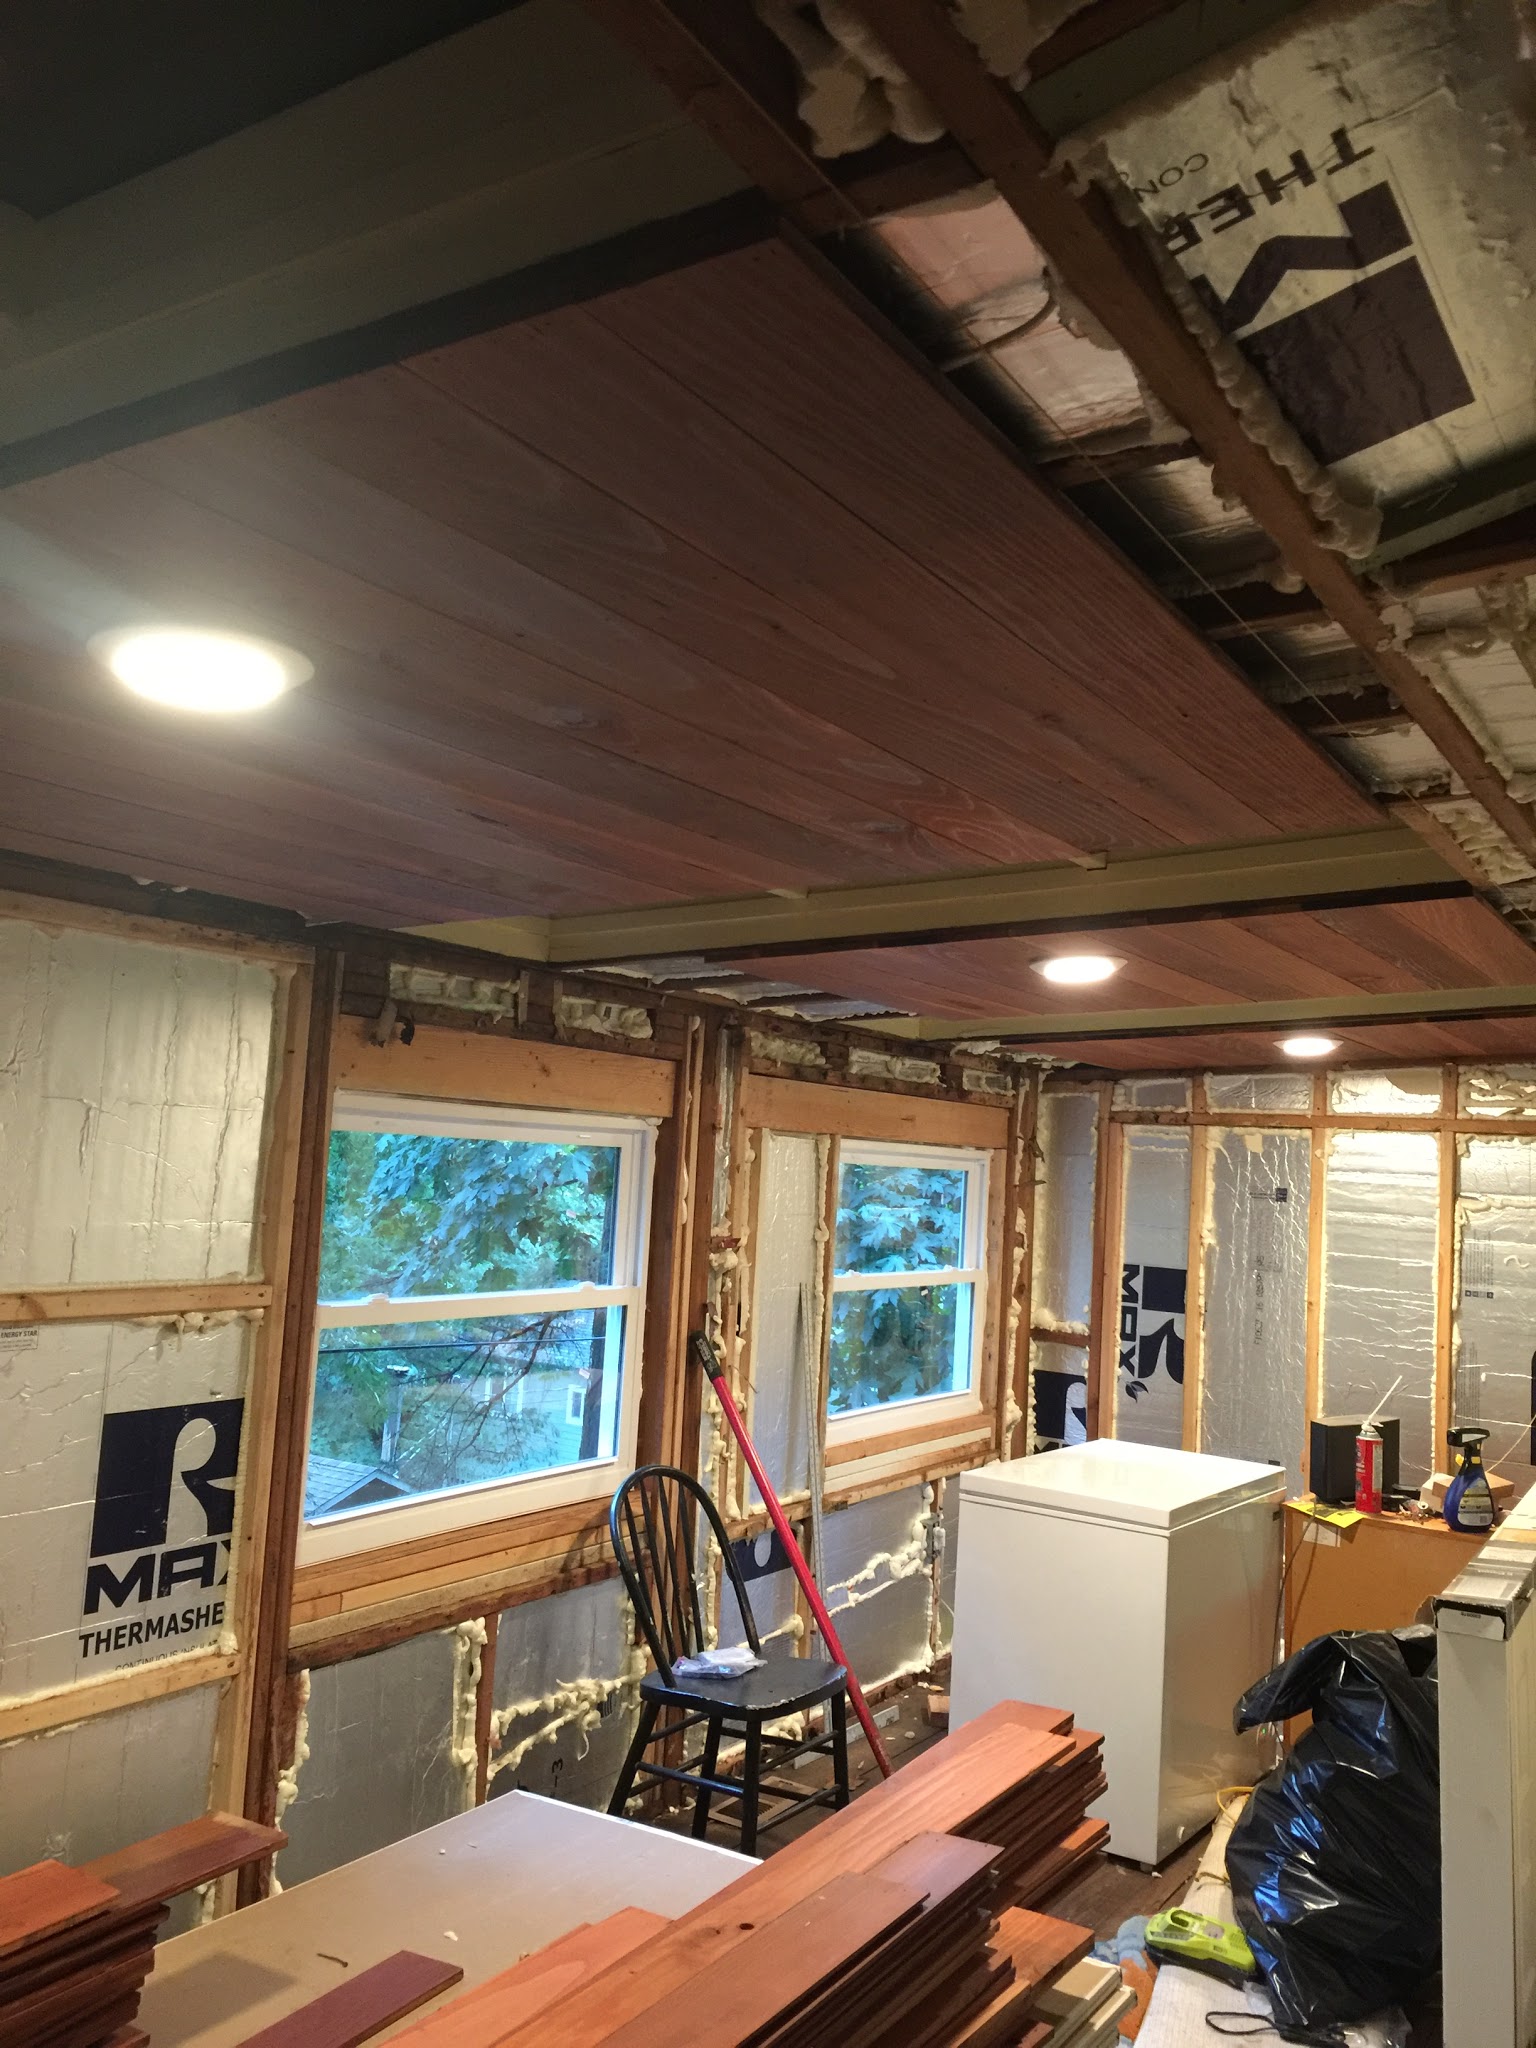
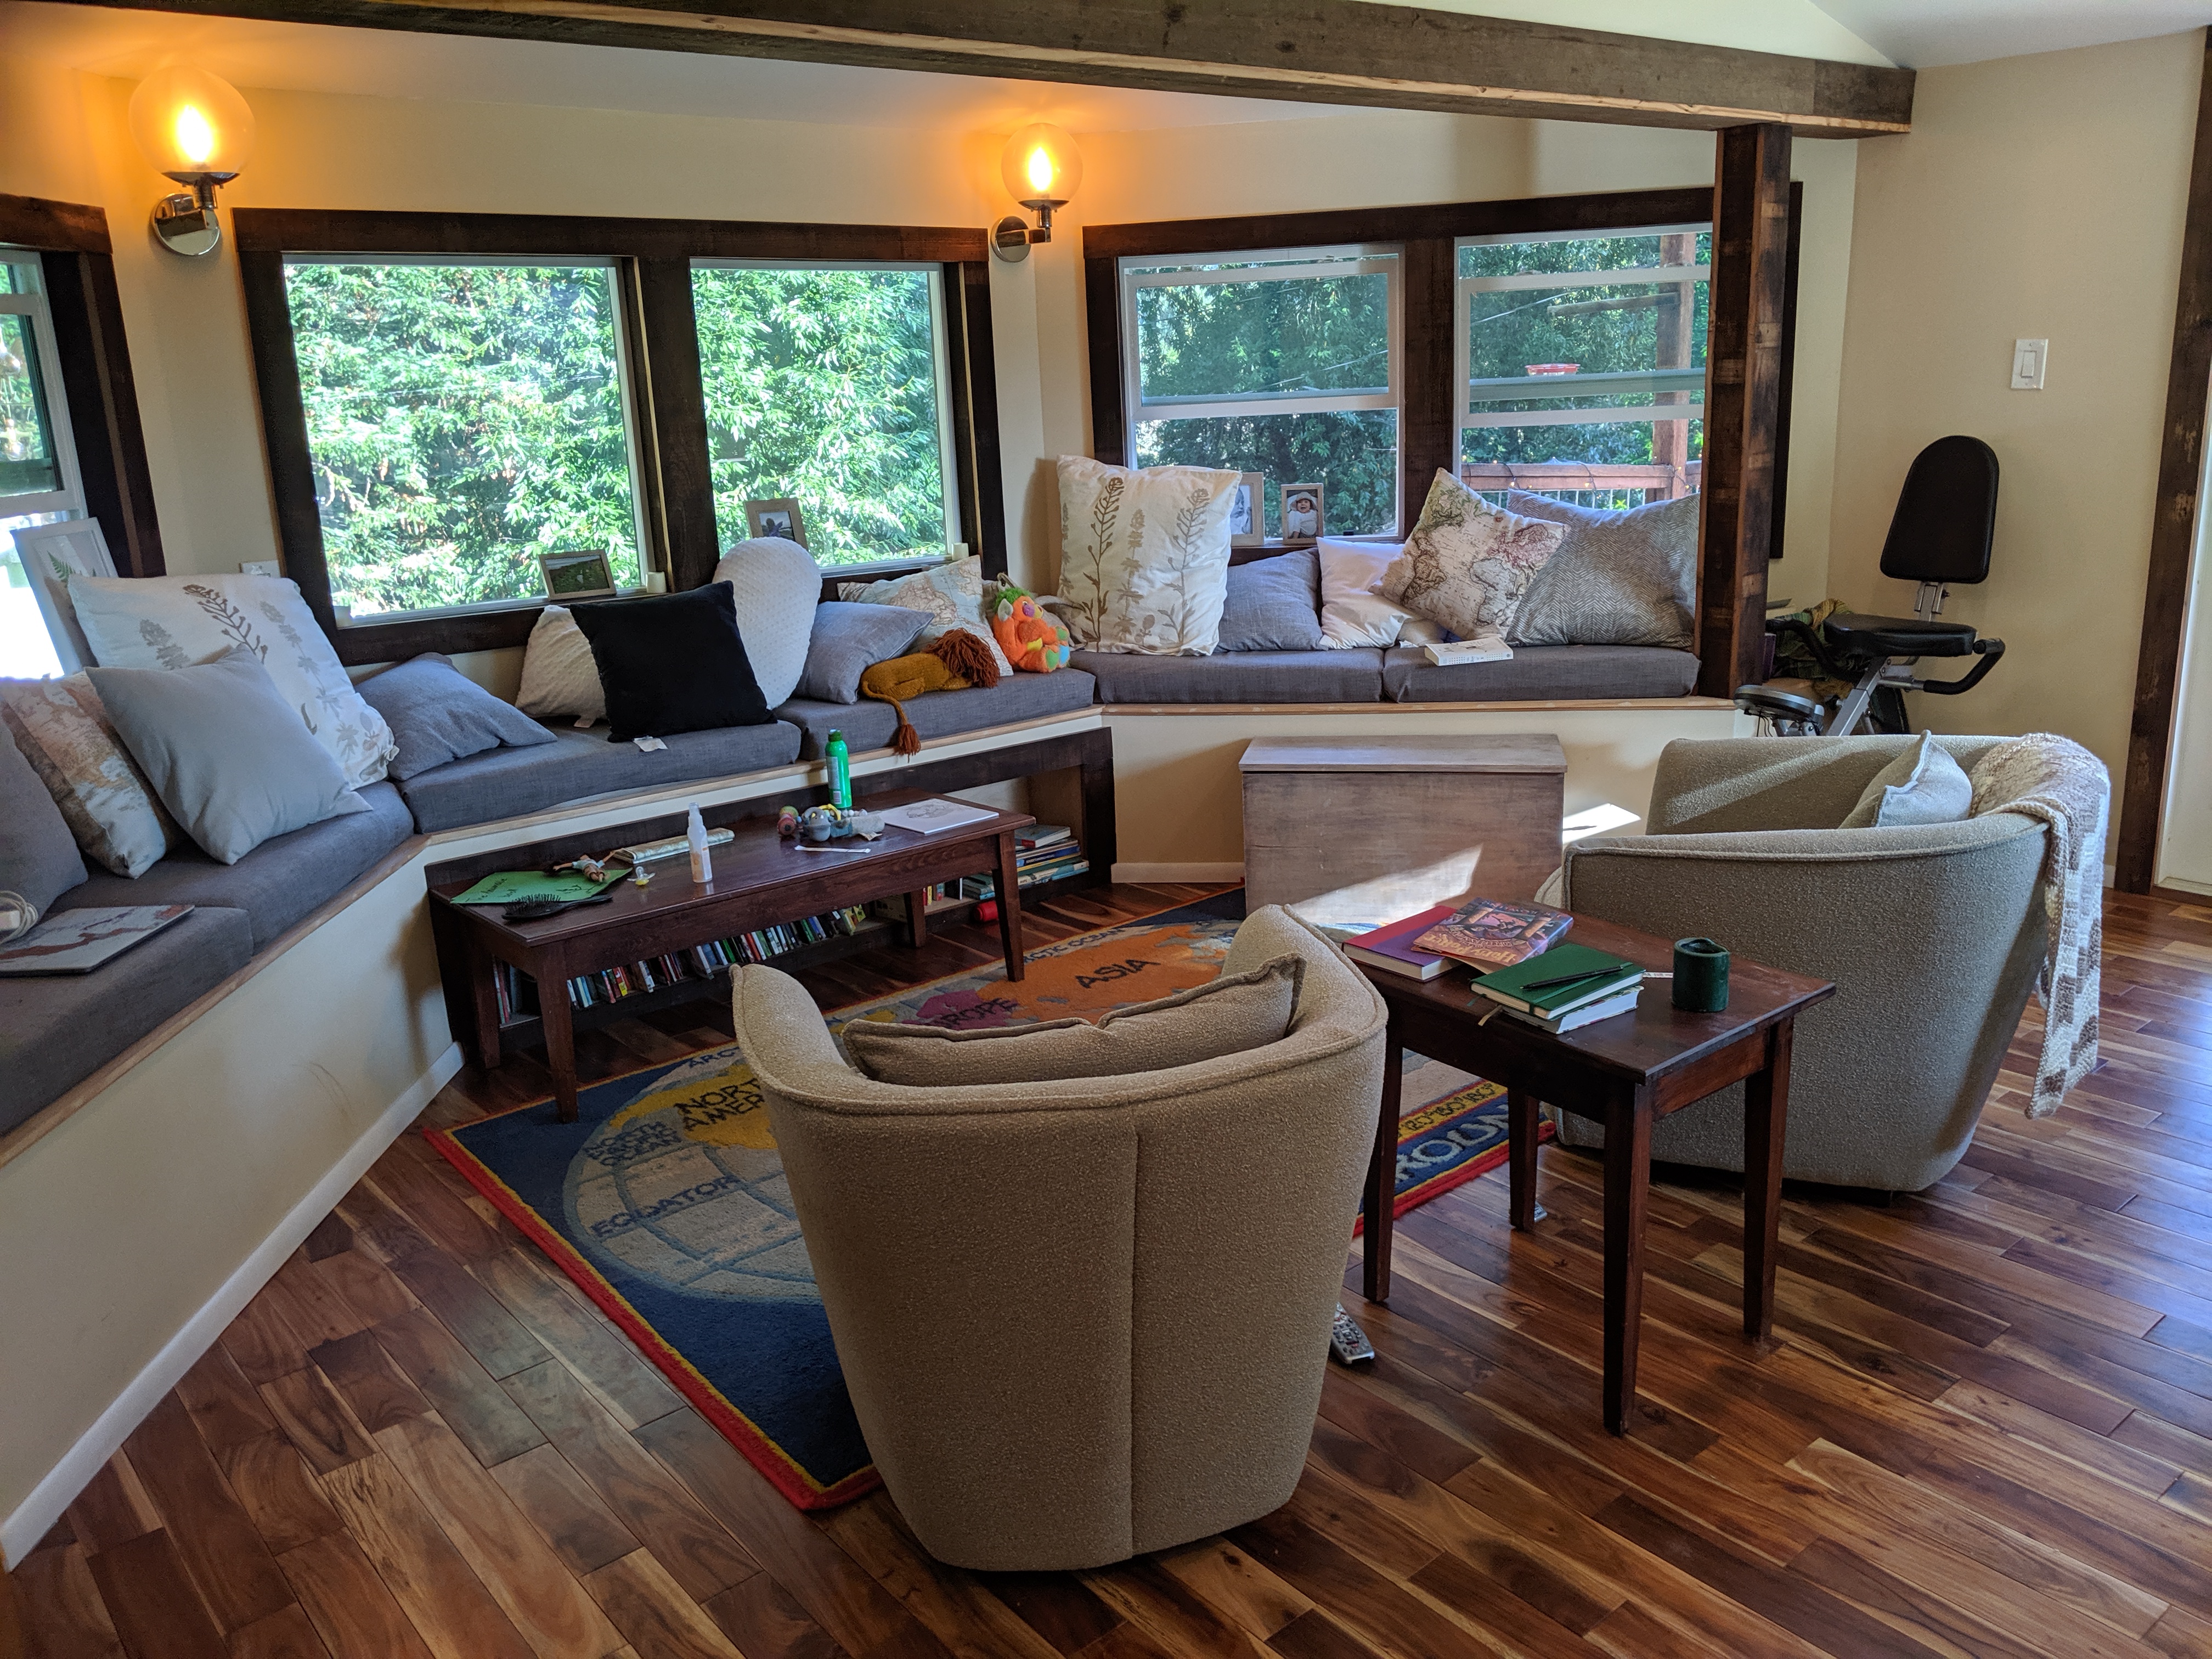
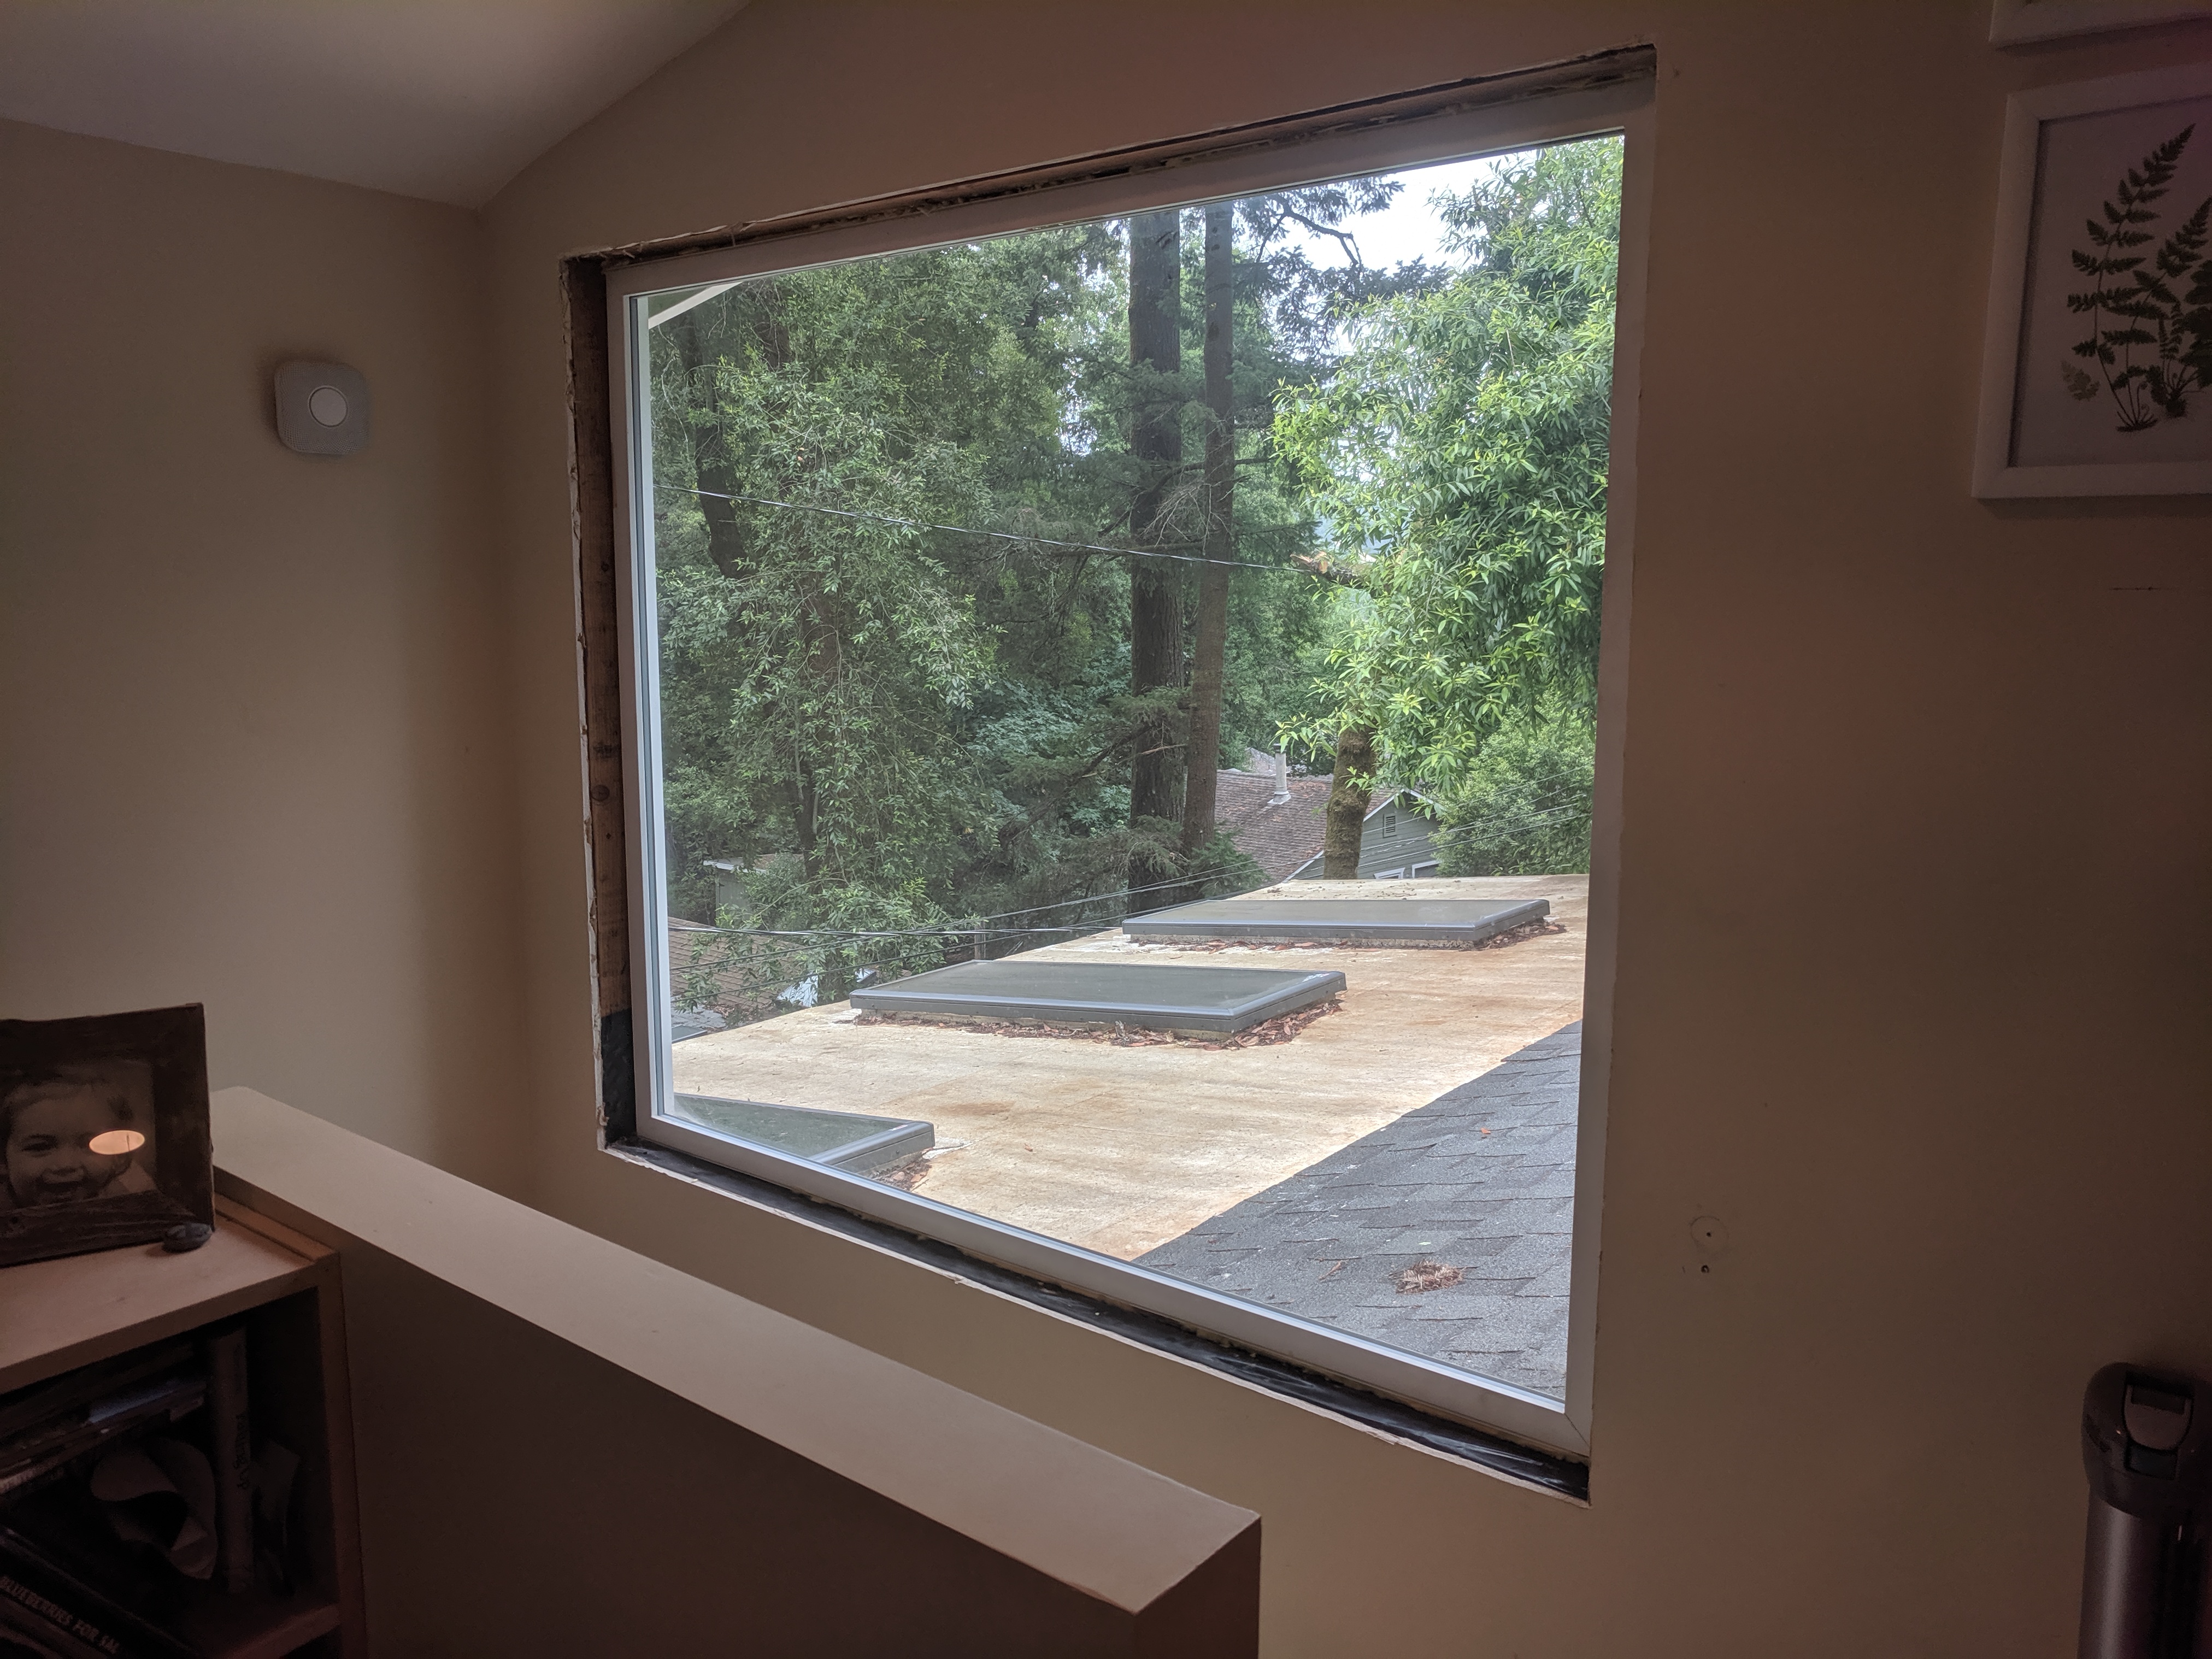
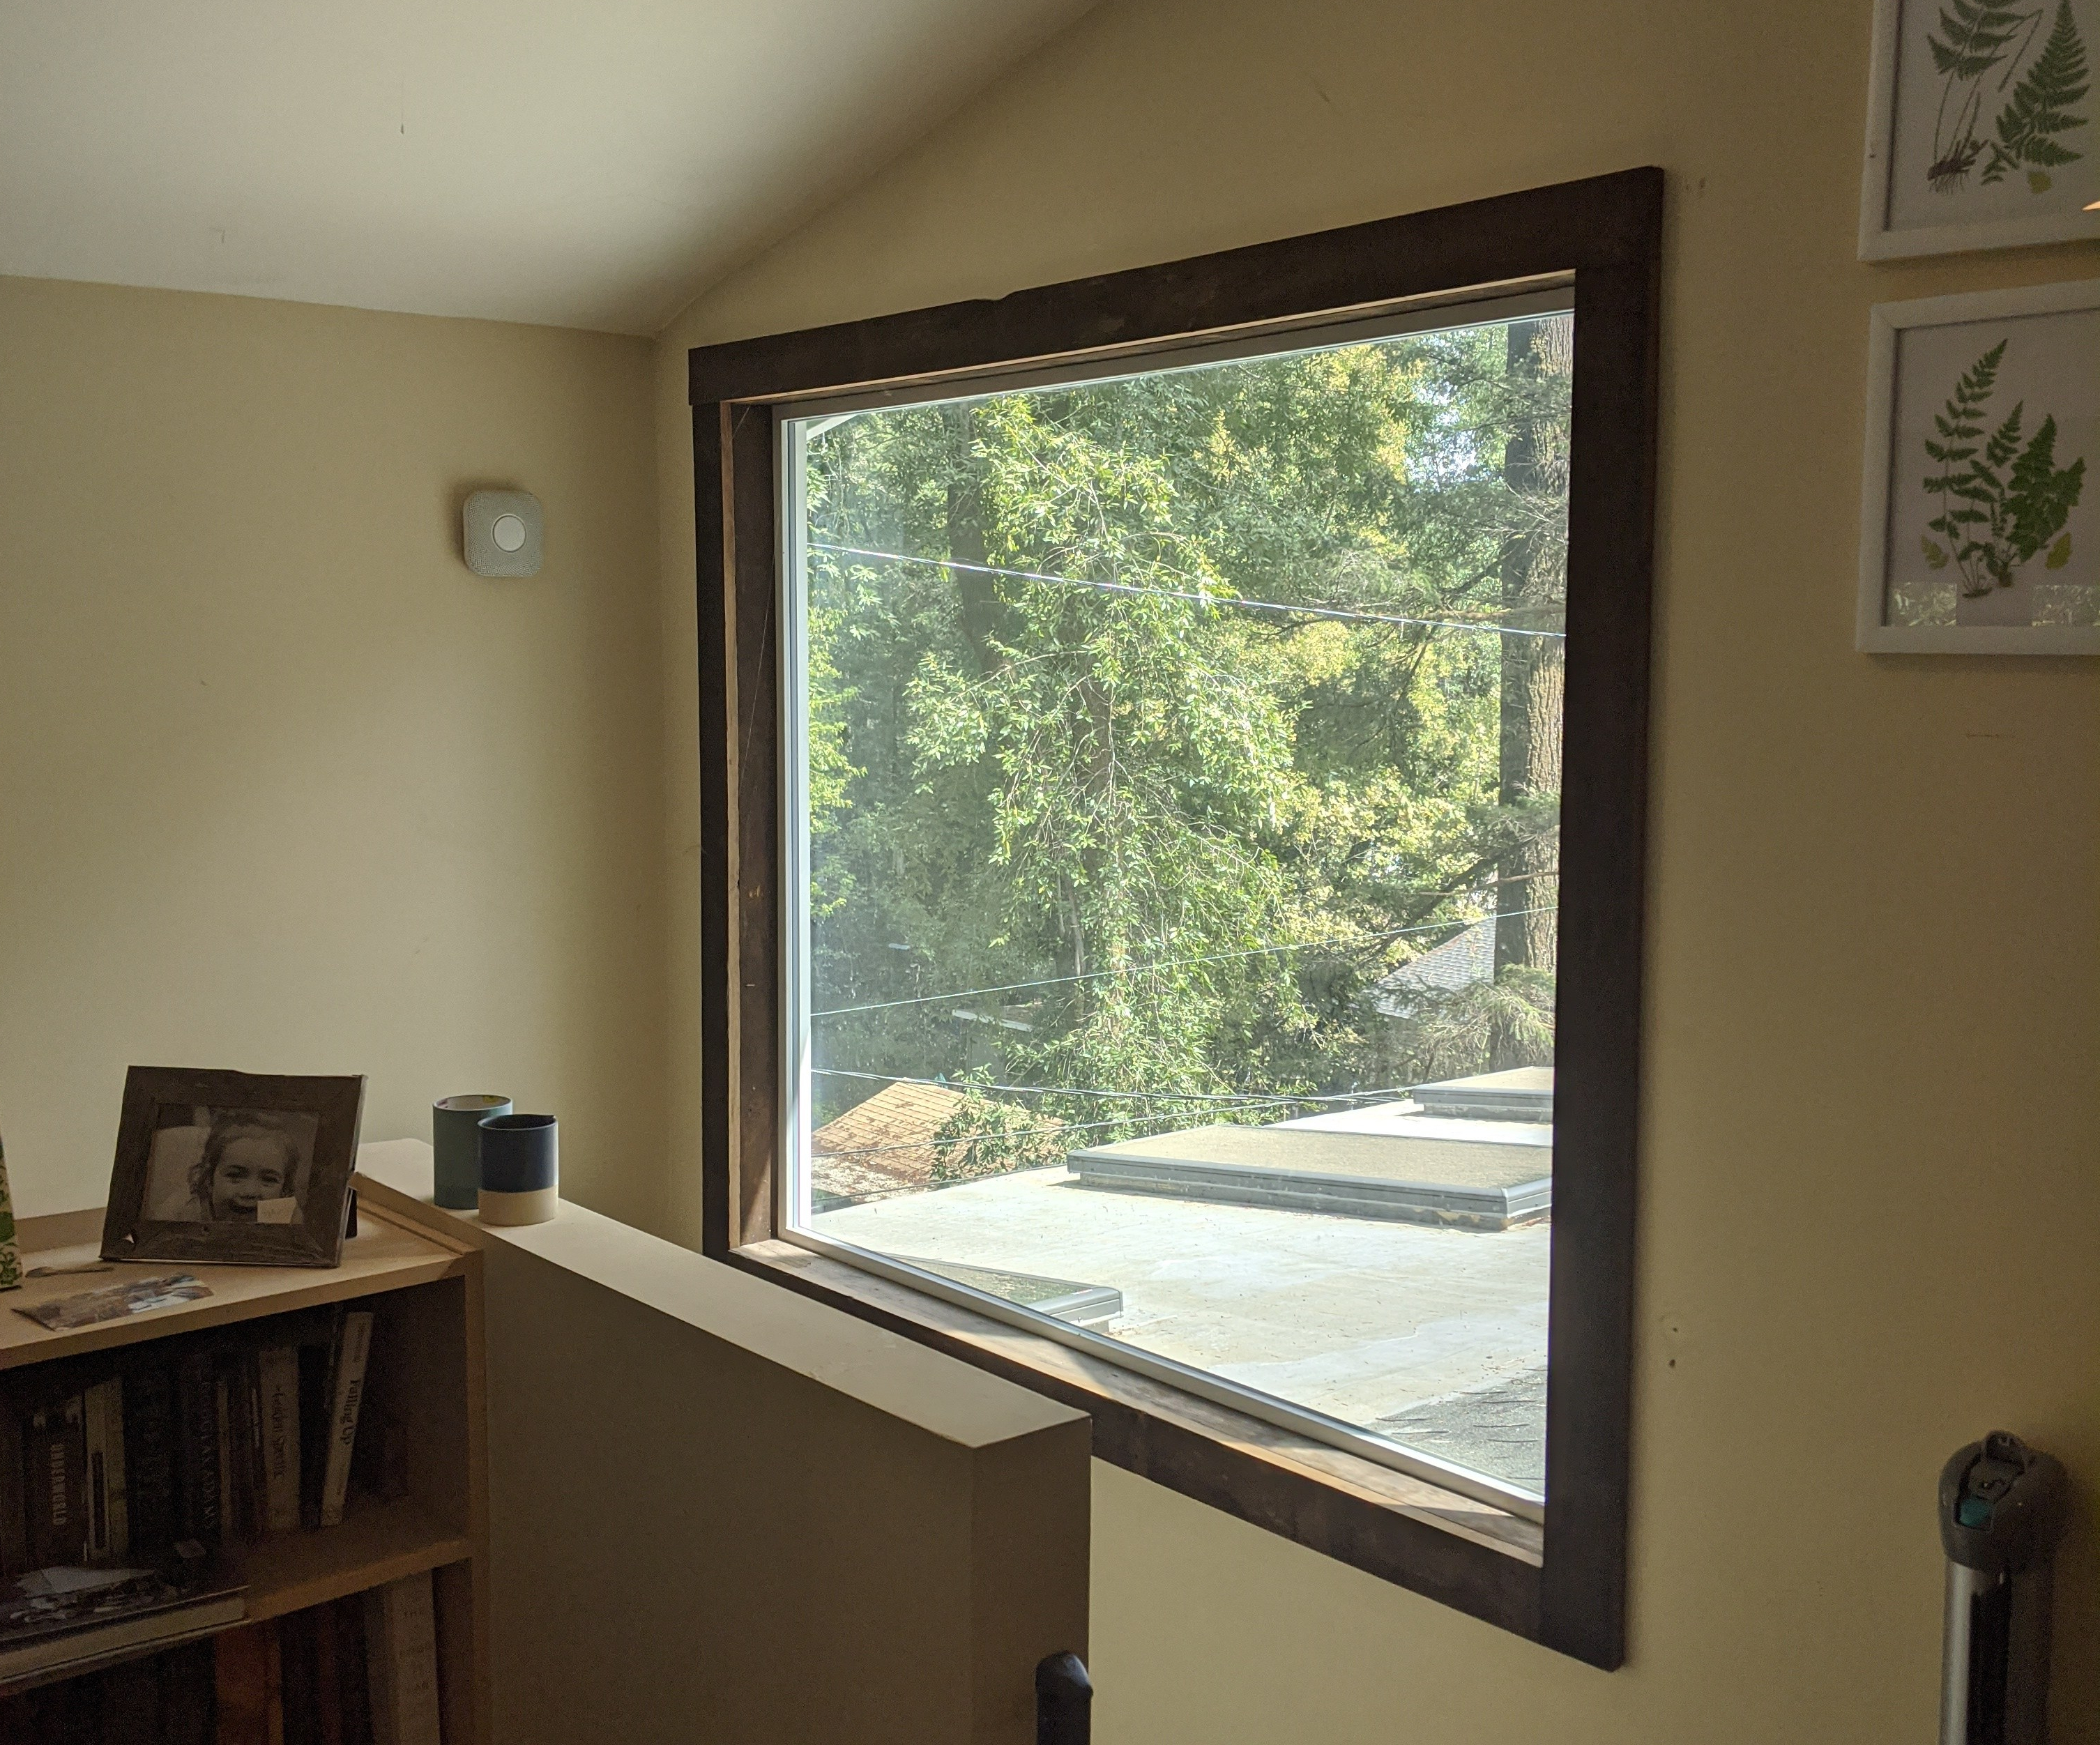
Jacob wrapped the ceiling and my dad did the window trim… makes it complete!
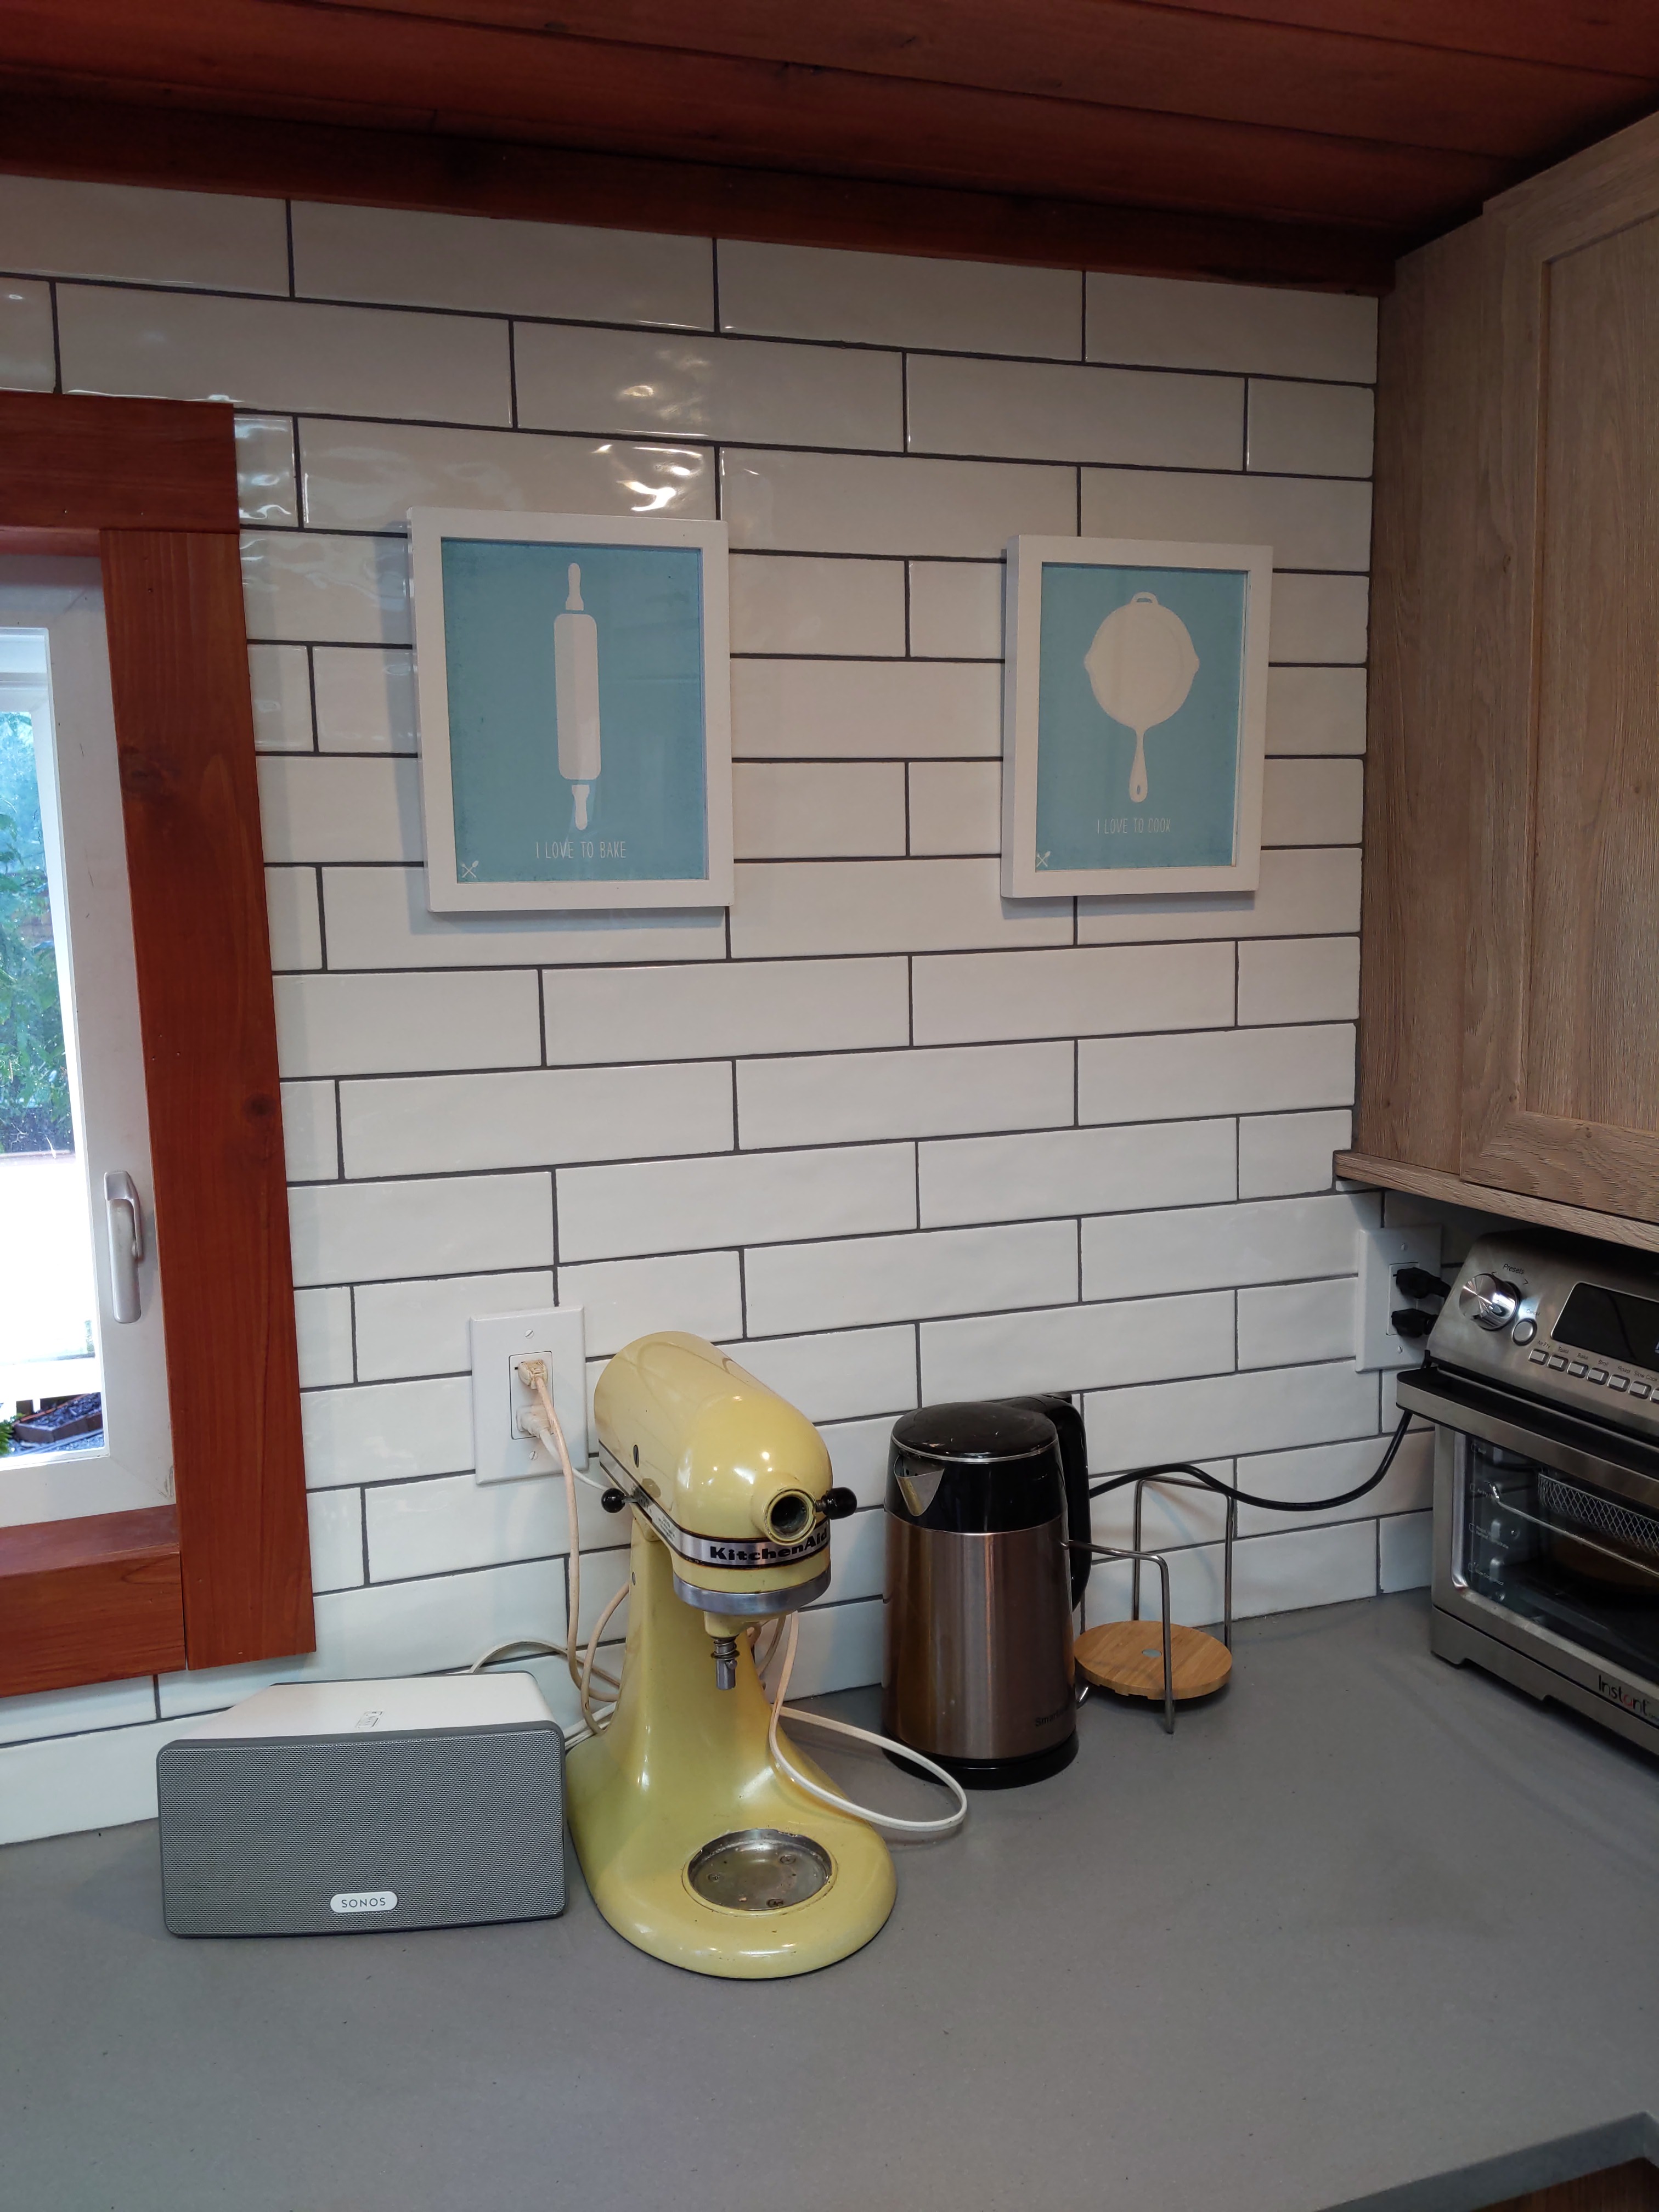
finishing touches!
We started this whole project at the beginning of October. For those of us who live in Sonoma County, I probably do not need to remind you of what October 2019 brought us. With the PSPS days, mandatory evacuations due to the Kincade fire, and having to reorder some cabinet fronts, the whole process ended up making more than two months! No matter how long it took, though, it was SO worth it! We love our new kitchen. We have MUCH more storage and cooking space, and it is really nice that we can be either cooking or cleaning up after a meal and still be able to be together. Whoever is on chef or clean-up duty no longer has to be in a separate room all by themselves, and that is just awesome.