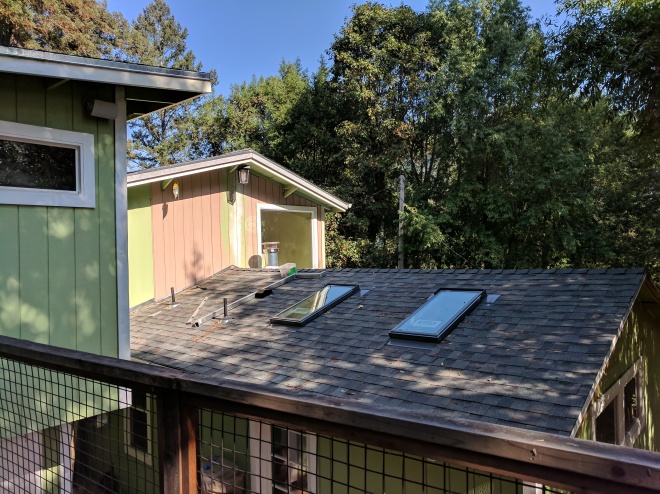
One of the last posts I did before my years-long hiatus was about taking down a wall and putting in an i-beam to open up our downstairs. Prior to the wall coming down, we referred to the room it created as the “front” room. This is because it was a long, narrow room that stretched the length of our house if you were looking at it from the street. If it sounds like a weird room, it was. A prior owner decided to close in the front deck and make this room, thus its strange shape (and a host of roofing and flooring problems to go along with it). Either way, this room was a big undertaking and I’m going to share photos of its progress below!

lacquered particle board floors for the win! How this room looked originally (mostly)
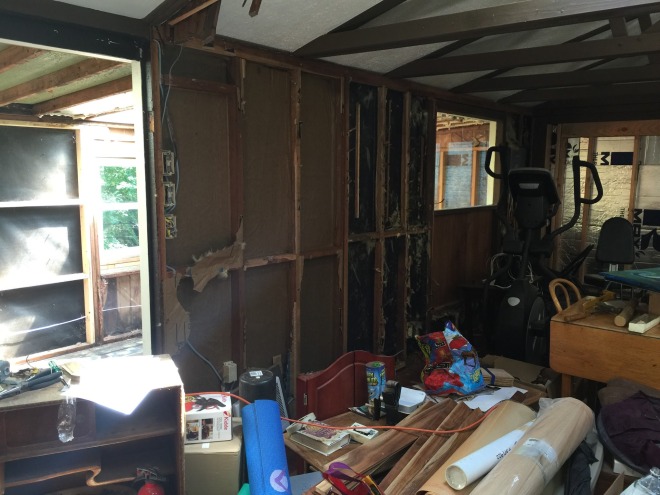
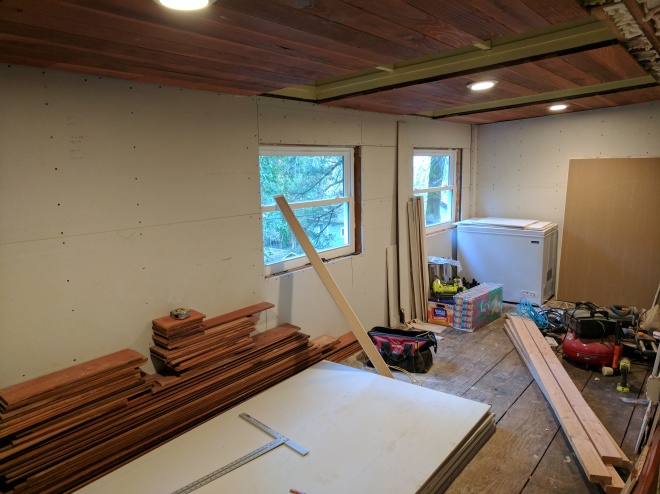
wood paneling, floors gone- time to add insulation!
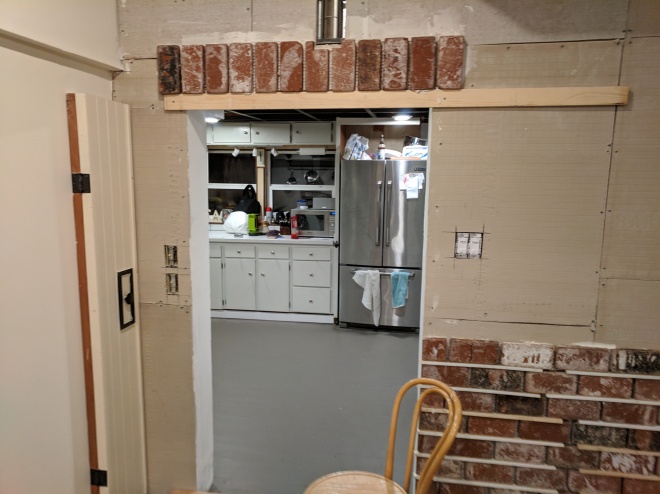
the wall the separated the front room from the rest of the house

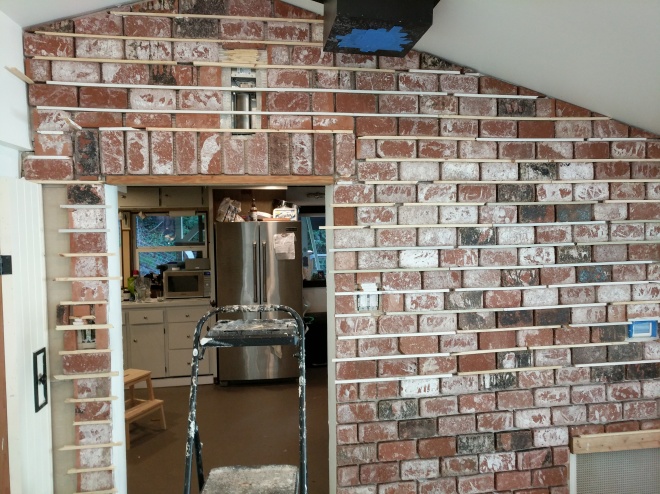
taking the wall down
sheet rock up

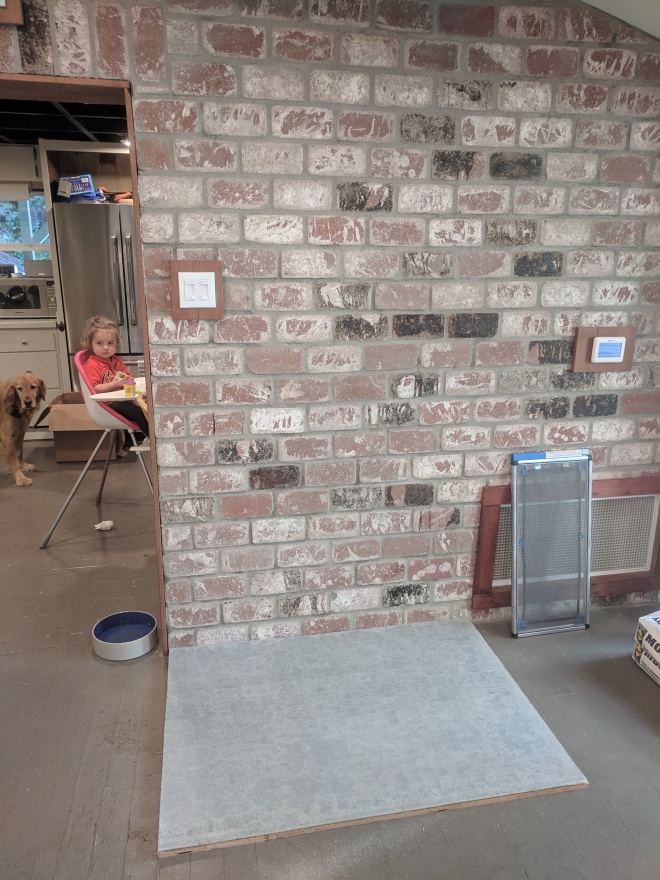
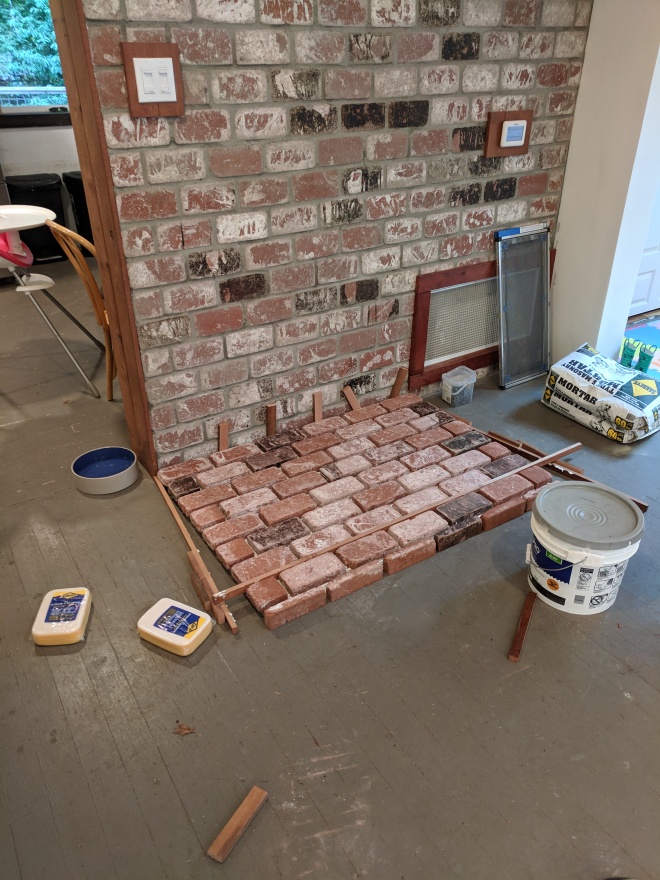
getting there…

done! (pre-kitchen/living room swap)
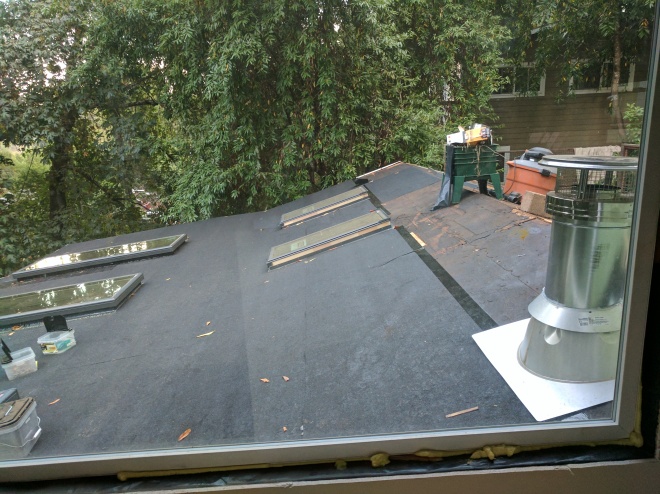
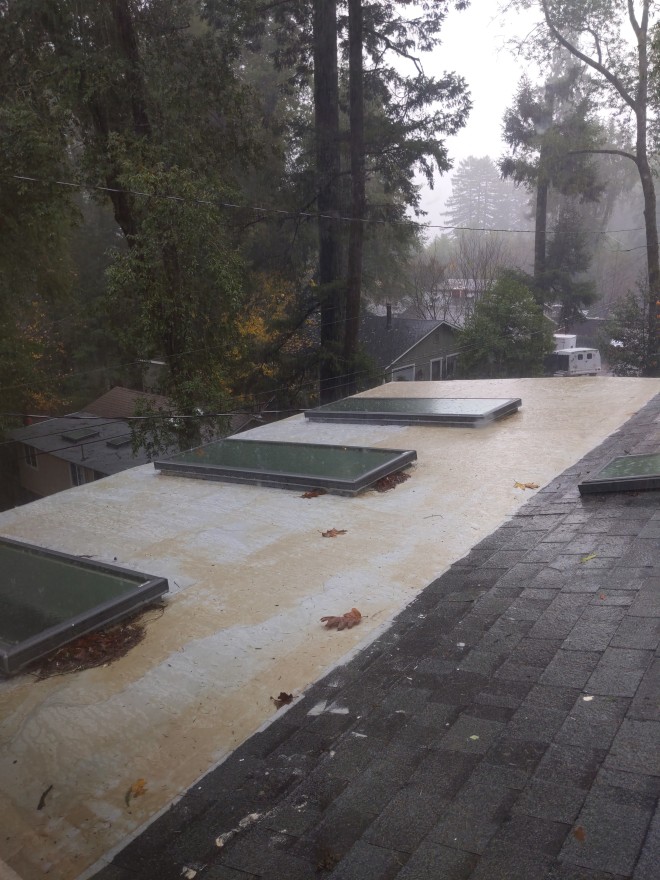
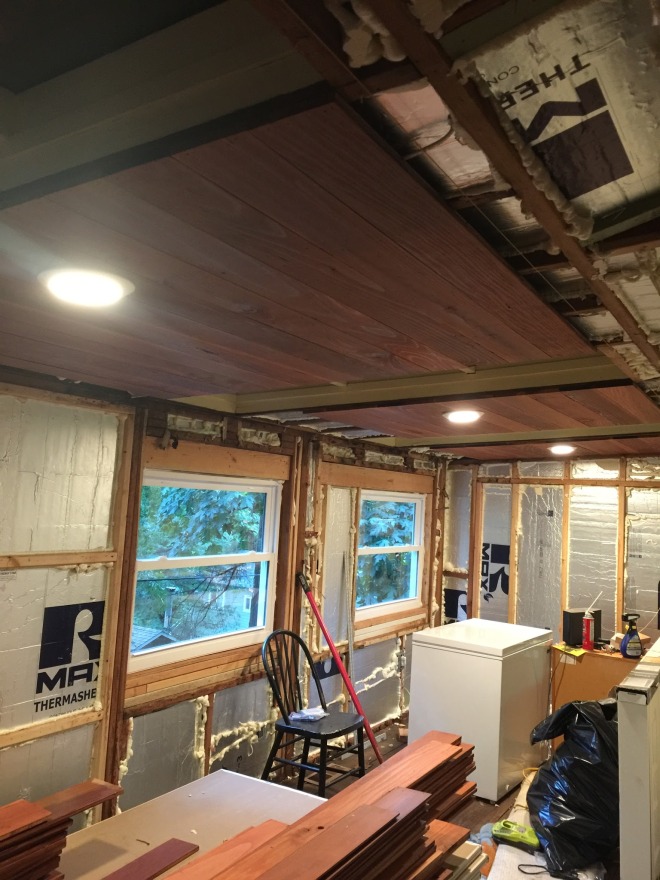
Opening up this room to the rest of the house made our downstairs feel so much bigger and lighter. My favorite part of this front room makeover is the ceiling. From the skylights to the beautiful redwood panels, it’s breathtaking! Thanks to Jacob’s dad for taking the original paneling and planing it, and to Jacob for installing it.